At this year’s Design to Manufacturing (D2M) event, we explored several ways 3D printing and scanning boost designs, making your projects even more innovative.
In these four breakout sessions, our additive manufacturing and 3D scanning experts tell it all about how you can develop better parts, aids, and products using the latest 3D technology on the market.
1. Composite and Metal 3D Printing with the Markforged FX10
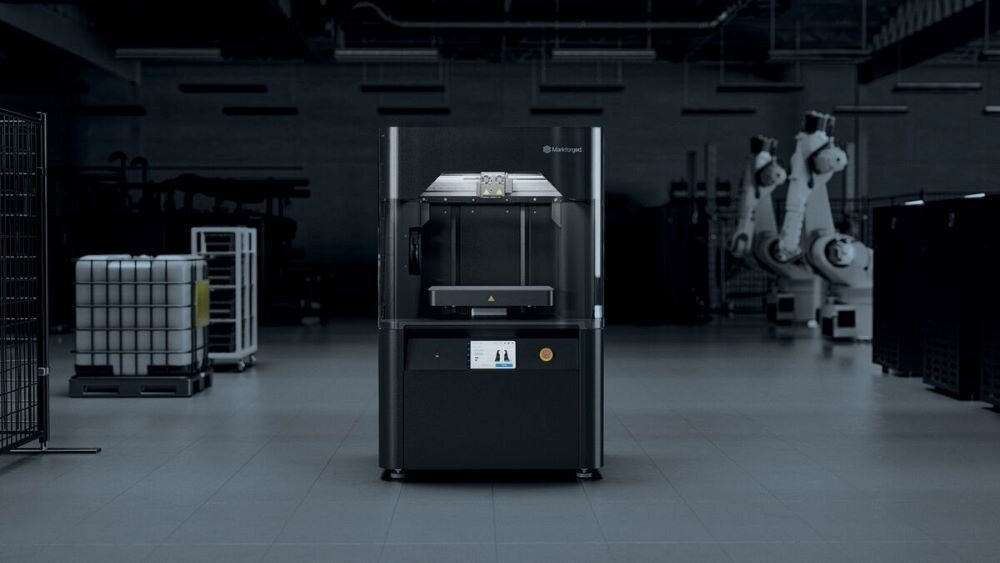
Nick Morton from Markforged introduced the FX10 — the first 3D printer capable of producing both composite and metal parts. This machine is a game-changer for industrial manufacturing, combining strength, speed, and flexibility in a single system.
Key Features of the FX10
- Continuous Fiber Reinforcement: Prints parts 10X to 20X stronger than traditional 3D-printed components.
- Larger Build Volume: Prints larger parts or multiple smaller parts in one run, doubling the capacity compared to earlier models.
- Dual Material Capability: Easily switches between composite and metal printing, offering versatility for various applications.
- Faster Printing and Automation: Prints twice as fast with automated features like material changeover and bed leveling.
- Sensors for Reliability: Built-in sensors ensure precision and reduce maintenance needs by 90%.
Why Is the FX10 Ideal for Manufacturing?
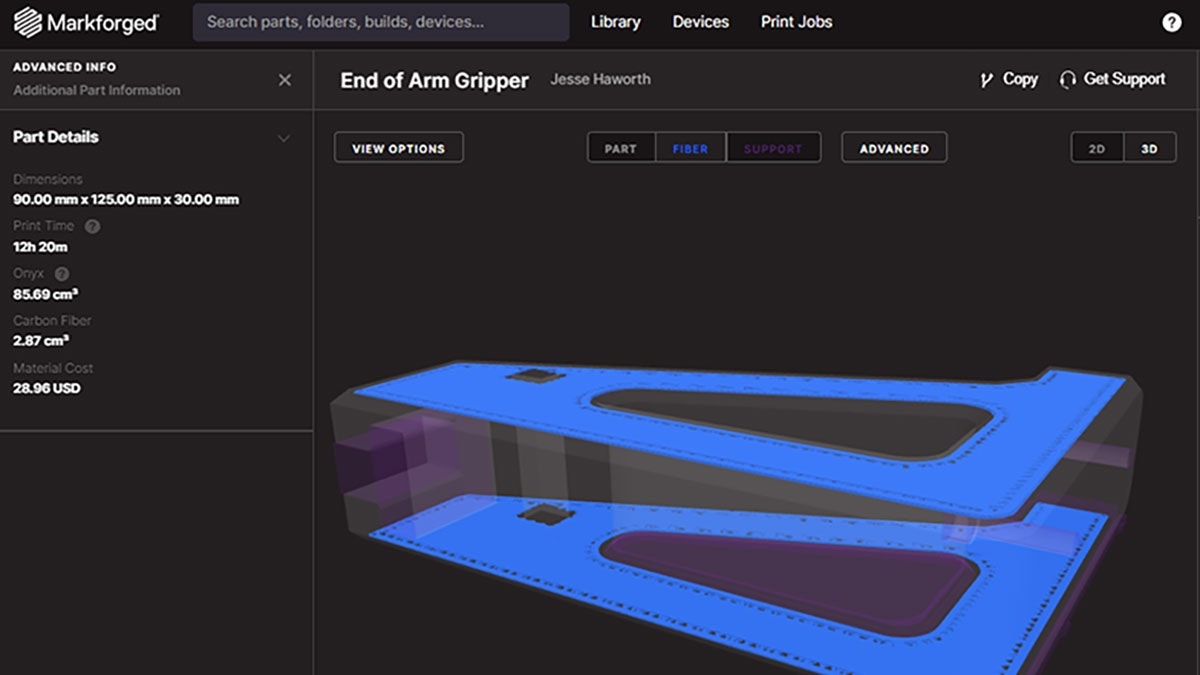
The FX10 excels in producing end-of-arm tooling, specialized metal prototypes, and hybrid parts where strength and flexibility are both needed.
It’s designed for factory floors, offering speed, precision, and ease of use for industries that rely on custom tools and production parts.
2. Speeding Up Product Development with Formlabs Form 4
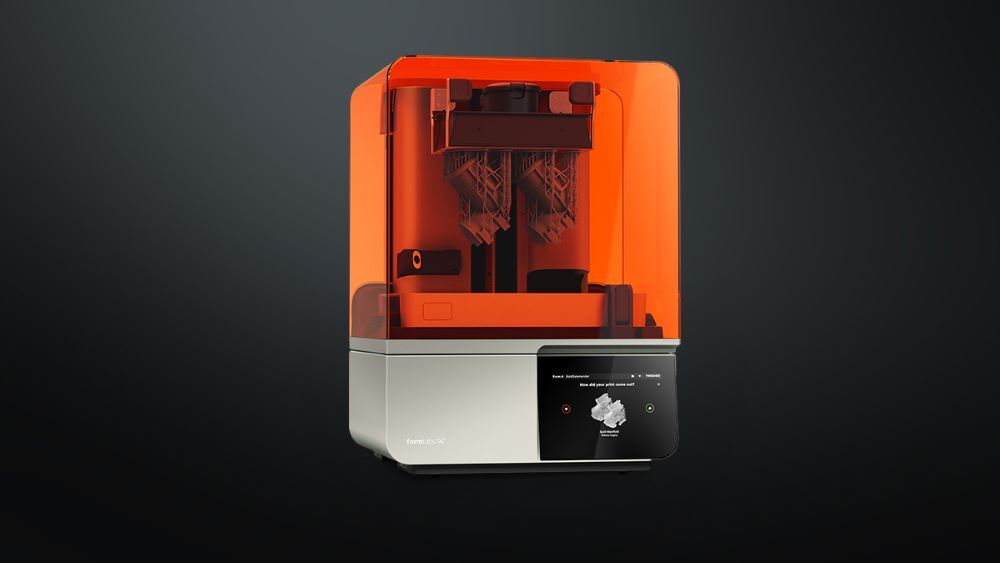
Chris Adams, a senior applications engineer at Formlabs, detailed the advantages of the Form 4‘s advanced Low Force Display (LFD) technology, which enables rapid, high-quality part production.
With features like remote monitoring, automatic calibration, and expanded build volume, the Form 4 supports diverse applications from prototyping to end-use parts.
How the Form 4 Is Optimized for Speed and Precision
Formlabs Form 4 delivers industrial-grade, high-speed printing, completing most prints in under two hours!
Designed with a 30% increase in build volume compared to the Form 3+, it accommodates larger parts and minimizes printing time.
What Form 4 Can Do Across Industries
Companies like Microsoft, Oxo, and Ford are leveraging the Form 4 for streamlined prototyping and tooling. From dental arches to engineering enclosures, the Form 4 excels in industries needing quick, iterative design and high precision.
Here are two major things the Form 4 offers:
Broad Material Library
Formlabs offers a comprehensive range of materials, from general-purpose resins for fast prototypes to durable, engineering-grade options like Rigid 10K, ideal for functional testing.
Applications engineers at Hawk Ridge Systems can help companies select the right material for their specific needs.
Reliability and Ease of Use
The Form 4 arrives pre-calibrated and ready for immediate production, reducing setup time and minimizing maintenance.
With user-friendly settings and robust customer support, Formlabs ensures that teams can focus on innovation without worrying about equipment reliability.
3. Enhancing Custom Designs with 3D Scans in SOLIDWORKS
One tool that’s reshaping the way product designers work is 3D scanning, which allows physical objects to be seamlessly incorporated into digital design workflows like SOLIDWORKS and provides ways to customize designs.
Matthew Fisher from Hawk Ridge Systems demonstrated how 3D scanning can be used to add custom touches to designs, taking attendees through a comprehensive workflow using a car shifter as the model.
Key Takeaways
- Prepare Your Mesh Ahead of Time: Simplifying the mesh and smoothing rough surfaces improves performance and ease of modification in SOLIDWORKS.
- Import as Graphics Body to Make Your Life Easier: This keeps the scan true to shape while optimizing performance, before converting it into a solid body for modifications.
- Consider Hybrid Modeling: Combining organic scanned shapes with prismatic CAD features allows for versatile design solutions.
- Export Your Model for 3D Printing: After modifications, the model can be exported as an STL for 3D printing while retaining the accuracy of the original scan.
Bringing Real-World Objects into SOLIDWORKS
Fisher began by discussing how 3D scans can be brought into SOLIDWORKS for further modification. He explained how 3D scanning generates mesh bodies that are often challenging to work with for certain prismatic modeling operations. However, using SOLIDWORKS, designers can convert these mesh bodies into solid bodies, making them more manageable for tasks, such as cutting, shaping, and Boolean operations.
In this particular demonstration, Fisher used a car shifter and created a custom-molded grip. This example served to highlight how this process can be applied to a variety of 3D scanned objects beyond just the shifter.
Preparing the Mesh for Import
One of the first key steps is preparing the mesh data. Fisher emphasized simplifying the mesh before importing it into SOLIDWORKS. In this example, he reduced the polygon count of the scan from 500,000 to 250,000, which significantly sped up interaction time in SOLIDWORKS without compromising the quality of the scan.
Additionally, smoothing the surface of the mesh is crucial for ensuring that rough or bumpy features don’t cause issues during modification or 3D printing. By using Artec Studio’s smoothing brush, Fisher demonstrated how easy it is to clean up the scan for a more polished and workable result.
Importing and Converting 3D Scans in SOLIDWORKS
Once the mesh is cleaned up, it’s ready for import. Fisher shared two important settings to keep in mind:
- Importing the mesh as a graphics body
- Ensuring the correct unit settings
Importing as a graphics body retains the shape of the mesh and improves performance in SOLIDWORKS, especially when working with large or complex scans.
After importing, the next step is converting the mesh into a B-rep (Boundary Representation) solid body. This conversion allows for more interaction with the model, enabling the application of CAD features like cuts and Boolean operations.
Hybrid Modeling: Merging Scans with CAD Features
The session’s highlight was hybrid modeling — combining organic 3D scanned shapes with precise prismatic features created in SOLIDWORKS. By converting the scan to a solid body, Fisher showed how easily designers can apply traditional CAD tools to the scanned data.
In the case of the shifter, prismatic cuts were added to the 3D scan to create a customized molded grip. This demonstrated the flexibility of SOLIDWORKS in modifying complex scanned objects, blending organic forms with precise geometric shapes.
Final Adjustments and Exporting for 3D Printing
After making the necessary modifications, Fisher wrapped up by demonstrating how to add textures or export the model for 3D printing. Additional features, such as embossing custom textures, can be applied to enhance the design before finalizing the model. The session ended with a real-world example, where the shifter grip was printed on an HP Fuse 3D printer and post-processed to achieve a smooth finish.
By leveraging 3D scanning and SOLIDWORKS together, designers can unlock new levels of customization and efficiency. Whether it’s for automotive parts or industrial components, this hybrid workflow enables rapid, high-precision prototyping and product development.
Watch the D2M 2024 Sessions
Our annual D2M virtual conference inspires and challenges our engineering and manufacturing community to think outside the box, embrace change, and strive for continuous improvement.
All three of these D2M sessions on 3D printing and scanning technologies are now available on demand for you to get a more in-depth and hands-on look at 3D techniques and methods — and many more sessions like SOLIDWORKS updates.
If you have any questions or want to discuss how to enhance your 3D printing operations, connect with us today.
