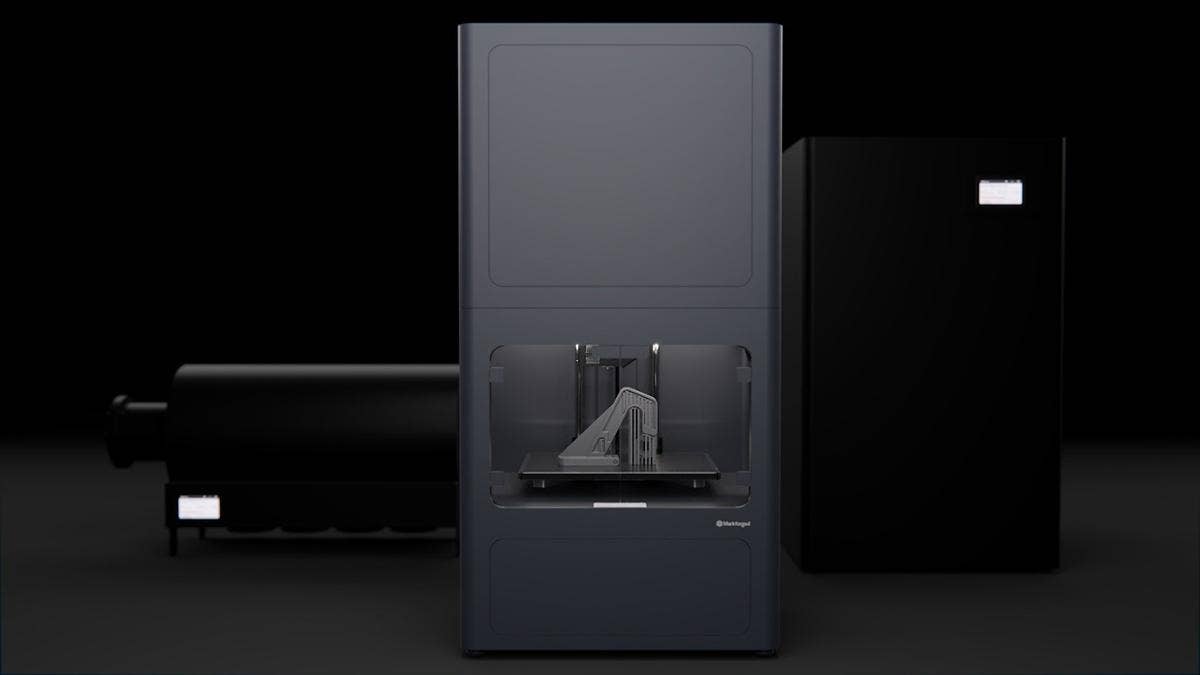
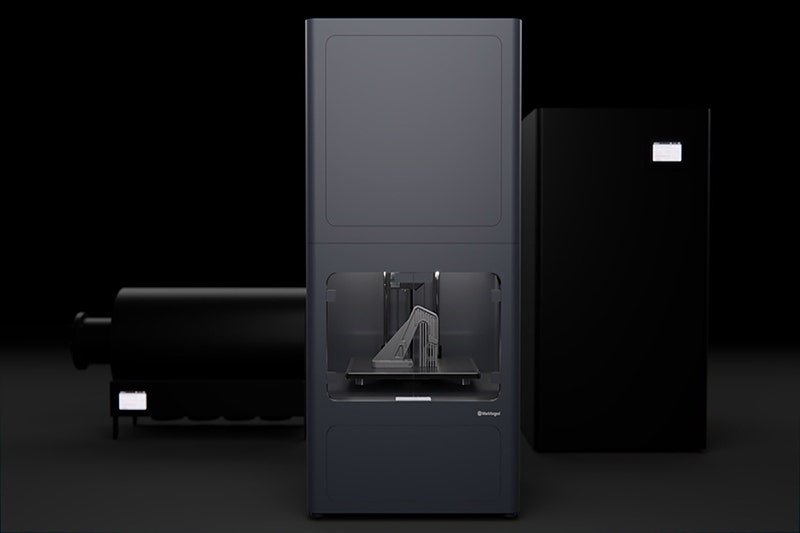
In 2017, Hawk Ridge Systems partnered with the 3D printing company Markforged. Since their founding in 2013, every product that Markforged has released follows one simple design principle: grant users access to strong, end use 3D printed parts. Now, Markforged has taken another step toward that goal with their new metal printer, which is aptly named the Metal X.
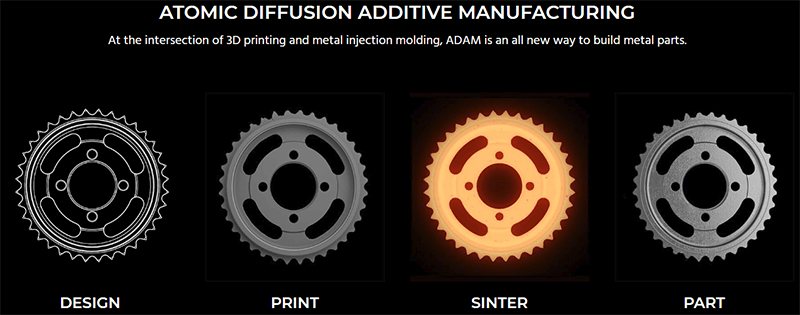
We will review how metal parts are created through the Metal X ADAM (atomic diffusion additive manufacturing) process and then reveal the first print that Hawk Ridge Systems produced with our Metal X unit.
Lastly, you will find resources related to a Markforged published case study for Stanley Black & Decker at the end of this blog. The case study is a great example of the benefits that can be gained when utilizing the Metal X and additive manufacturing as a whole.
How It Works
As with the Markforged Industrial and Desktop composite lines, the Metal X printer is an FFF (fused filament fabrication) machine. This means that a filament strand is heated and laid down layer by layer until parts are formed. The Metal X completes a part by utilizing two separate filament strands, the first of which is comprised of metal powder held together by polymer and wax. This composition is similar to many feedstocks that are used in metal injection molding. The second strand is a ceramic that acts as a release barrier for support geometry.
Since the Metal X is based around FFF technology, any geometry that is at too steep of an angle will need to be supported by structures that are printed automatically. The ceramic release barrier ensures that these supports are easily removed after the part is complete.
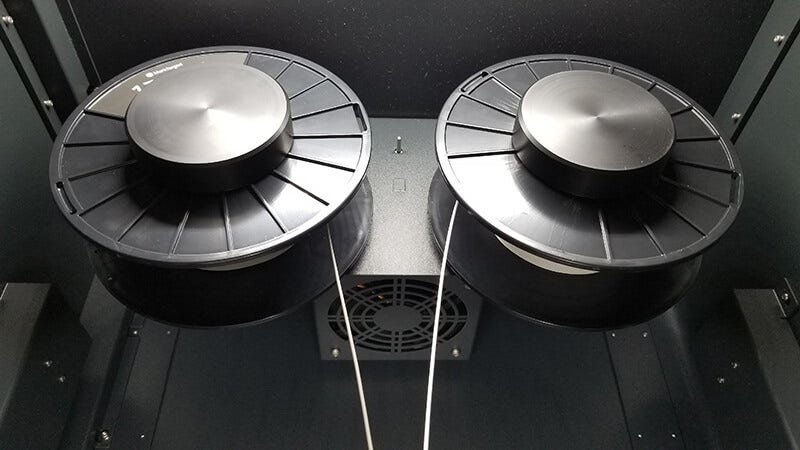
The two filament strands currently loaded in our Metal X. On the left is a roll of 17-4 stainless steel, and on the right is a roll of the ceramic release material.
If you currently own a Markforged printer or have taken a look at some of our past Markforged related content, you are already familiar with the slicing software Eiger. This cloud-based solution also works with the Metal X, so preparing your part for printing is as simple as uploading your STL to Eiger, saving your desired settings, and pressing “print.”
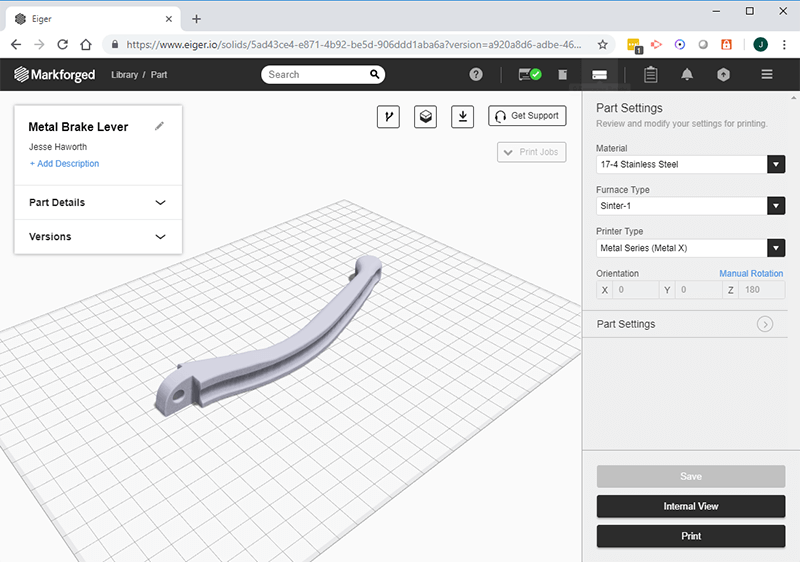
The Part View of an STL uploaded to Eiger. This area allows you to change part orientation, modify print settings, and check part statistics. Start a free account: https://www.eiger.io/register
Time-lapse of a Metal X print in progress. Video courtesy of Markforged.
Once a part is complete, it is ready to move on to the washing stage. During this stage, the part is placed within the Wash-1 unit, with the intention of washing out most of the polymer that holds our metal together. A pre-washed part is referred to as a “green” part and is fairly fragile while in this state. The liquid inside a Wash-1 unit is an industrial degreaser, so we take the proper precautions while immersing and removing parts.
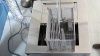
Green state parts being lowered into the Wash-1 immersion chamber. Video courtesy of Markforged.
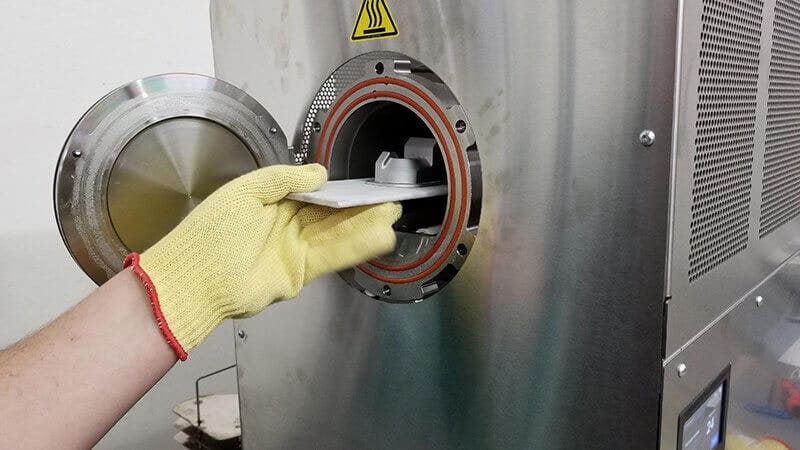
When a part is completely washed, it enters the “brown” state and is ready for the ADAM sintering stage. During the sintering process, all remaining wax is burned out of the brown part, while the metal material is fused together. When the sintering process is complete, all that is needed is to remove the support structures from your part, which is easy thanks to the ceramic release barrier that was previously mentioned.
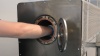
Removing a completed part from the Sinter-1. Video courtesy of Markforged.

Almost all ceramic release material was vaporized during the sintering process, so removing a part from the support raft is easy. Video courtesy of Markforged.
Since the finished part is completely metal, users are free to apply post-processing techniques that would apply to any other parts that are made of the same material. This includes welding, powder coating, and heat treating. Since Markforged has spent years developing and refining their FFF process, however, most parts will require no additional post-processing to be usable.
First Print
For our first part, we decided to print an actuator housing that is used by Stanley Black & Decker. Before Stanley Black & Decker began utilizing the Metal X, this particular component was manufactured via traditional machining methods. Engineers at the company were able to take advantage of the Metal X and save large amounts of time and money on this single part.
More resources on the Stanley Black & Decker case are discussed in the following section of this blog. As discussed in the previous section, starting the actual print of this file is simple. We upload the STL of our part to Eiger, allow the software to slice it for printing, and press “print.”
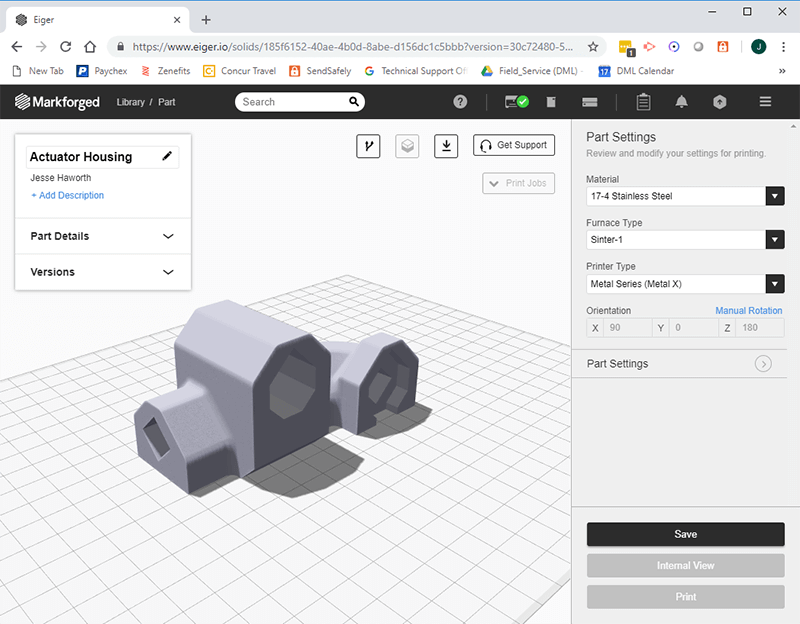
The Part View of the Stanley Black & Decker actuator housing file within Eiger.
After the print has made some progress, we can see the familiar infill that is found in composite Markforged parts as well. This interior pattern allows Metal X parts to be much lighter than any solid counterpart, while also retaining much of the strength that you would expect.
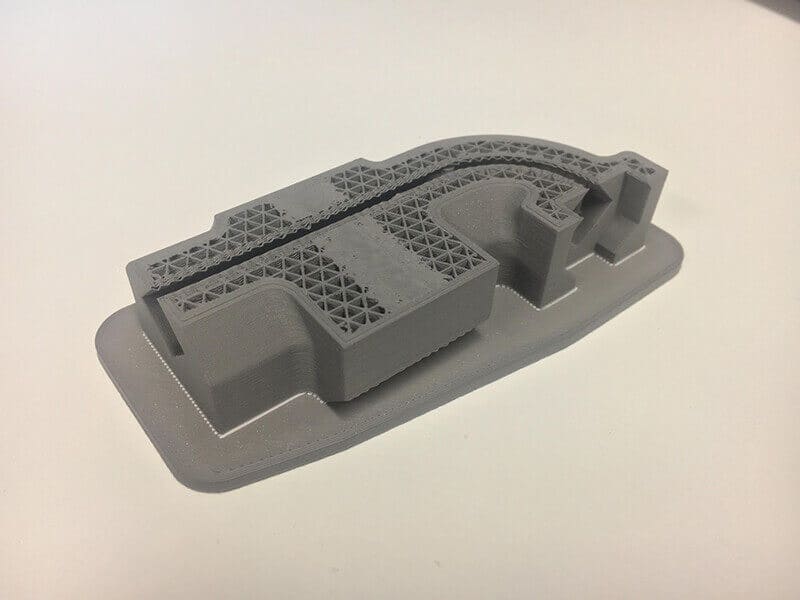
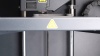
The triangular infill pattern of a Metal X printed part.
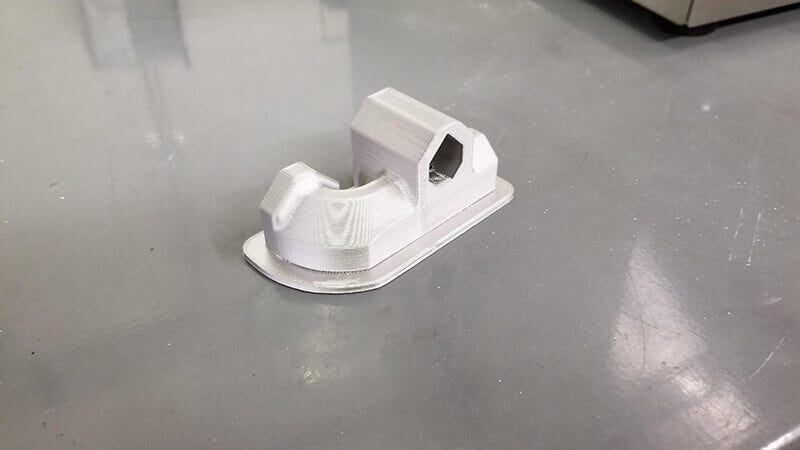
When the print is complete, we have our green state part. In this state, we have the option of wet sanding any surfaces that we would like to smooth out, which is much easier than grinding the part after it has been completed. However, we chose to move this part through the process as is.
A fully printed version of the Stanley Black & Decker part, ready to be washed.
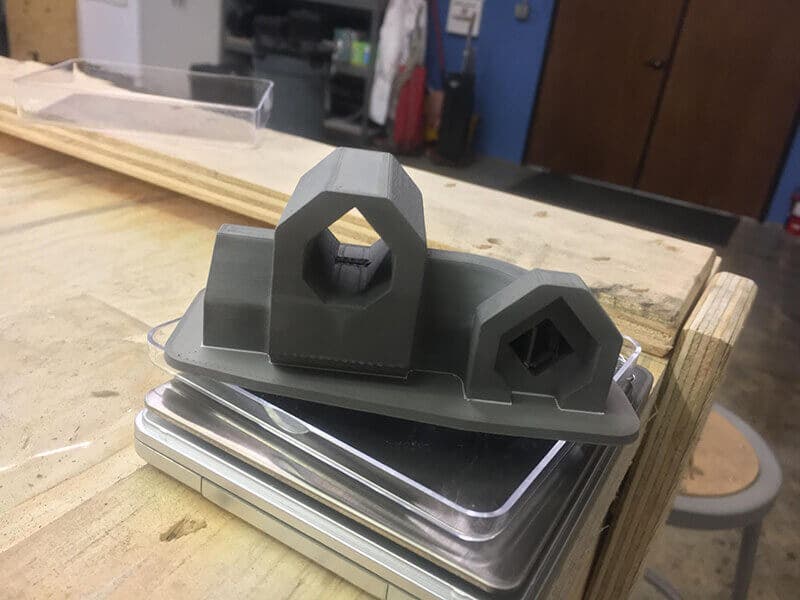
After the washing and sintering process, all that needs to be done is to remove the part from its support raft, which is easy due to the powdered ceramic release barrier. When the part is removed, it is ready for use!
Removing the housing actuator from our Sinter-1.
The ceramic release barrier has been mostly burned away by the sintering process, so part removal from the support raft is easy.
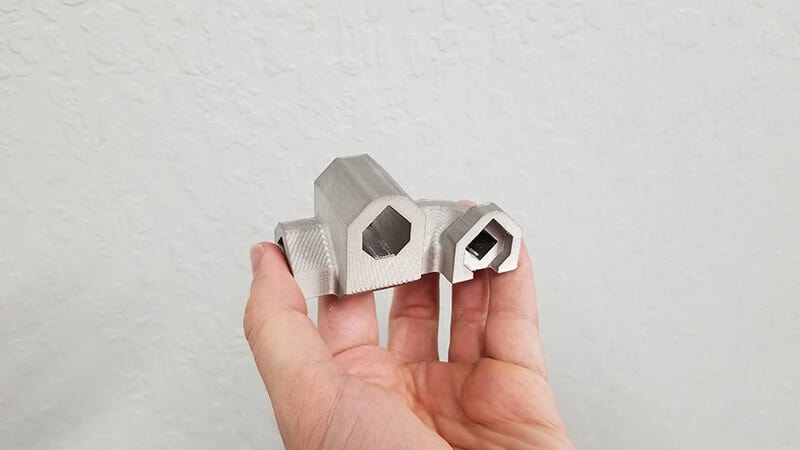
The fully sintered and ready to use housing actuator part.
Stanley Black & Decker Use Case and Case Study
As mentioned in the prior section, Stanley Black & Decker engineers were able to save their company significant time and cost by using the Metal X to manufacture this component.
Feel free to download the Markforged use case that is uploaded with this blog post for more information on the time and cost savings of this particular part. A full version of the Markforged case study, which includes statistics and design considerations for two Metal X parts being used by Stanley Black & Decker, can be requested here.
If you would like to learn more about the Metal X, including what materials are currently on the roadmap, visit our page for more information.
For more information, CONTACT US at Hawk Ridge Systems today. Thanks for reading!


