

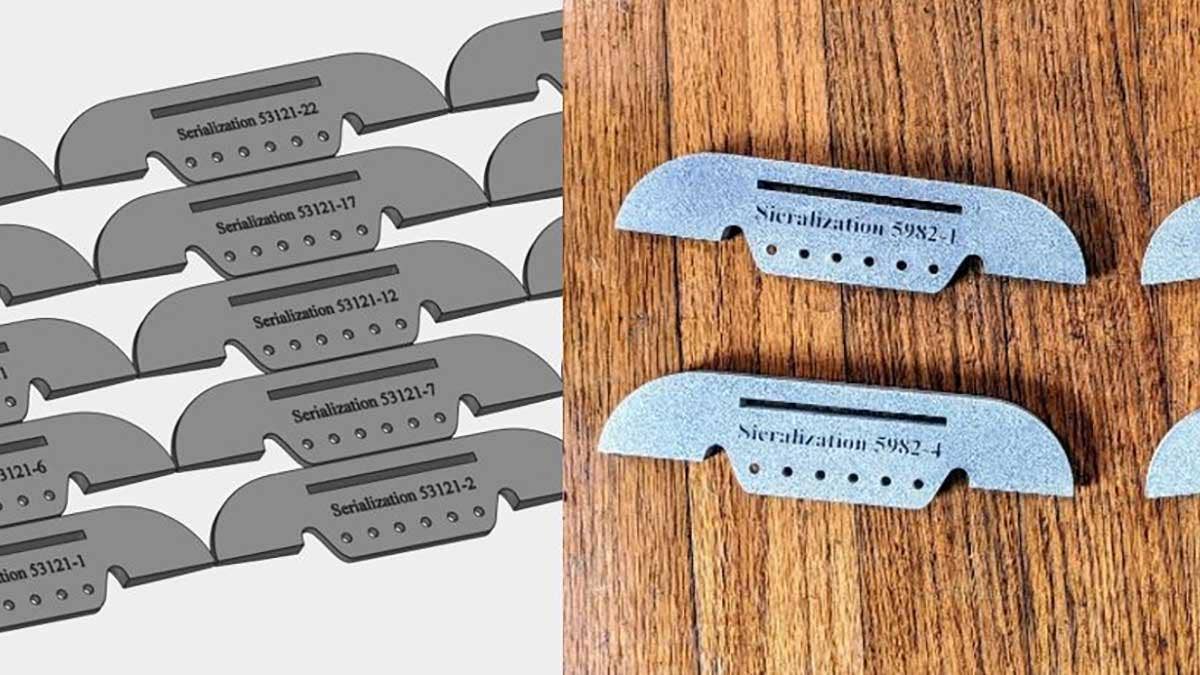
This blog post will reveal how you can automatically generate serial numbers for your 3D printed parts using Materialise Magics. In an additive manufacturing environment, traceability is a big deal. How can you monitor when a part was made? What material or what revision was a particular part? More and more, companies are moving to the digitalization of inventory to save on warehouse space and associated costs with storing physical parts. And with that movement there is a consistent need for higher volumes of “On-Demand,” “End-Use” 3D printed parts that are traceable.
In the past, the serialization of CAD data has been labor intensive with a large amount of manual data entry. With Materialize Magics, automatically generating serial numbers becomes a breeze. We are going to go step by step on how to add traceability to your printed parts through serialization.
Automated Serialization Software | Materialise Magics

The next piece of the puzzle is a software solution called Materialise Magics. The process of adding unique serial numbers to your CAD files can be automated using this software by completing a few simple steps. Let’s take a look!
Step One: Import your CAD file into Materialise Magics, which can easily be done by dragging and dropping the file.
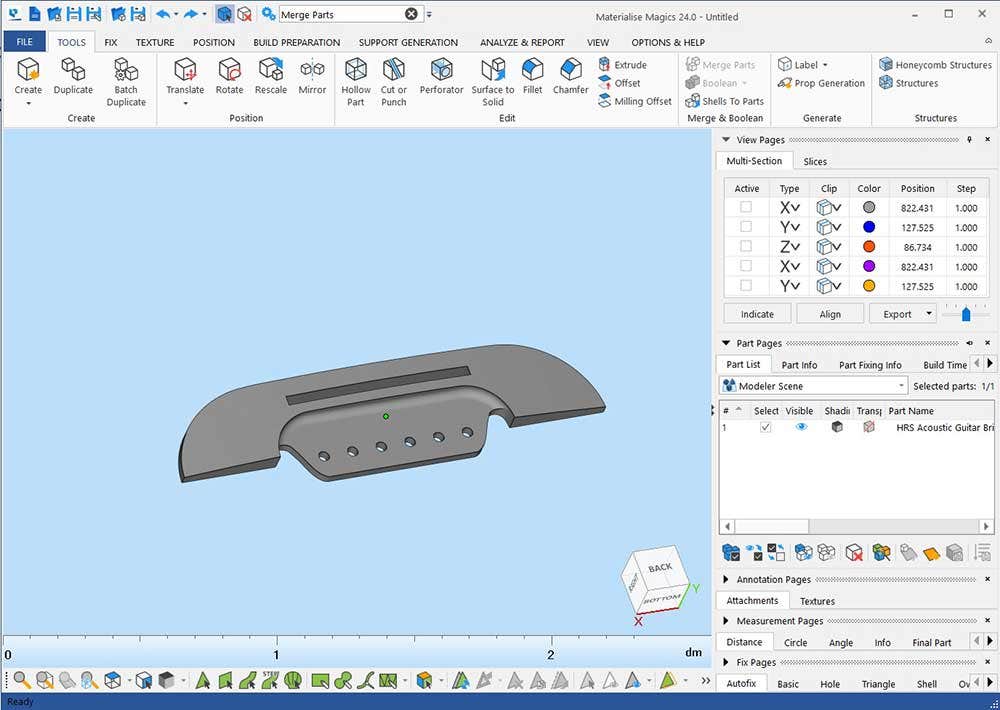
Step Two: Orient the view screen normal to the surface that you want to place your serial number and then use the Mass Label command. To find this command, simply select the Tools tab and then Label → Mass Label. In this step, we also need to select a view plane to correctly orient our chosen surface for text. In this case, I chose the Front view plane to place my serial number.
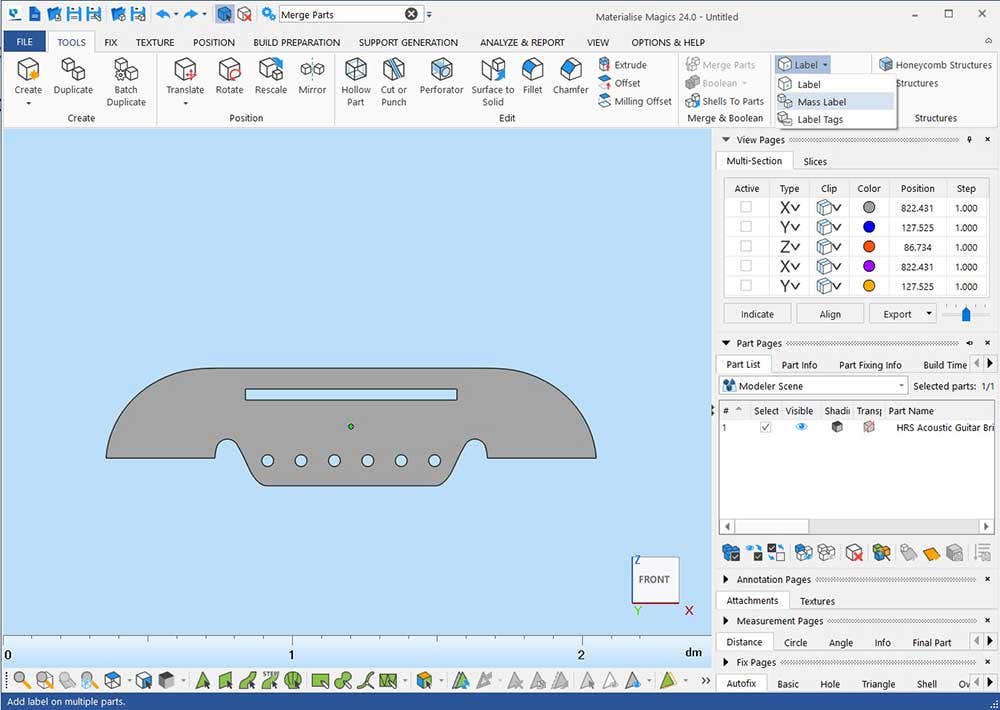
Step Three: Select a Counter tab and then drag and drop your text zone.
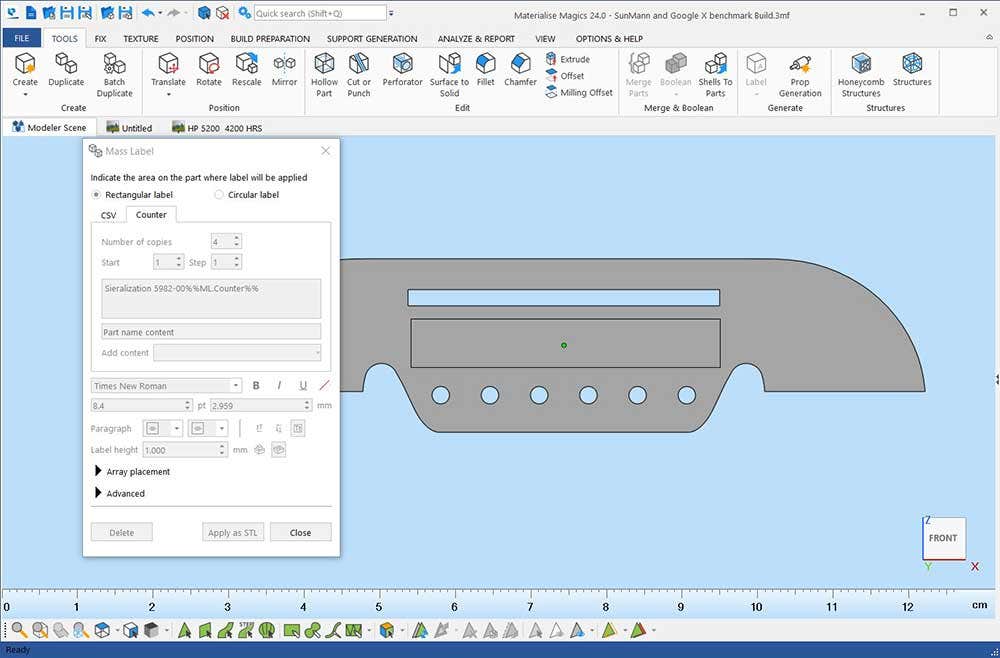
Step Four: Customize the counter tab for your serial number:
• Quantity of Parts
• Counting steps
• Custom Text
• Engraved or Raised
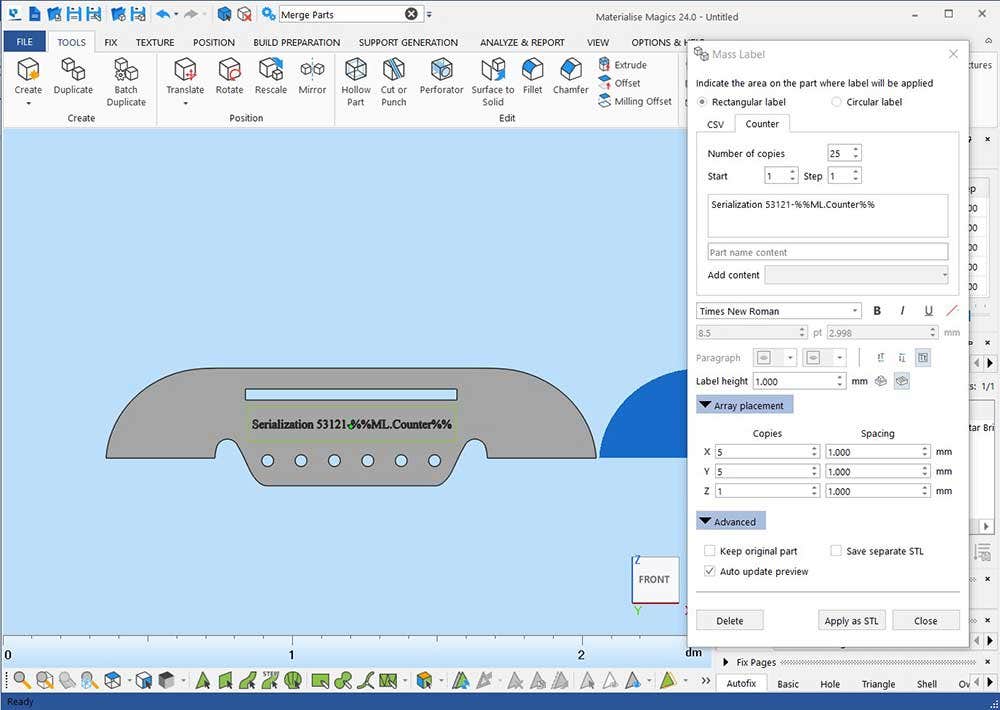
Step Five: Duplicate the desired number of parts by selecting Apply as STL.
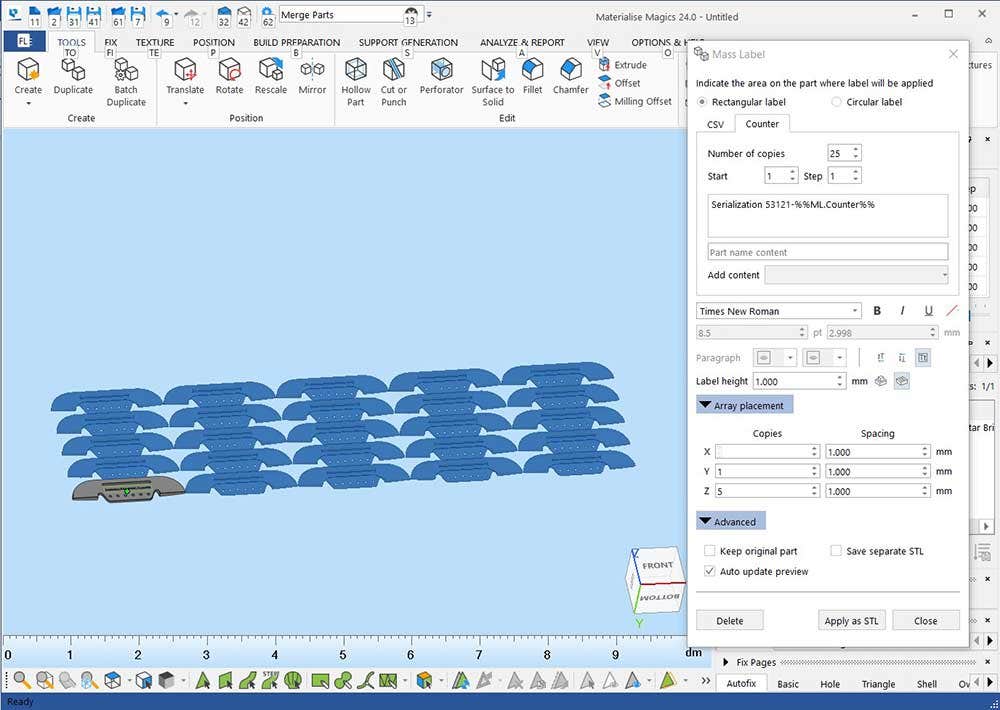
Nesting of Parts | Materialise Magics
Once you have all your parts duplicated, the next stage is to move into the nesting of parts. Again, Materialise Magics has the tools to get the job done. When using a powder-based printing system like Formlabs SLS 3D printers, it is advantageous to efficiently pack parts at a minimum build height. Once we have our build nested, it is time to send it to a printer! To learn more about nesting with Materialise Magics, check out the article, “How To Maximize Nesting Efficiency in Your 3D Printing Builds.”
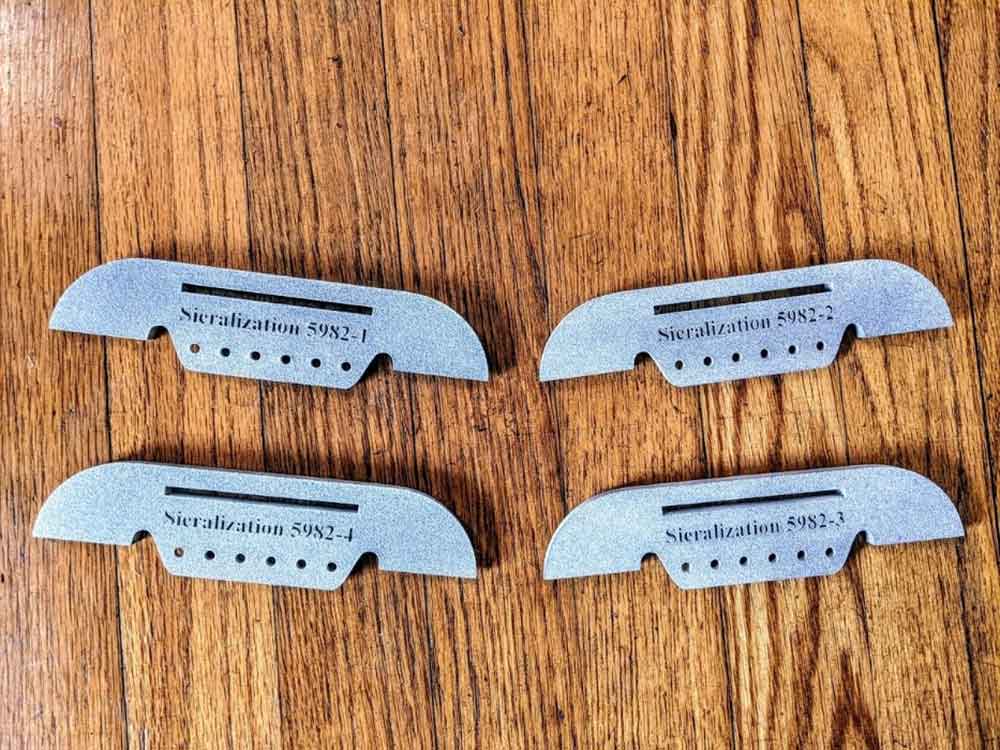
There you have it, now it is time to start serializing your 3D printed parts using Materialise Magics. If you would like to learn more, feel free to contact us at Hawk Ridge Systems today!
Put your next design into motion
Explore solutions and expert guidance for your application.
Ask an Engineer
Written by Kainon Irons
Kainon Irons is a 3D Printing Application Engineer at Hawk Ridge Systems specializing in DFAM (Design for Additive Manufacturing) and technical consultation for Markforged 3D printing systems. With a background in Mechanical Engineering, Kainon has experience bringing products from prototype to production and he understands how additive manufacturing transforms the design process. He is excited to share knowledge about how 3D printing is changing the game for manufacturing and end use parts.