Getting started with the 3DEXPERIENCE platform is very straightforward, so what are you waiting for? When you activate the platform, you and your team unlock a suite of advanced tools and features designed to enhance collaboration and streamline your workflows. In this article, we will explain the simple steps to activate the platform and assign roles, ensuring that each user can tap into the full potential and advantages the platform offers.
Create Your 3DEXPERIENCE ID
Kickstarting your journey on the 3DEXPERIENCE platform begins with creating your 3DEXPERIENCE ID. This straightforward step paves the way for the software agreement, granting you access to all the platform’s capabilities. To make things even simpler, click the following link to easily create your 3DEXPERIENCE ID.
Understanding Administrative Privileges and Access
Let’s dive right in. It’s pivotal to understand that the individual who activates the license becomes ‘The First User,’ effectively serving as the admin of the tenant. This designation carries significant weight, as ‘The First User’ not only assumes administrative privileges, but also consumes a user license. Therefore, if you’re not going to be a user of the platform, it’s crucial that the designated first user is the one to activate the license.
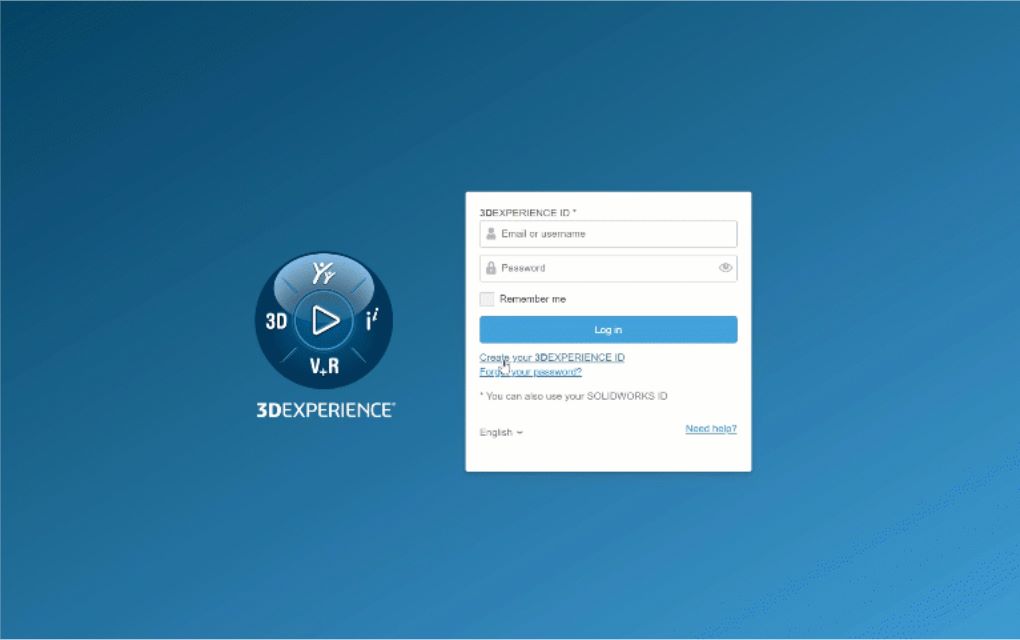
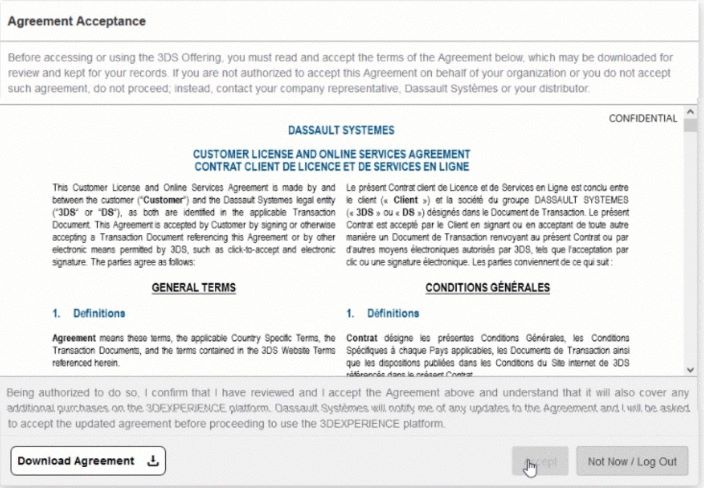
Upon logging in, you will be established as ‘The First User,’ which automatically designates you as the PLATFORM administrator. At this juncture, the software agreement acceptance window will appear. By reading and agreeing to the terms, you activate your tenant, establishing yourself as the primary user and subsequently gaining full access to the 3DEXPERIENCE platform.
Exploring the 3DEXPERIENCE Dashboard
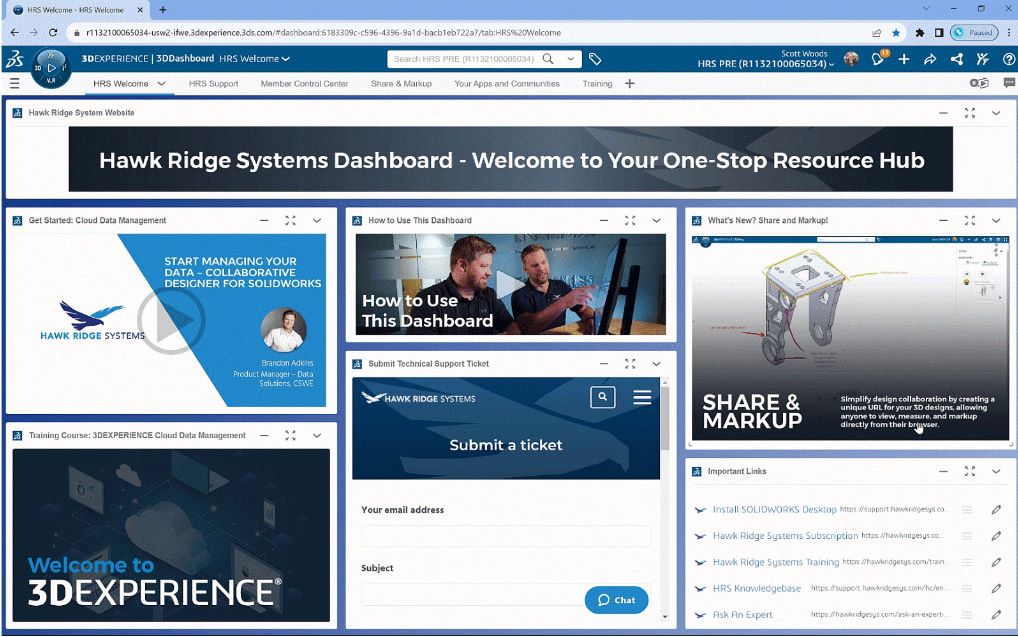
The dashboard will be the area where you can check what’s going on, create tabs that have your favorite apps and keep track of your data management.
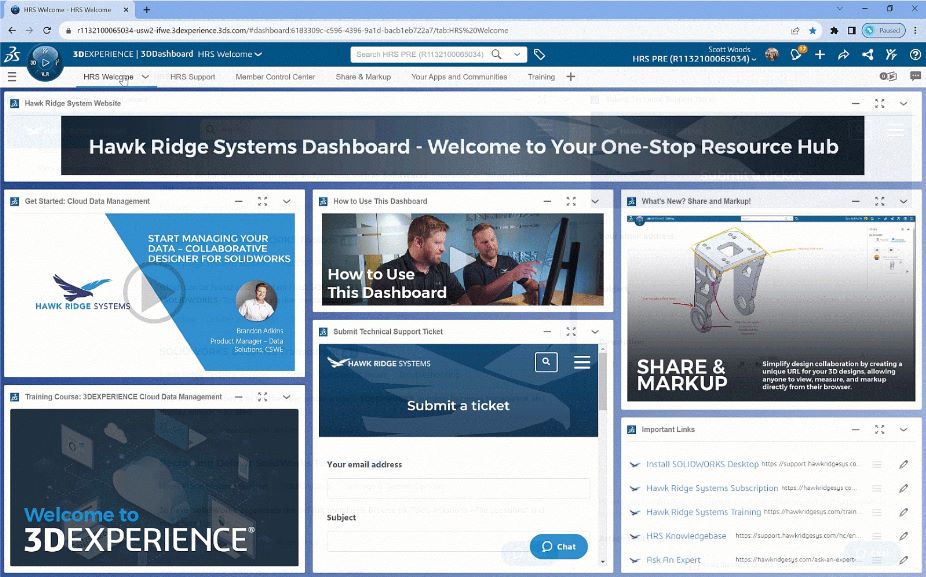
A dashboard on the 3DEXPERIENCE platform is a centralized workspace for data, tools, and apps. It’s your go-to for tracking activities and managing tasks. To optimize your experience, Hawk Ridge Systems offers a custom dashboard. Access the curated Dashboard to start.
Free Training with SolidProfessor
The Hawk Ridge Systems Dashboard gives you access to our SolidProfessor course on Data Management. If you need any other support, the Hawk Ridge Systems Dashboard includes the help center, which has links to support documentation. In addition, there are links to “Ask An Expert” sessions and even additional how to install SOLIDWORKS Documentation.
Managing Members and Licenses from Your Dashboard
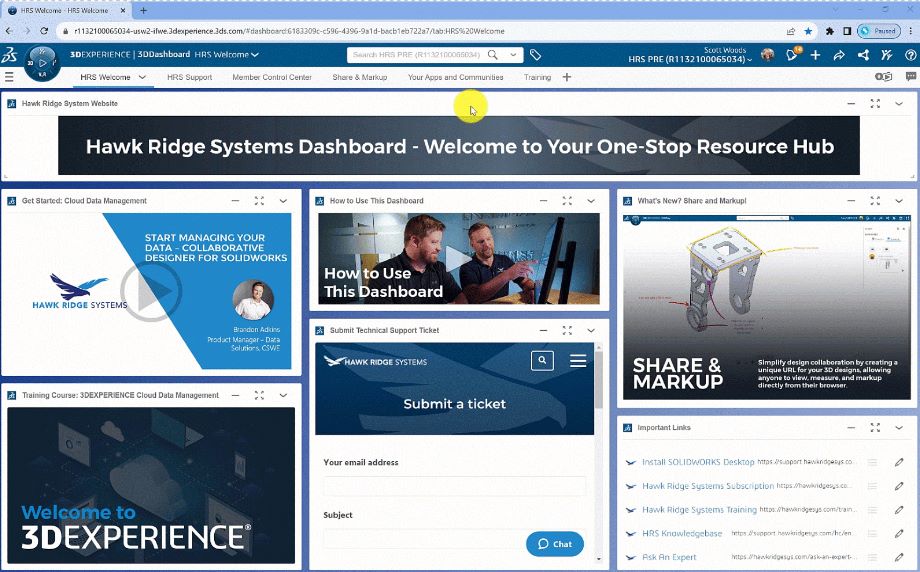
The next important step is to assign roles. Begin by clicking on the compass which displays your Roles, Apps and Favorites. Under Favorites, you can click where it says “Platform Management” to access the Members tab.
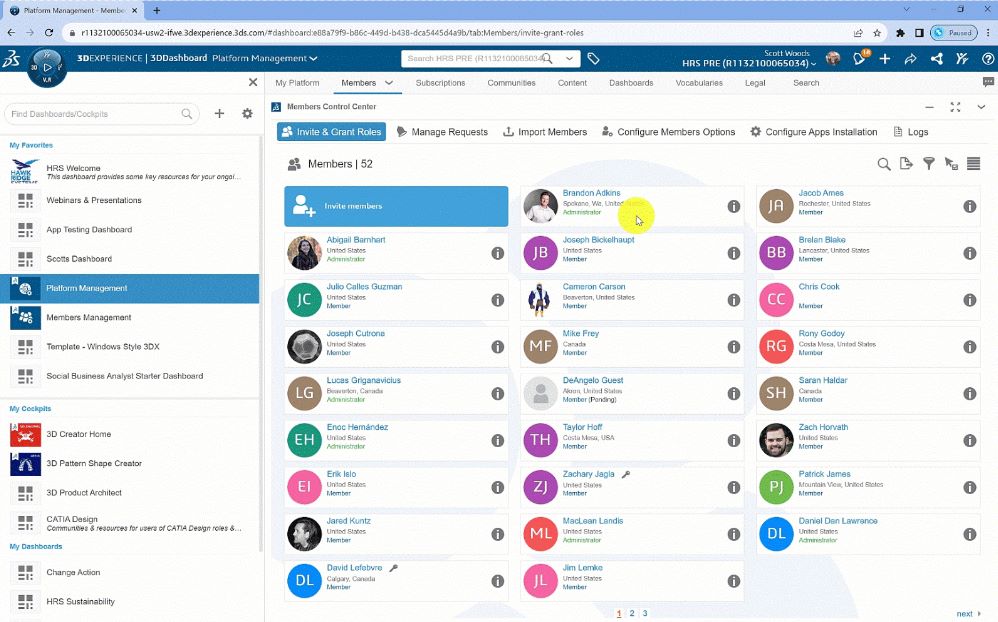
Here we can see all the members that have a license. To the right of each name there is an information icon (i). Clicking this icon will reveal the roles assigned to that member. Typically, the role might be 3DEXPERIENCE SOLIDWORKS or Collaborative Designer. In this setup guide, we will focus on assigning and installing 3DEXPEREINCE SOLIDWORKS.
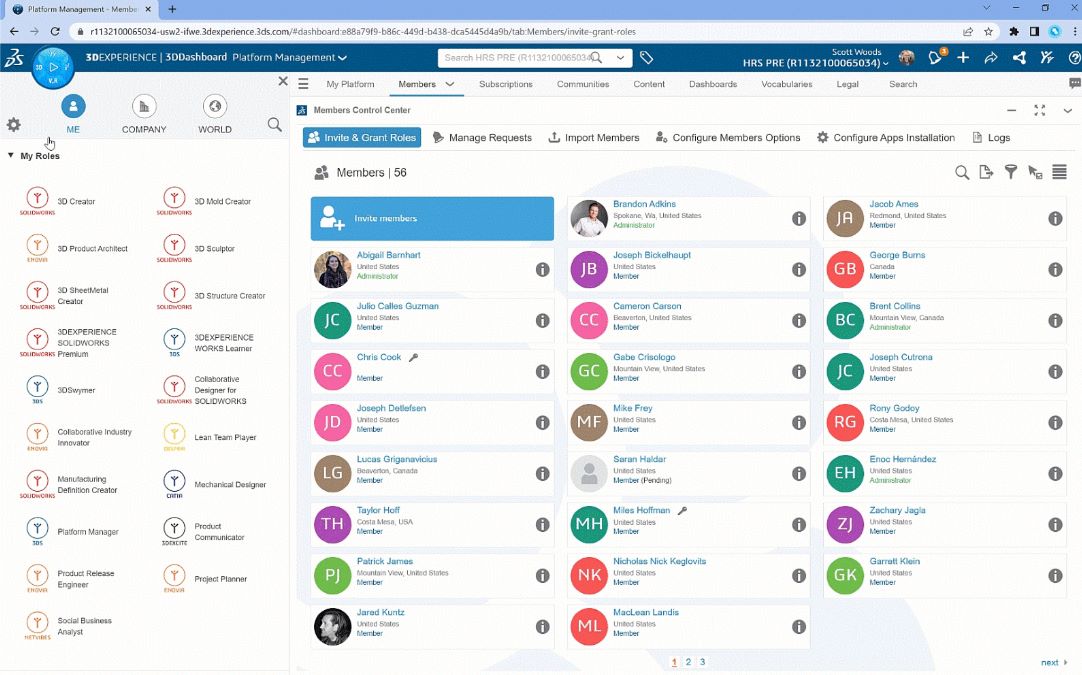
Now that 3DEXPERIENCE SOLIDWORKS is activated, it will be available to install. Click on the compass icon so that we can access the 3DEXPERIENCE SOLIDWORKS role. After clicking on the role, you can see all the available apps within that role.
How to Install 3DEXPERIENCE SOLIDWORKS on Your Computer
Clicking on the SOLIDWORKS Connected app, which is part of the 3DEXPERIENCE SOLIDWORKS role, will commence the installation on your computer. Before any 3DX applications can be installed locally the 3DX launcher needs to be installed. This installation will start automatically when trying to install any app. First, the launcher will download to your computer and will need to be executed. Depending on the browser used, this installation file will download to the user’s computer, and they will then need to execute to install it. Once that is done, they can continue to install SOLIDWORKS Connected.
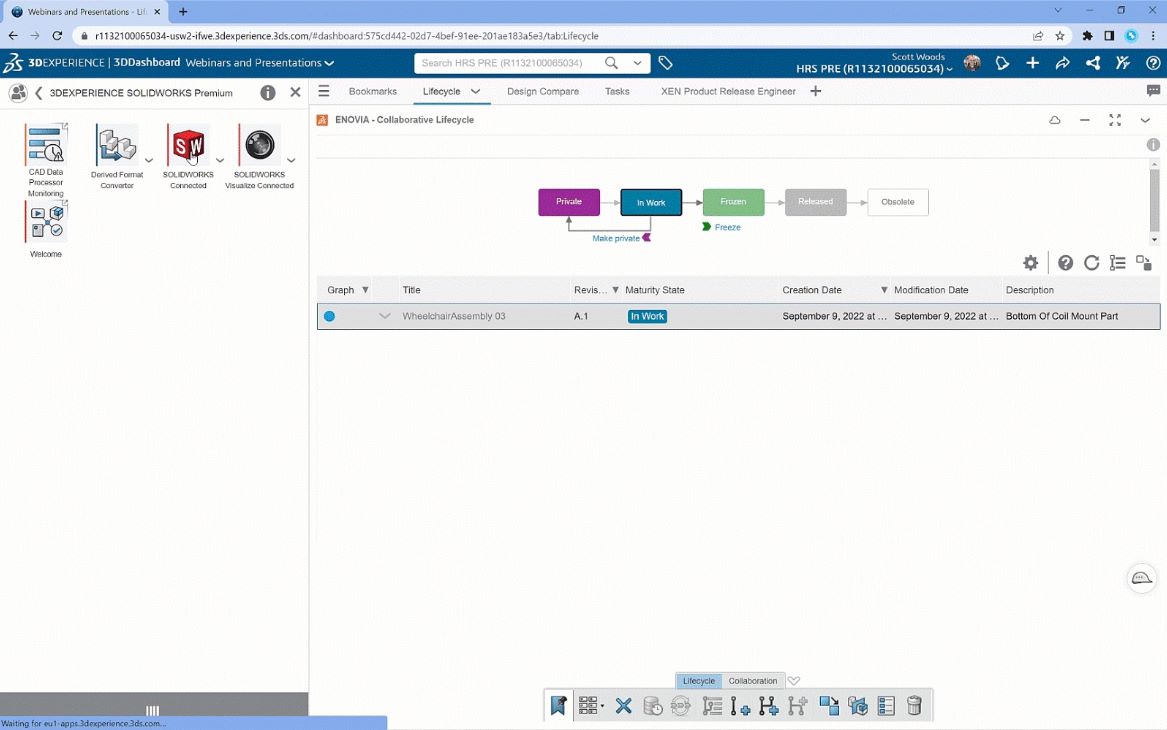
The installation window will pop up.
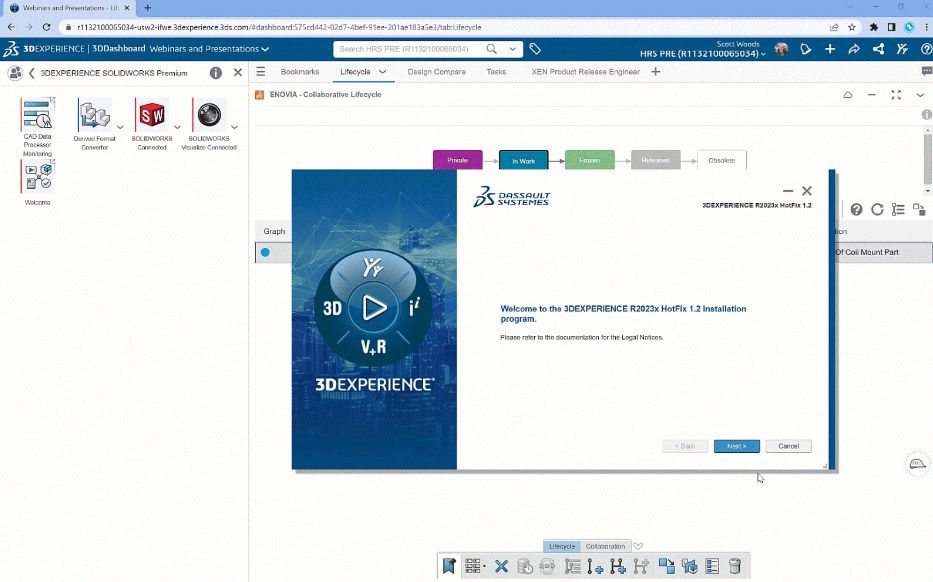
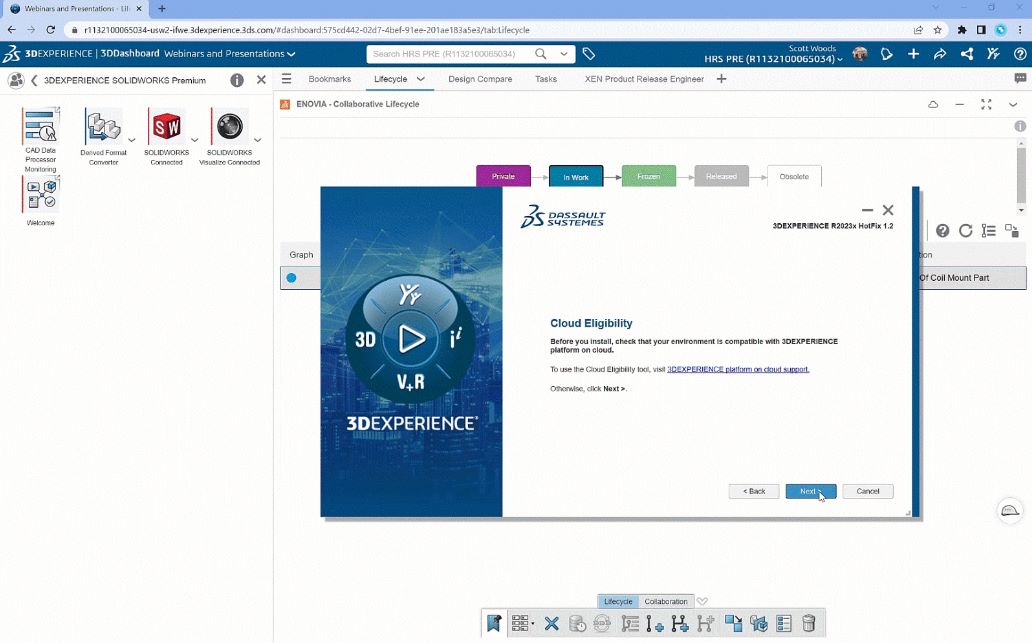
The following installation steps are straightforward. Simply click next until you reach the cloud eligibility window.
Of course, if you are using cloud data management, you should have the appropriate environment to run it. If you are unsure that you don’t have the appropriate environment to run it, click on the 3DEXPERIENCE platform on cloud support link. The next window will ask you where to install 3DEXPERIENCE SOLIDWORKS.
If you are satisfied with the path, click next, and it will ask where it will install the toolbox wizard. The next window will show you how large the download will be. Click to download and then you can launch 3DEXPERIENCE SOLIDWORKS.
How to Launch 3DEXPERIENCE SOLIDWORKS
To launch 3DEXPERIENCE SOLIDWORKS you can click on the compass and go to the 3DEXPERIENCE Role. The Role will display the SOLIDWORKS CONNECTED App and the next step is to click on it.
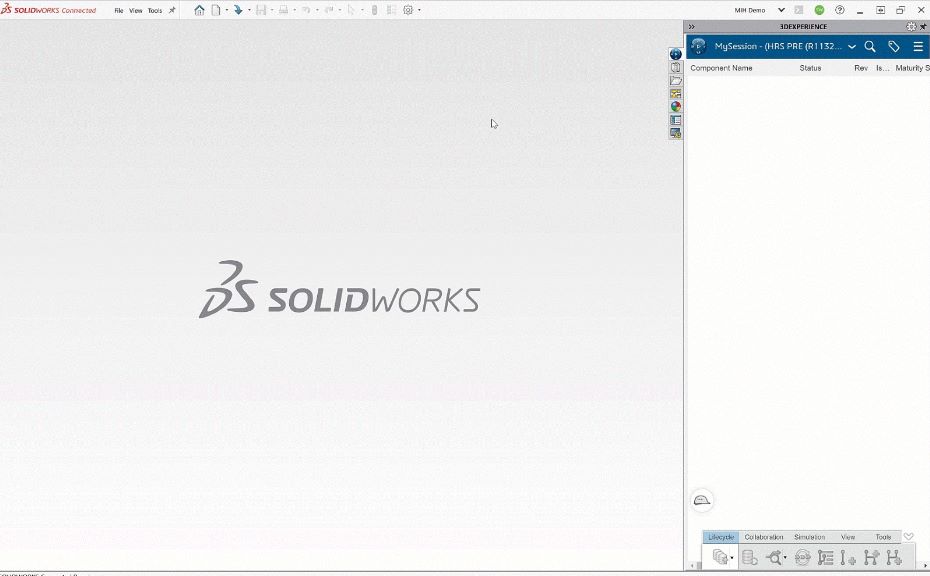
With 3DEXPERIENCE SOLIDWORKS now launched, you can create a new part. When the new part is open, the Task Manager on the right will have a 3DEXPERIENCE TAB. This Tab lets you monitor the file’s cloud save status and whether it’s currently checked out or locked from other users.
We hope you were able to activate 3DEXPERIENCE and start realizing the many benefits of the software.
Need help or want more information on the 3DEXPERIENCE Platform? Check out our YouTube channel or contact us at Hawk Ridge Systems today. Thanks for reading!
