Do you need to improve image quality, sharpen your graphics, or achieve faster speed in SOLIDWORKS? Have you ever had a SOLIDWORKS file that seemed to lag when you zoom or rotate? Have you ever noticed your edges looking too coarse?
This setting is for you!
The setting I’m referring to is the SOLIDWORKS Image Quality setting. This lives in Settings> Document Properties> Image Quality.
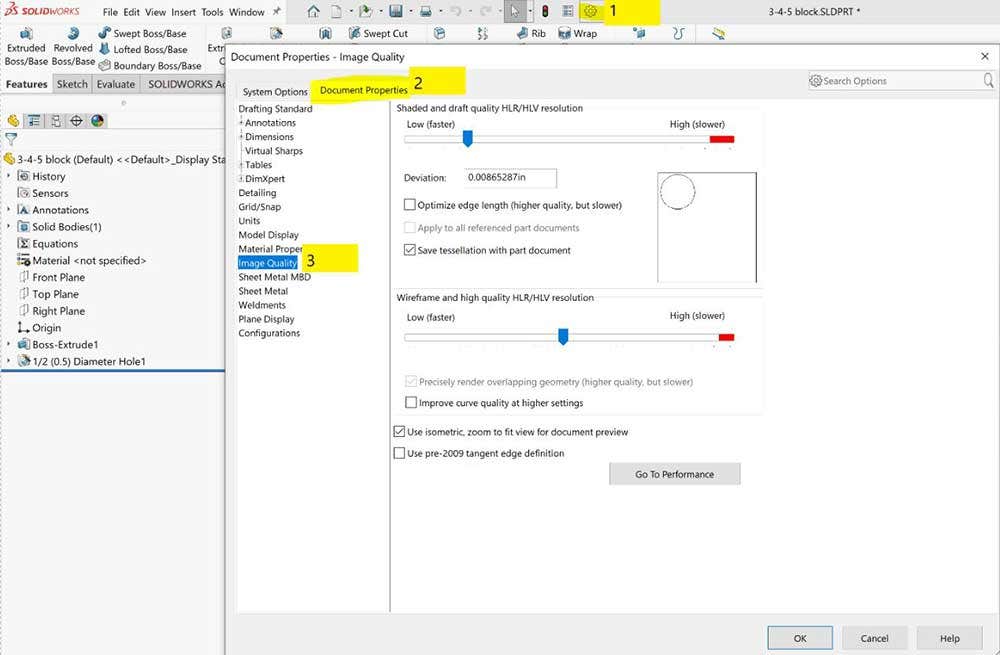
The image quality window has two slider bars. The top slider bar controls the display styles shaded and shaded with edges. The bottom slider controls the image quality for wireframe, hidden lines removed and hidden lines visible.
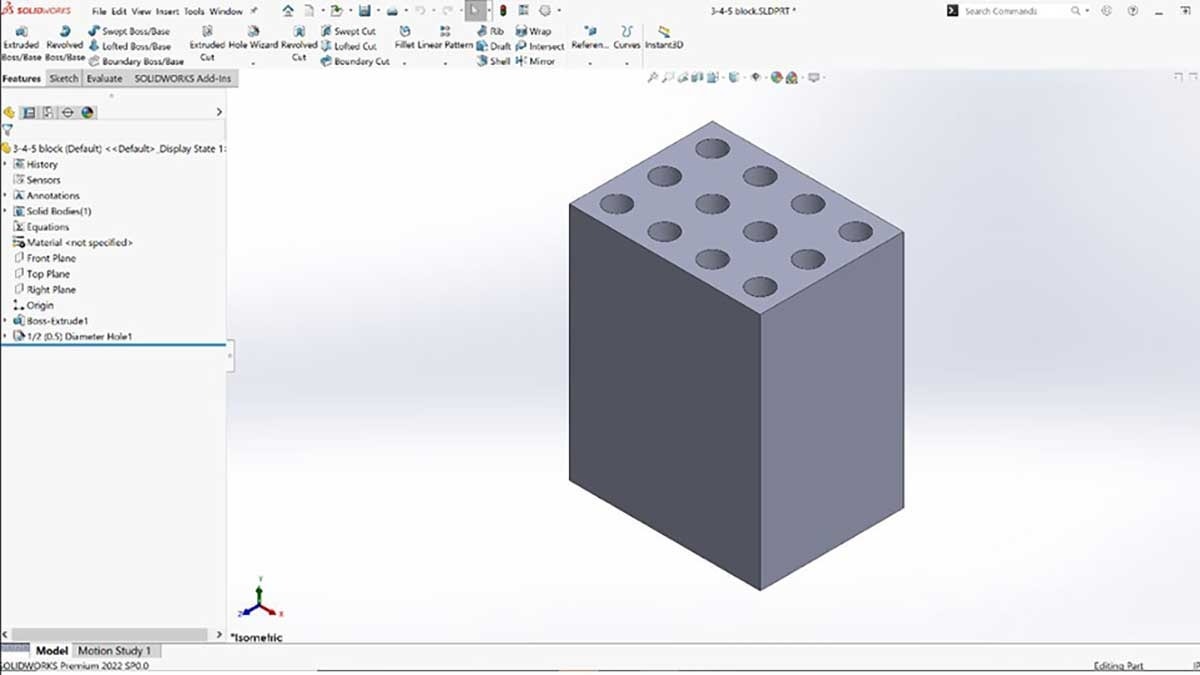
In the example below, you can see what some of the different positions look like on a model with holes in it. Keep in mind that the holes are circular but, depending on the position of the slider bar, they may be rendered with fewer or more edges.
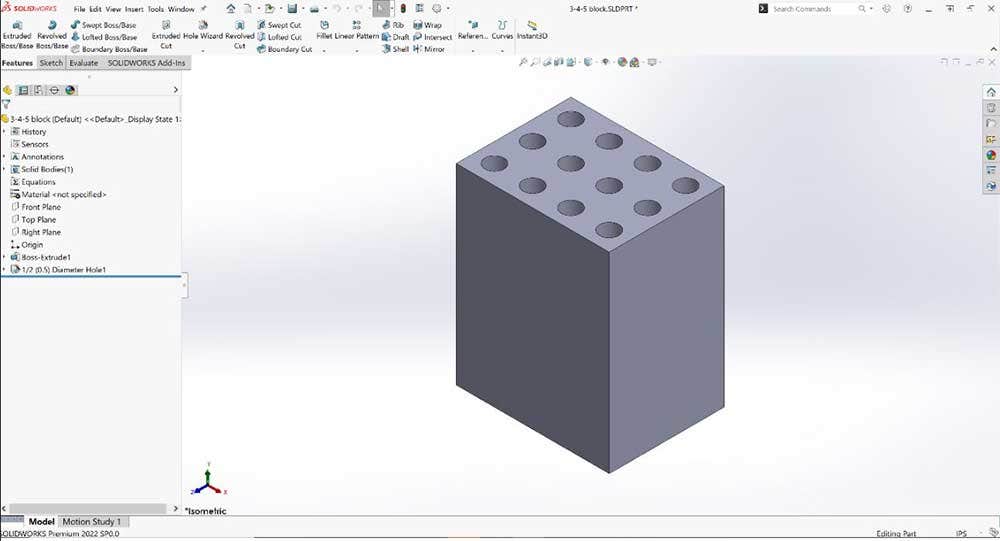
For an example, I’ll start with my preferred setting, having my slider about 1/3 from the left-hand side. This gives me reasonable graphics without harming performance for most of my work.

At this graphics level, zoomed out these appear as circles, however once you zoom in, you can see some of the edges that get rendered. If you need to zoom in a lot for a screenshot and want a higher resolution, stand by for the finer setting.
Next, I’ll show what the farthest to the left looks like (I wouldn’t recommend it).
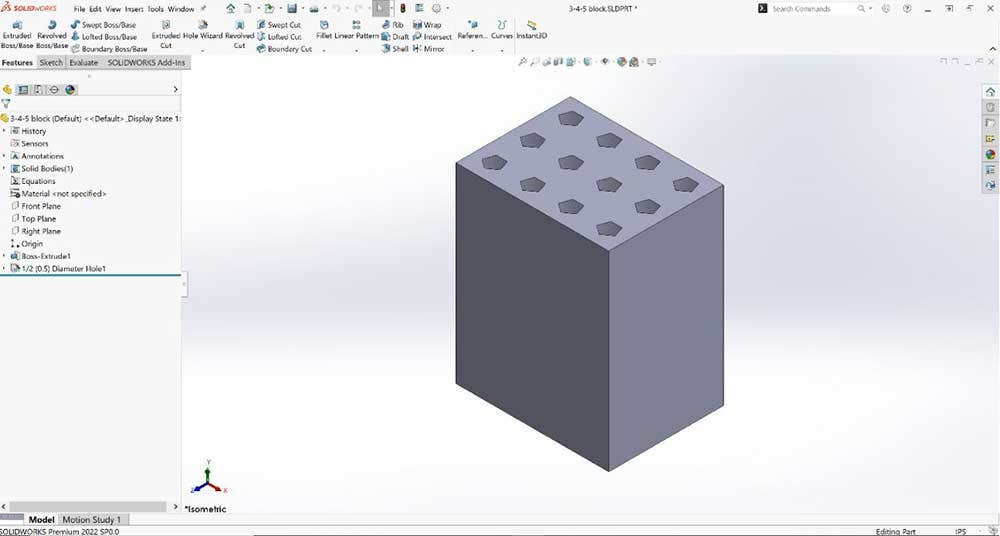
My circles are now rendered as pentagons, probably not what we are looking for. Essentially, this is where the software starts and as you go to the right it adds more sides to your circles (in graphics only of course).
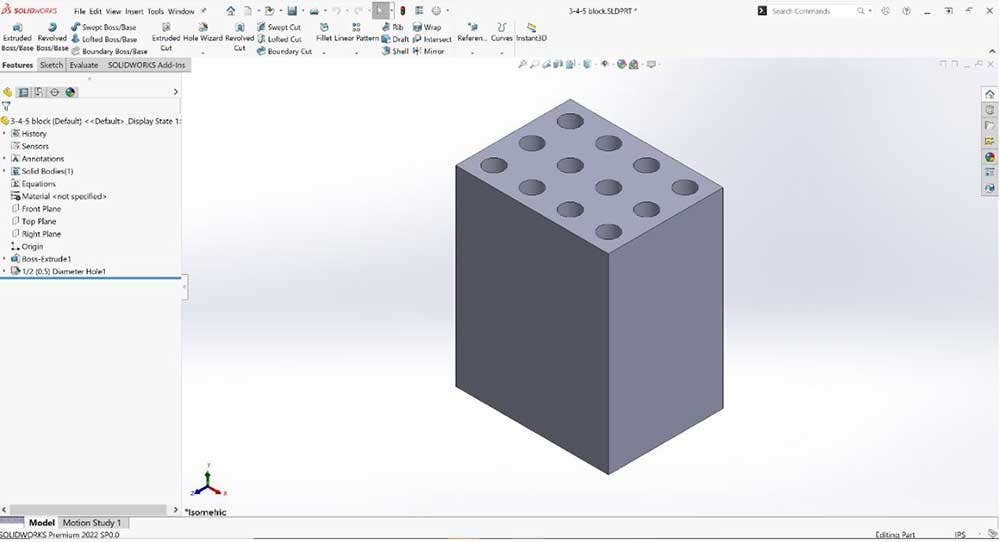
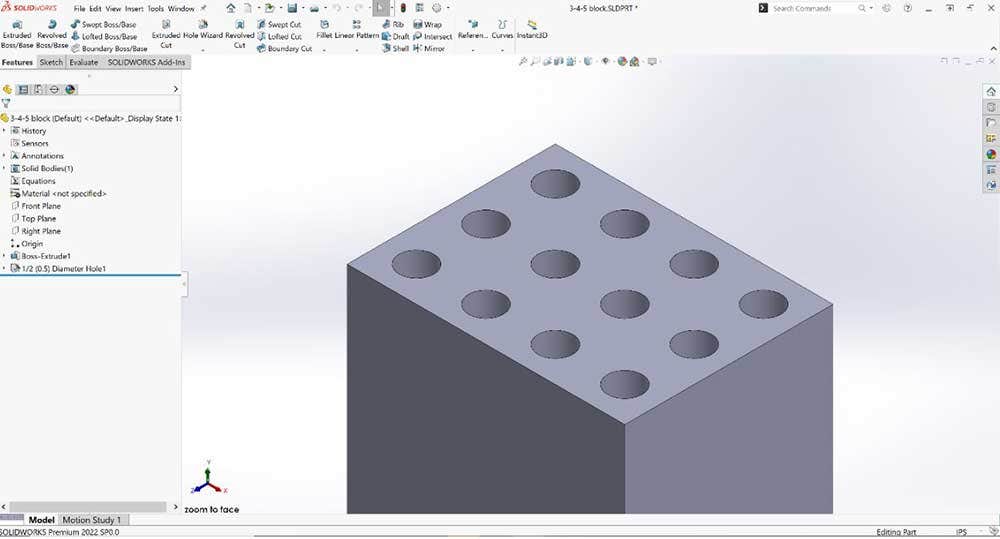
Finally, I’ll show what I might try for a nice screenshot, over on the right of the slider. One quick note first though, if you go all the way into the red there is a warning that your performance will slow. Outside of the red over on the right will be slower than over on the left, but it shouldn’t be very noticeable for simpler models.

I usually avoid going all the way to the right on the slider and might pick just next to the red.

This gives me some nice circles zoomed out or zoomed in.
Eventually if you zoom in enough, you can see some edges. If you need to go this far for a nice circular hole, SOLIDWORKS Visualize may be what you need!
For most day-to-day work, I recommend having the slider bar around the left third. If you need a sharper screenshot, bump up the image quality to the right, take your screenshot, then drop the slider back down.
Thanks for reading! As always, feel free to contact us at Hawk Ridge Systems with any questions about your SOLIDWORKS software.