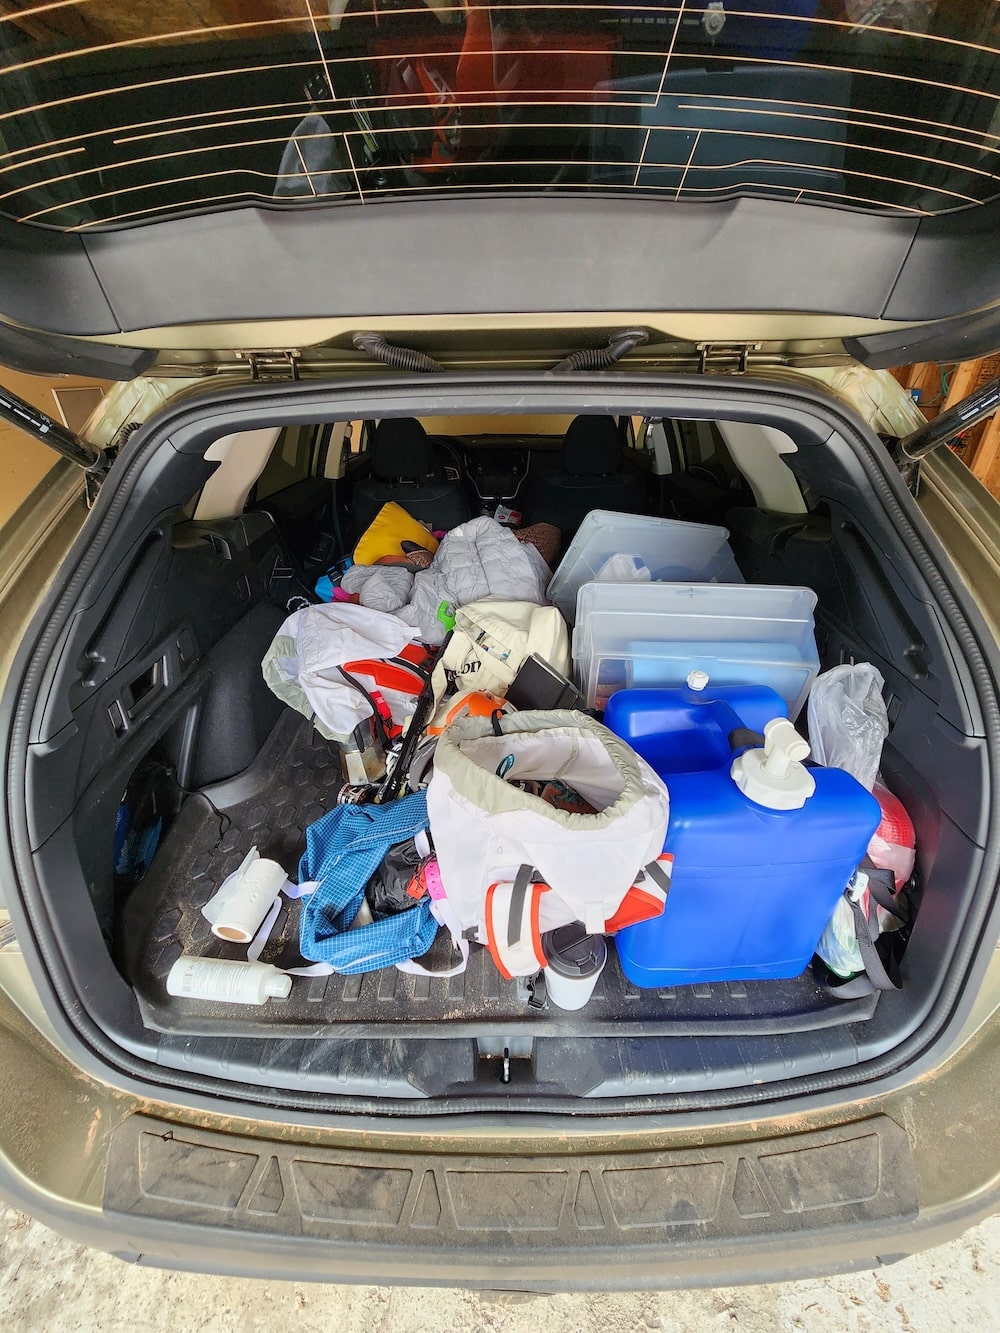
Road trips can be messy. Below is an example of what my car can look like during a road trip. Between camping equipment, climbing gear, and food, things can get real disorganized real fast. I wanted a way to hold a pack of wipes on the rear quarter window (it’s on the driver’s side, so I don’t look through it at all when I’m driving anyway) for cleaning off my hands without having to use up my limited water supply.
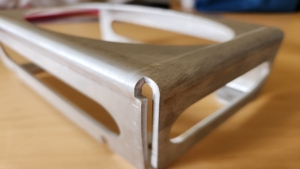
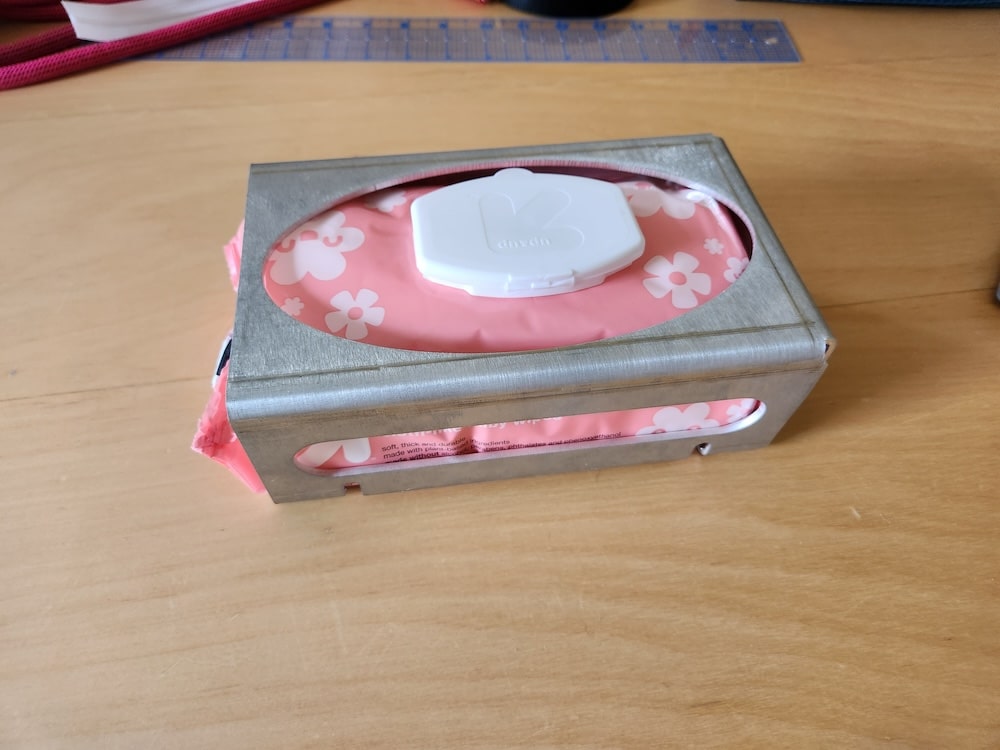
In this blog, I document a small organizer I made to hold a pack of wet wipes in my car. I used SOLIDWORKS to design the part, then an online manufacturing service to cut out my flat pattern and bend it for me.
Note: This blog assumes some previous knowledge of sheet metal and is primarily written to highlight a convenient workflow for a home hobbyist. For a more introductory look at sheet metal, read our SOLIDWORKS Sheet Metal for Beginners Guide.
Designing The Holder
To start, I measured the dimensions of the wipes and represented that in my part as a rectangular block.
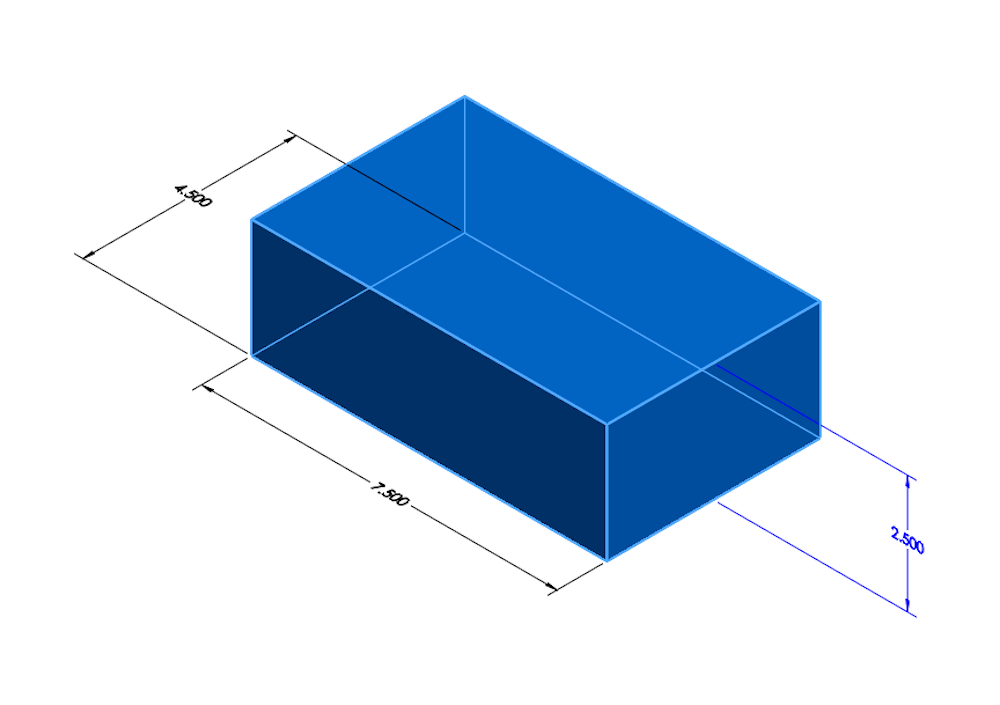
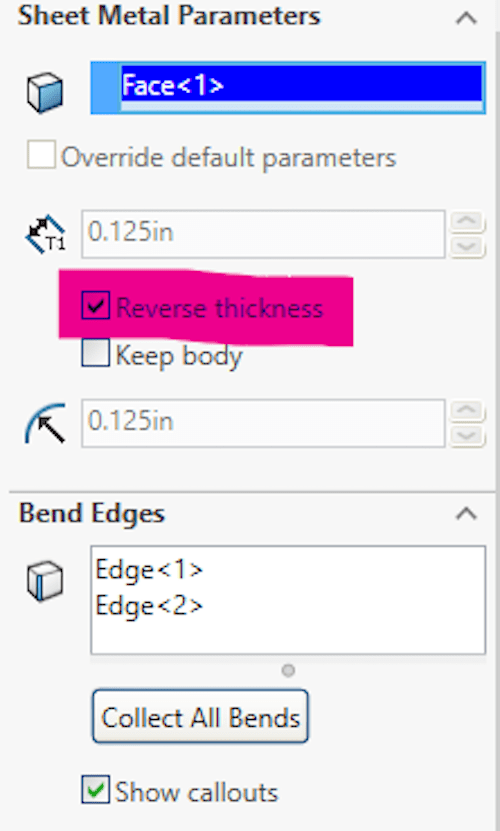
I made these dimensions slightly undersized compared to the wipes, so it will squeeze them a little and stop them from moving around too much. I then used the convert to sheet metal tool to add 3 walls around the block. I made sure to check the box to reverse the direction of the walls so they would be added to the outside of the block, not the inside. The check box pictured below means the previous dimensions will be the interior measurements and not the exterior.
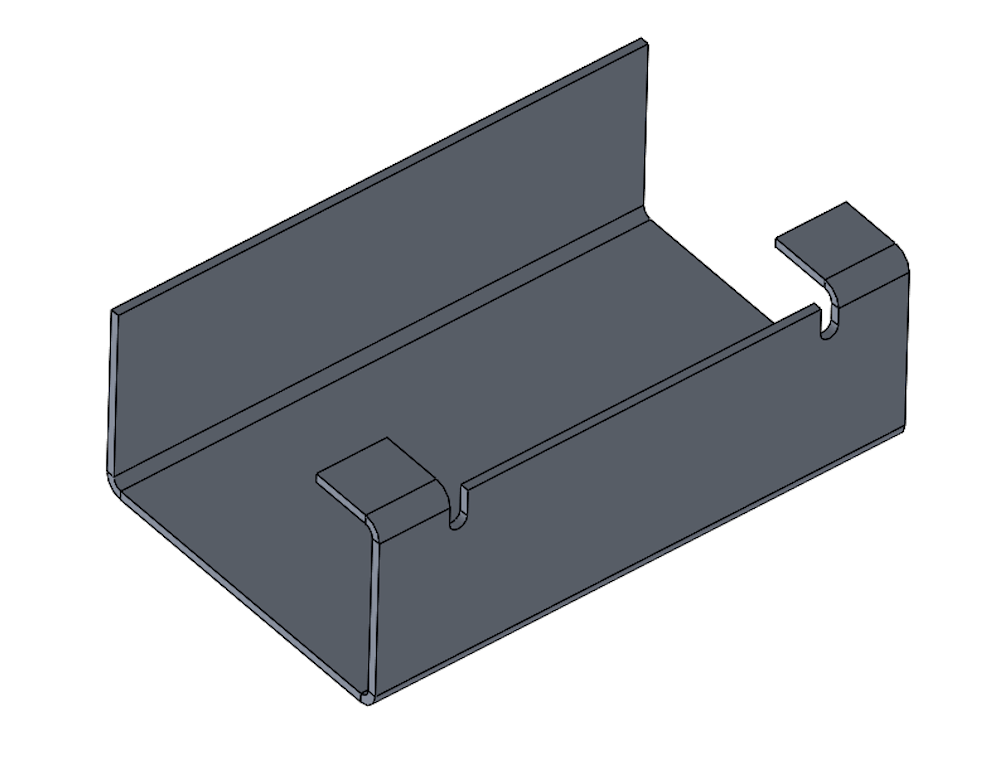
Then I added two edge flanges for my mounting feet. I edited the flange profiles so they don’t run across the entire width of the edge which is the default behavior.
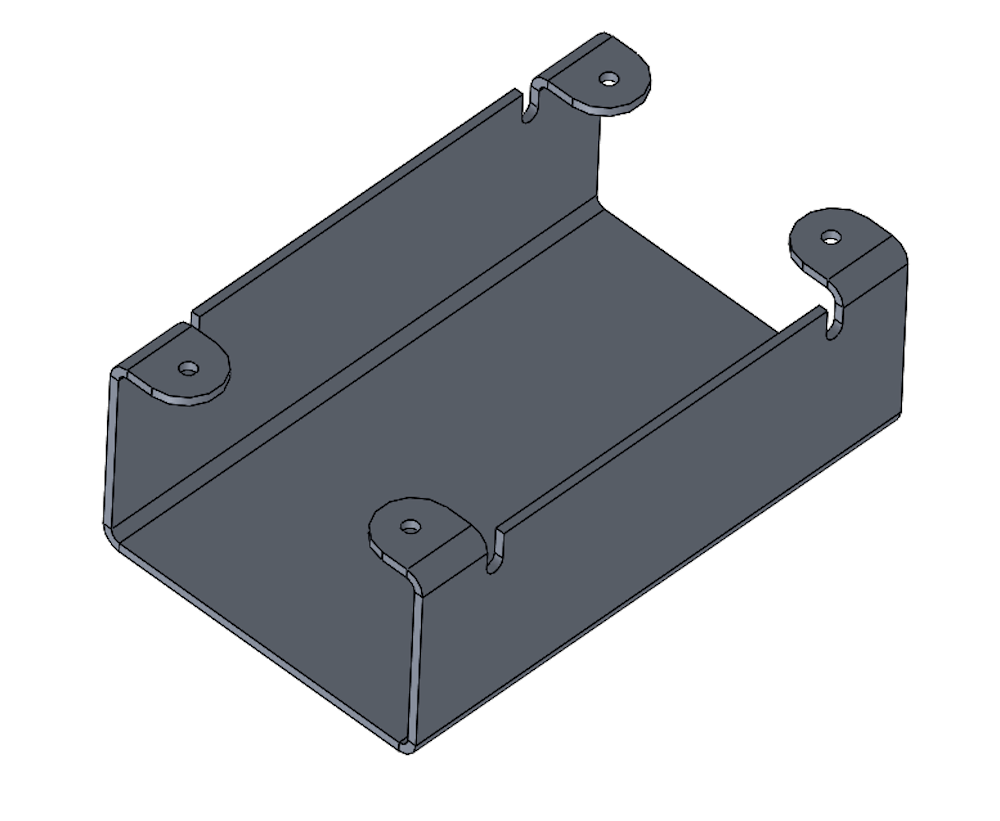
I added some mounting holes with hole wizard rounded them off with a fillet, and mirrored them to the other side.
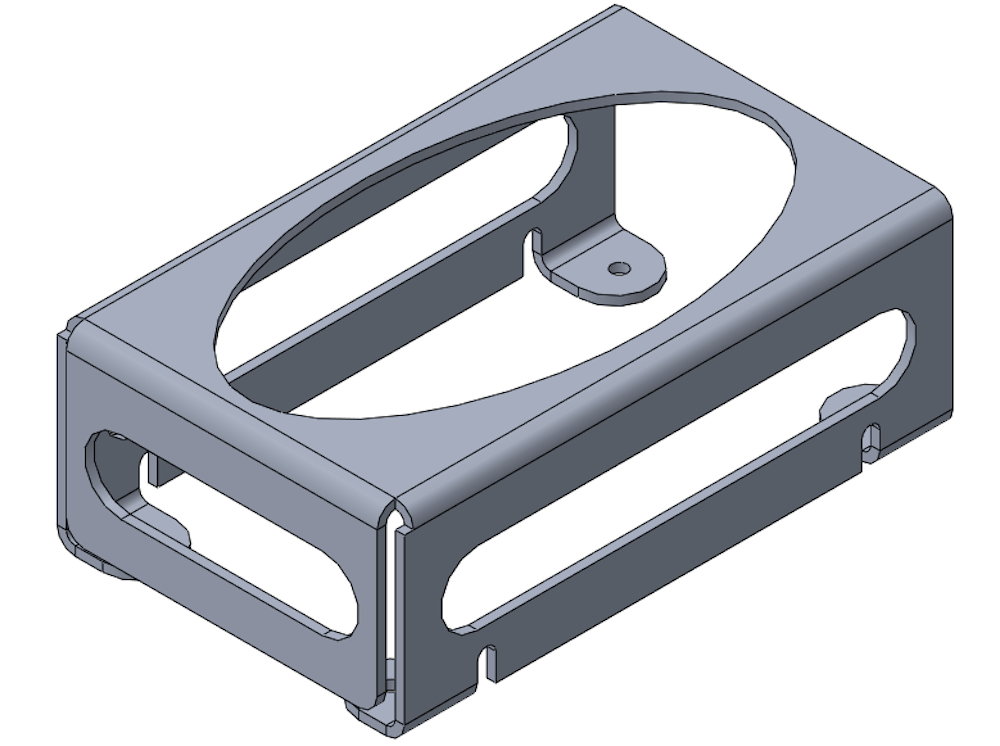
The design was wrapped up with another edge flange (one side was left open to put the wipes in from), and some cutouts to lighten the part as well as open the container. For the manufacturer I used, these cuts actually increased the cost slightly (the cost of the material is low relative to the cost of three extra cuts). However, I left them in to make it a little lighter and easier to put the wipes in and out.
Manufacturing the Holder
Before I could generate my DXF file with the flat pattern, I needed to make sure I had the right sheet metal settings. I went to my manufacturer’s website and looked up their bend parameters for 1/8” 5052 Aluminum. I found a K-Factor of 0.44 so I put that in my part’s settings, as well as a relief ratio of 2. These parameters are important to make sure the flat pattern is properly sized. Ask your fabricator for these values if you’re not sure.
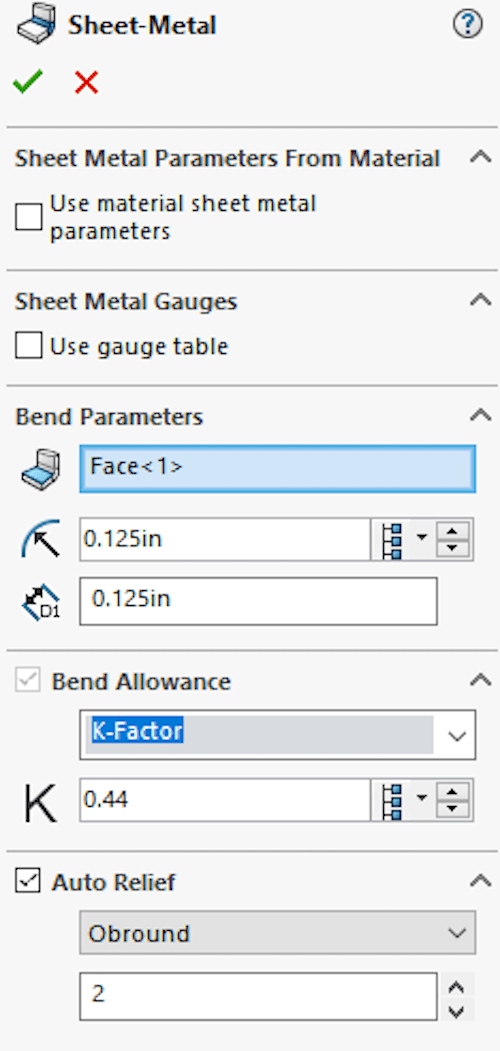
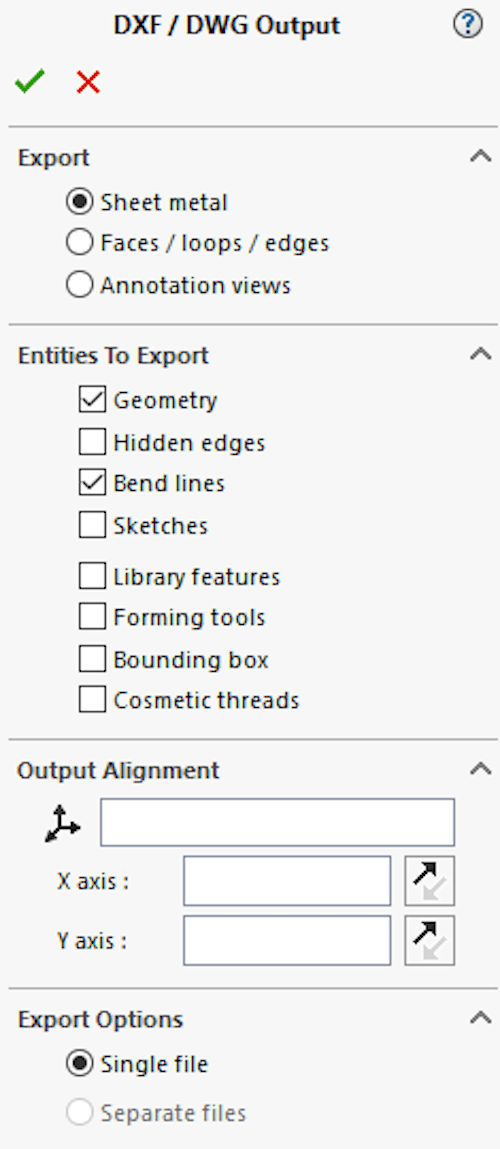
After I had put in my sheet metal parameters (thickness, bend radius, K-factor, and relief ratio), I exported the flat pattern to a DXF, making sure to include the bend lines as well. Then I uploaded the file and ordered the part.
SOLIDWORKS Sheet Metal for Hobby Projects
After submitting the DXF file to the manufacturer, I received the completed parts in the mail. The next pictures show the completed part along with some of the relief cuts that were automatically created in the SOLIDWORKS model.
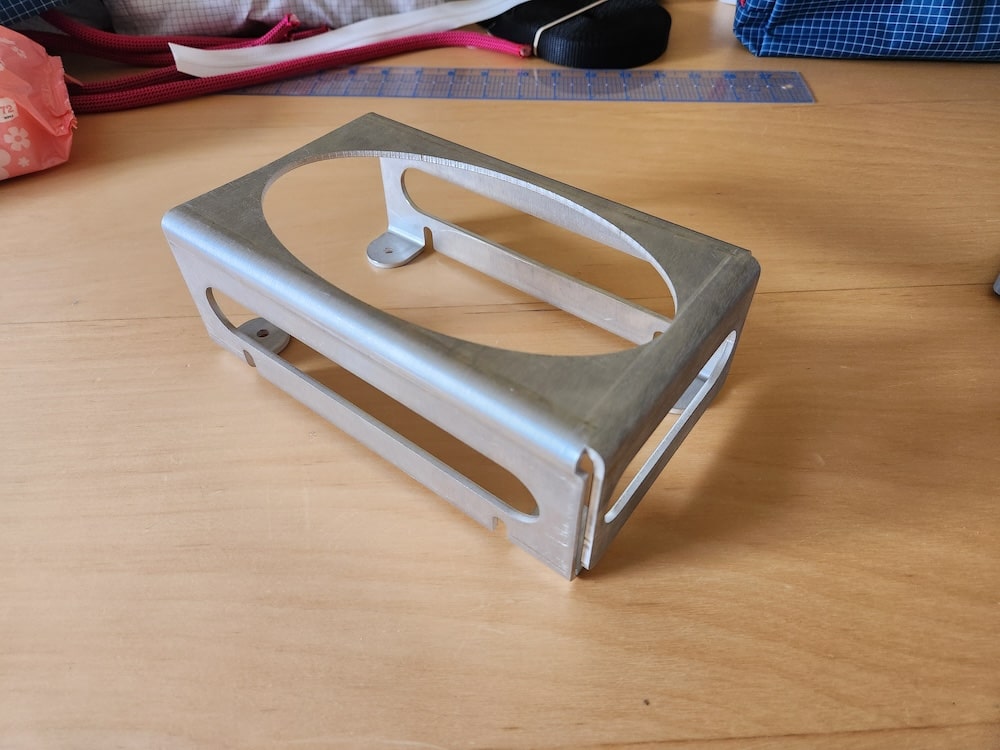
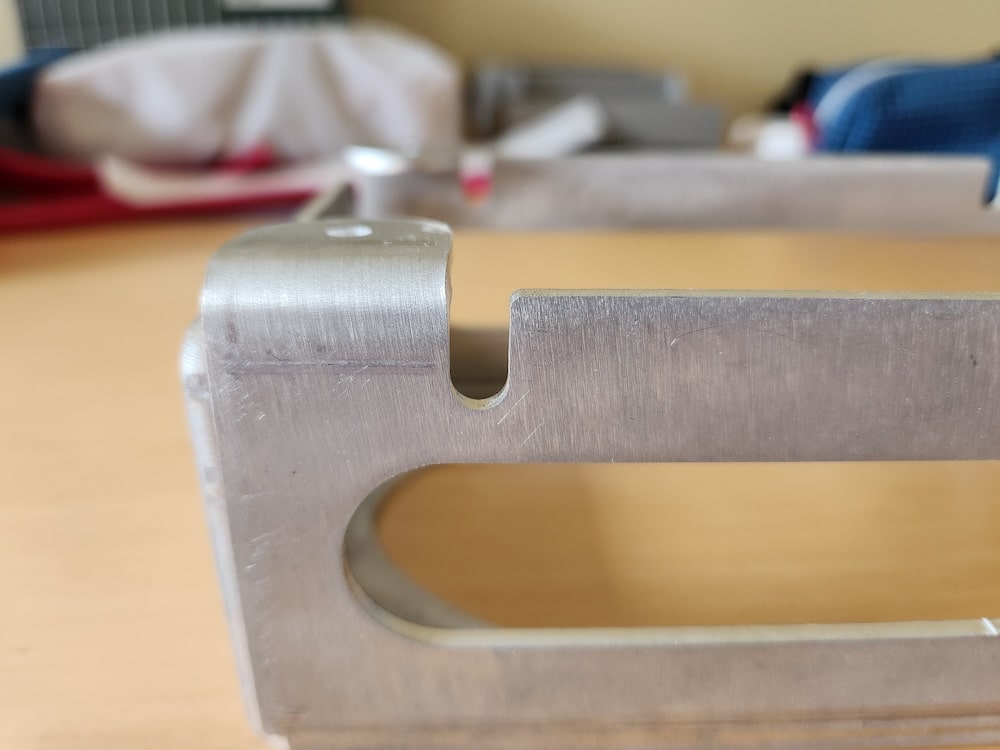
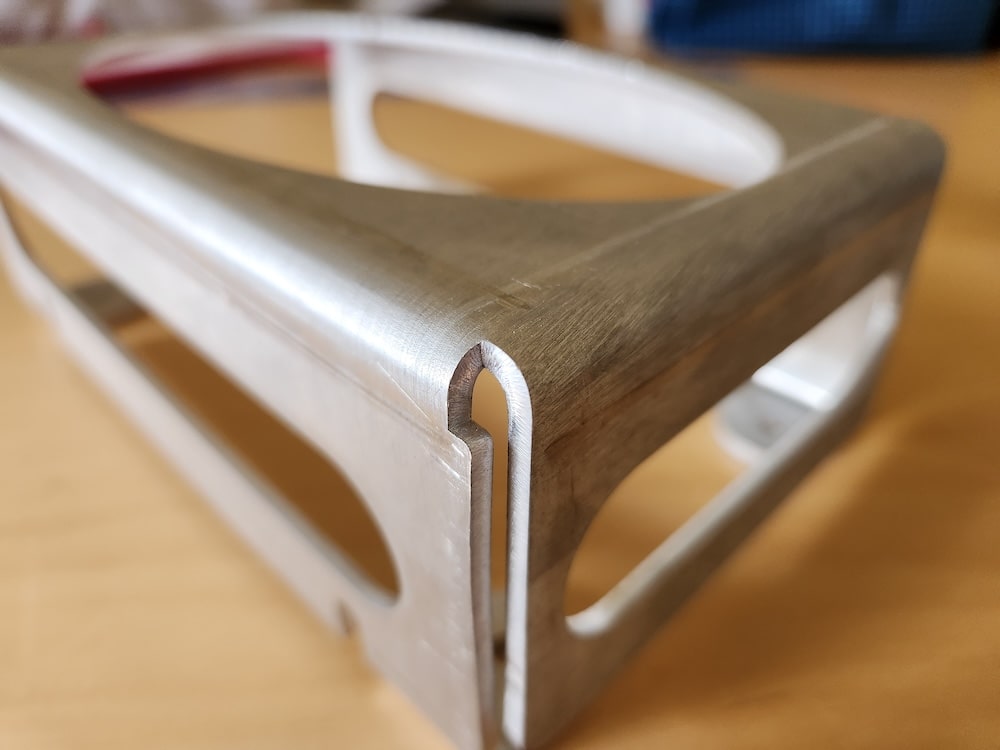
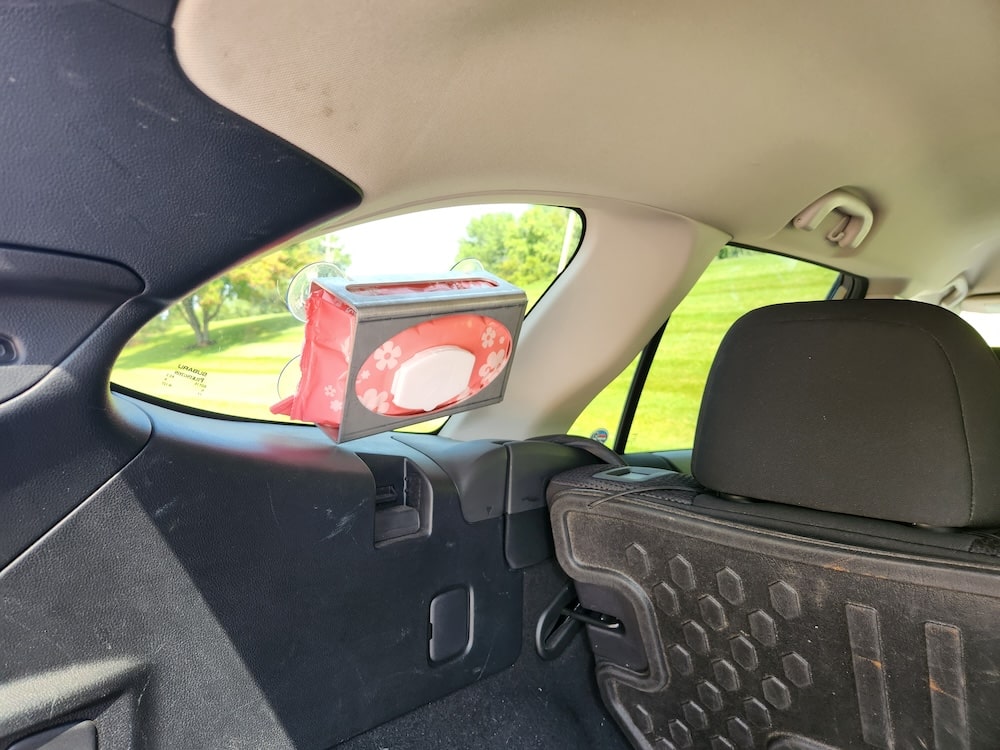
This part is a great demonstration of how easy and convenient SOLIDWORKS sheet metal can be to use, even in a home hobby role without access to expensive bending and forming tools.
Have questions or want to learn more? Get in touch with Hawk Ridge Systems.
