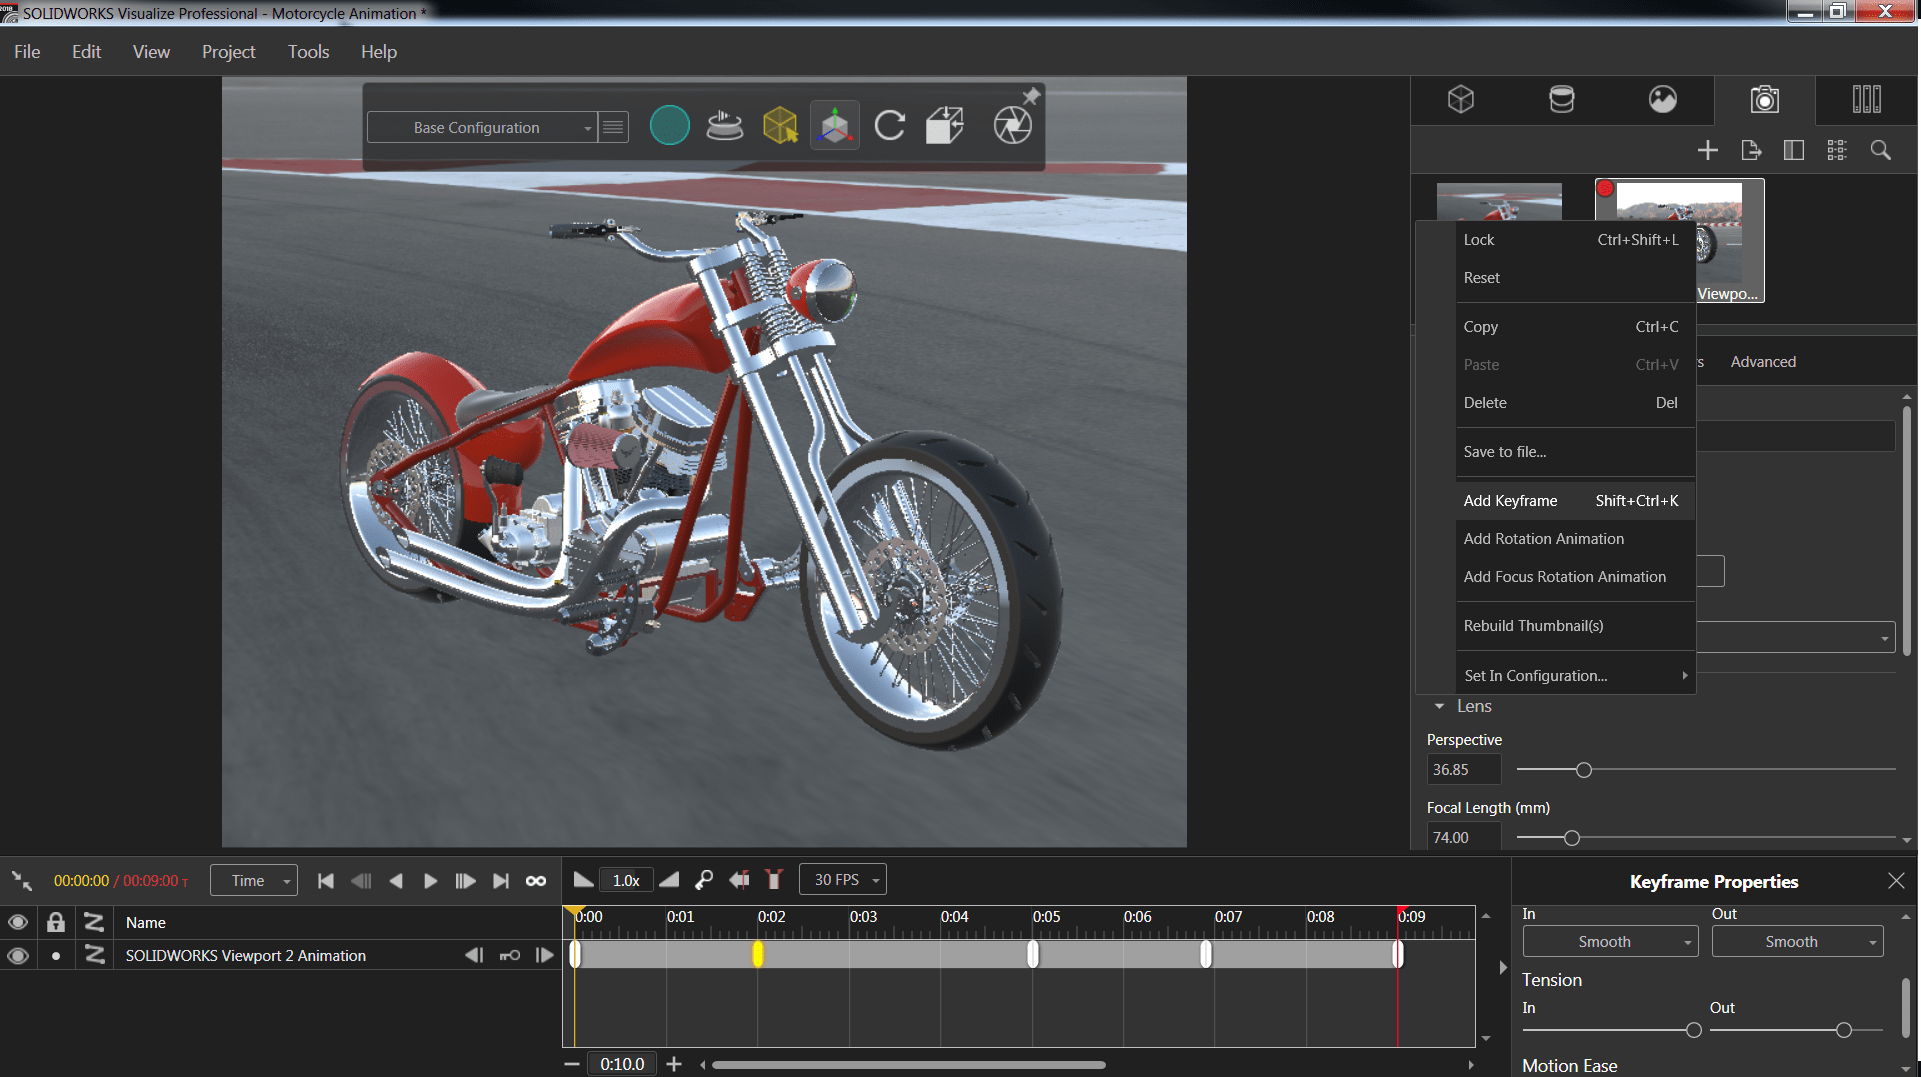
Occasionally when creating renderings it is helpful to combine a visual animation with your stationary rendering. In SOLIDWORKS Visualize we will use the flyover view to help emphasis certain areas of our part. Once the model has been loaded and appearance have been applied, simply open the cameras tab and create a copy of the view you are currently in. Once the copy has been made right click on the new view inside of the camera pane and click Add KeyFrame.
Once the Key Frame has been added open your project timeline by choosing the view drop down menu and activing the timeline. In here individual key frames can be added by simply dragging the yellow key to a new timestamp and rotating the model to the desired view. Place all required key steps into the timeline and push play to see a preview of the animation.
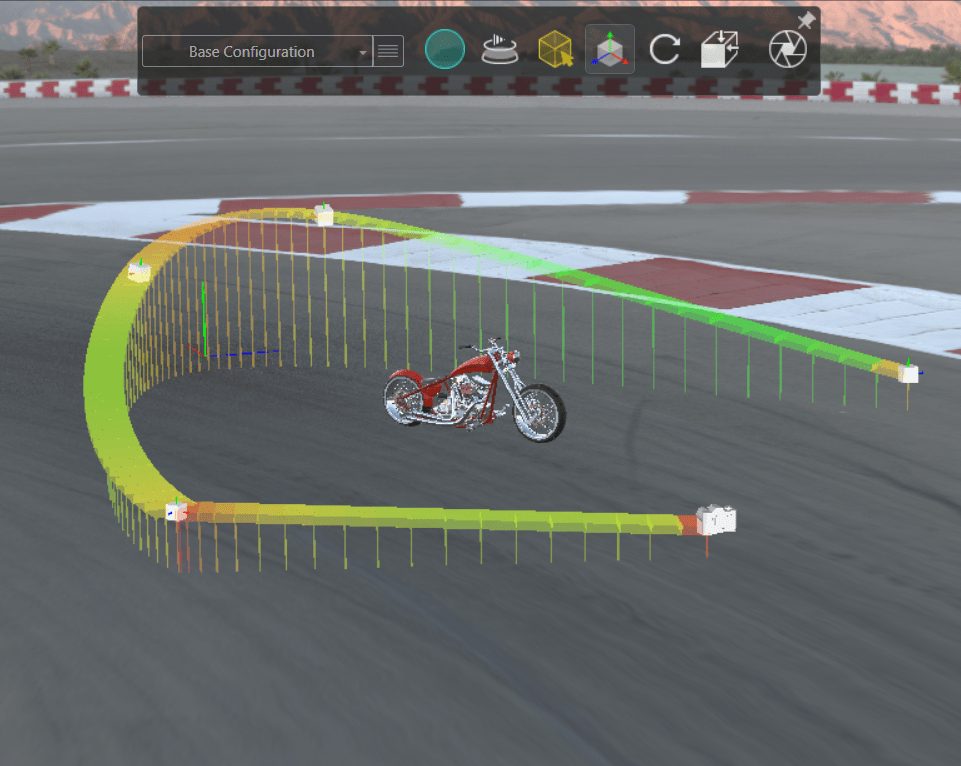
If any key step needs to be modified simply select on the key step in the timeline and reposition the view. If more control is desired one can switch to the original view to activate the animation ribbon. The ribbon gives the ability to modify the speed and position for any key step.
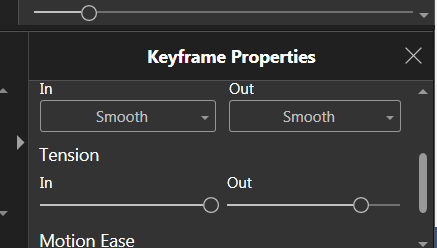
To modify a key step select on the key and modify the tension in or out from the keyframe properties in lower corner of the viewport.
Once the desired animation has been created, an export view can be created by going to the output menu and selected animation options. In here the desired name, folder and output format can be chosen.
Now you have the ability to send an animated video of your designed product. For more information, request a SOLIDWORKS Visualize quote or contact us at Hawk Ridge Systems today. Thanks for reading!

