
Looking for information on how to save and embed files with SOLIDWORKS Routing System Options? Look no further. We’ve put together a short walk-through of how to use these handy save and embed features, which will ultimately help your CAD and BOM workflows in SOLIDWORKS go more smoothly.
Use System Options in SOLIDWORKS to configure your save settings for Route Assemblies to match your CAD workflow to your company’s BOM options. We’ll walk you through the different configurations in this article, but you can also schedule custom training with Hawk Ridge Systems tailored to your specific use cases. Check out the SOLIDWORKS training options with live instructors.
Configuring System Options in The Routing Dialog
If you examine the System Options > Routing dialog, you’ll see a ton of options. We’ll focus on the most important ones for now and go into detail on what each one does and why you should use them:
- Save route assembly externally
- Save route parts externally
- Use automatic naming for route parts
Virtual Components: When You *Don’t* Select All Three Options
When all three options are cleared (not selected), route assemblies are saved as Virtual Components.
Routing makes use of “Top-Down Design”, where the dimensions of the routing assembly are defined by the parameters of the upper-level assembly. There are two methods of saving top-down design files in SOLIDWORKS – you can save them in a Windows folder like any other component, or you can save them directly into the file of the upper-level assembly, making them “virtual”. SOLIDWORKS treats Virtual Components like any other component/subassembly, but the virtual file location is simply within the assembly file.
Pro tip: Keep in mind that to create a SOLIDWORKS drawing from the subassembly, it must first be saved externally.
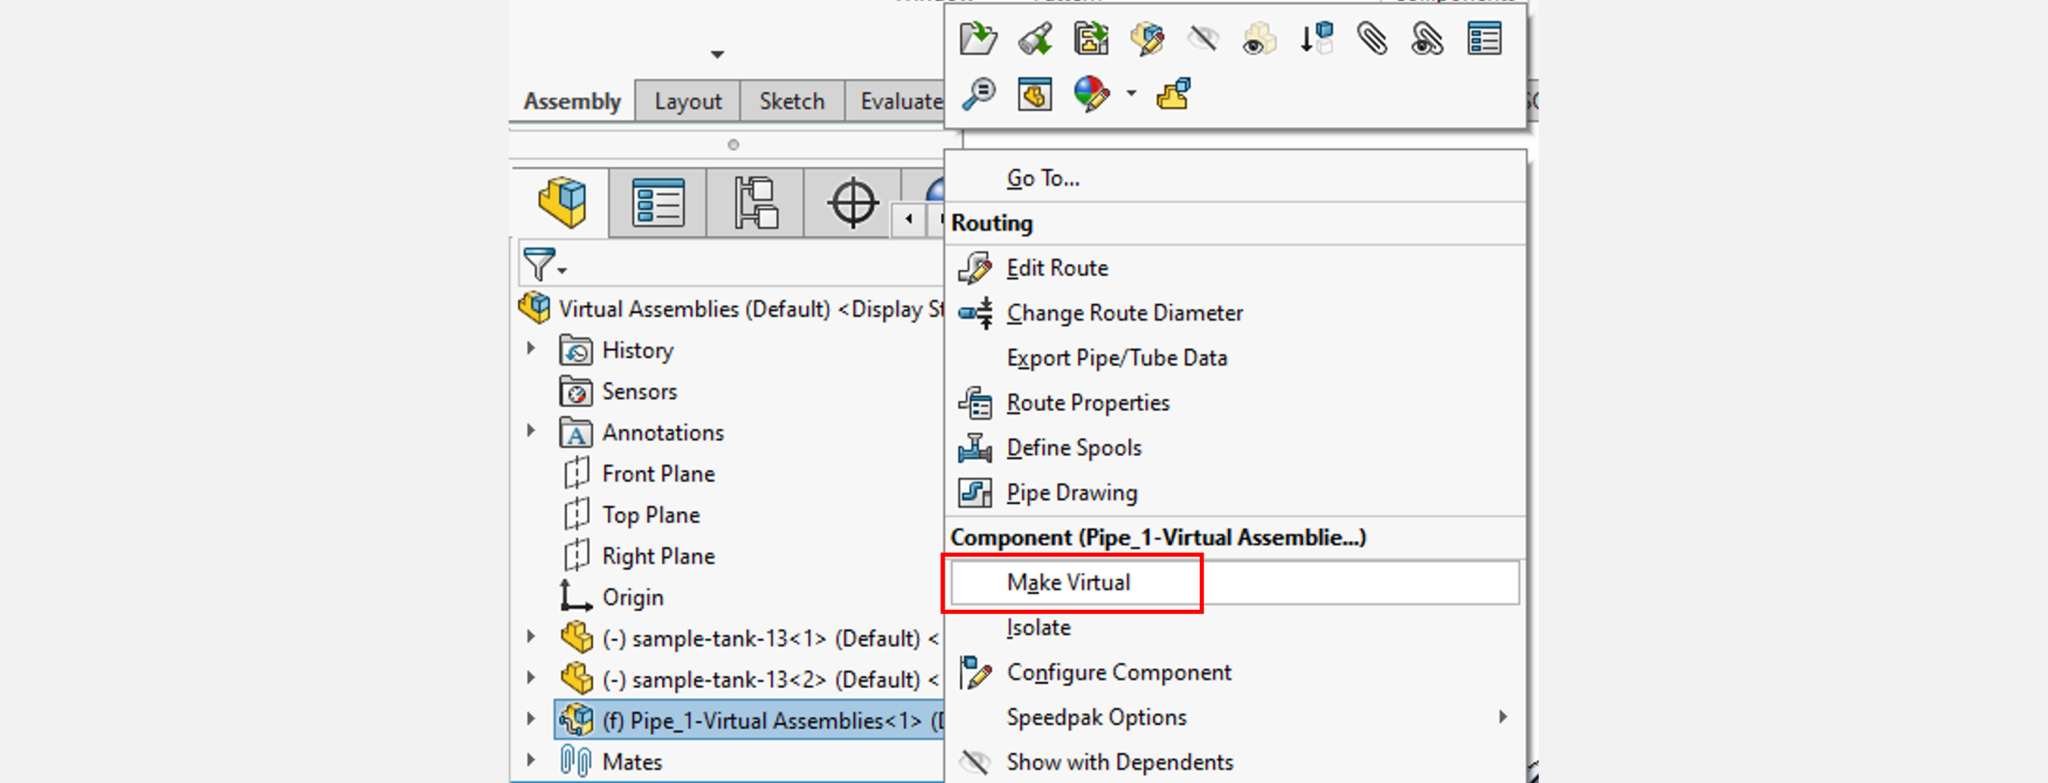
You can try it yourself – take any component in an assembly, routing or not, right-click, and select “Make Virtual”. You’ll see brackets appear around the component name in the feature manager. This means that the component is now saved directly in the file – any changes made to it will not affect the original copy of the file that lives in the Windows folder.
The Save Route Assembly Externally Option in SOLIDWORKS
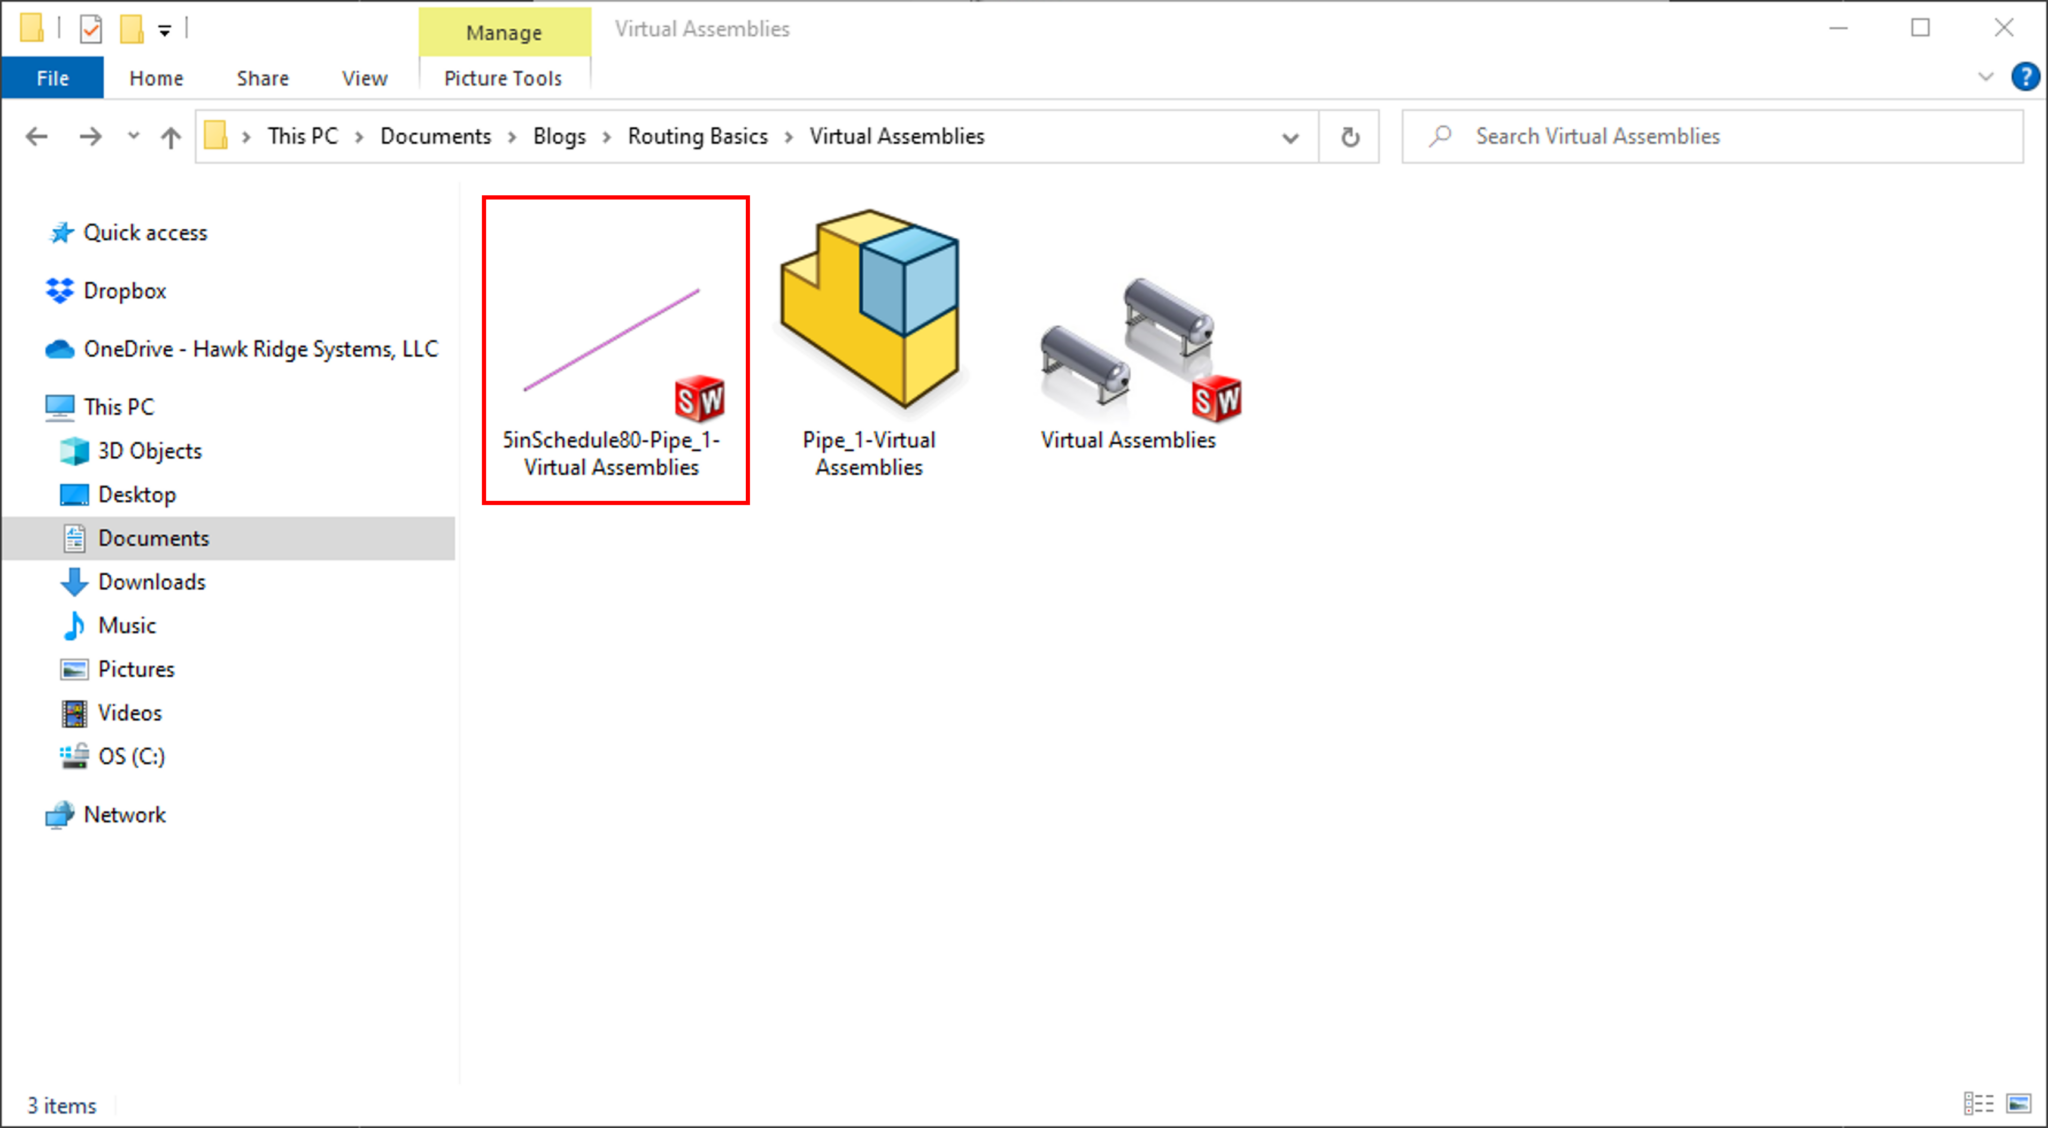
When the “Save Route Assembly Externally” option is enabled, it saves the assembly just like any other document, in a Windows folder.
A “File Names” section appears in the Route PropertyManager when a route is started. This gives you the opportunity to customize the name and location of the file, as well as select the Routing template the assembly will use. The default location is set to match the folder of the upper-level assembly.

Using the Save Route Parts Externally Option in SOLIDWORKS
Like the previous option for saving assemblies, “Save Route Parts Externally” will save the components grouped in the “Route Parts” folder into the same Windows folder as the route assembly.

This option is only available when “Save Route Assembly Externally” is checked. What’s unique about this option is that it does not affect the original Design Library file.
To be clear, this is true whether the Route Part is saved virtually or externally. The Design Library part is copied, and a custom configuration is generated by the length specified in the route.
This differs from how other Design Library components are treated. Those grouped in the “Components” folder, for example, since no changes are made to those components.
They are not copied but rather linked, and they are not saved externally when this option is checked because they are already external references.
Use Automatic Naming for Route Parts in SOLIDWORKS
Lastly, as the name implies, the option “Use Automatic Naming for Route Parts” will name the externally saved files according to the convention used when the route is generated. For example: (Configuration Name)-(Route Assembly Name)-(Top Level Assembly Name).
If this option is cleared (or not selected), you’ll have the chance to name it yourself.

Further Information on Configuring System Options in The Routing Dialog in SOLIDWORKS
Hopefully, now you have a good understanding of the different System Options in the Routing Dialog for saving and embedding files. Want to learn more? Contact us. Or try a self-guided tutorial of SOLIDWORKS Routing System Options over at SolidProfessor.com.


