When working with weldments, some features are done after the project has been welded together. When making drawings in SOLIDWORKS, if you want to make sure these aren’t put in before welding, you can control that with configurations.
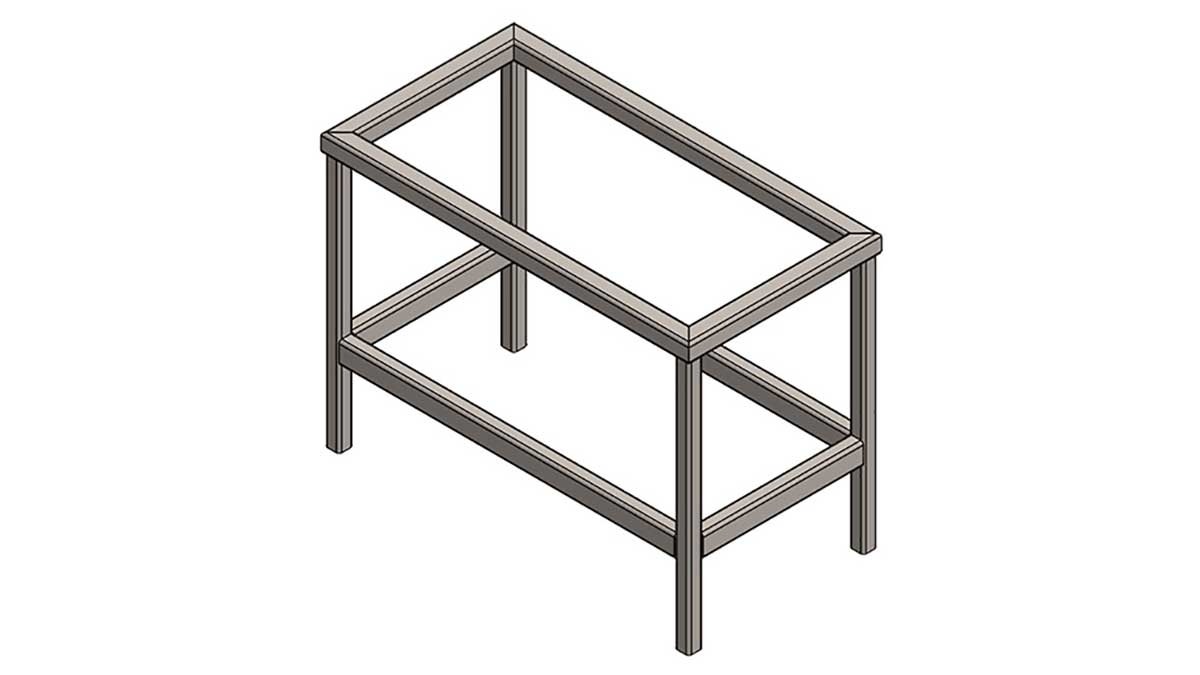
I have a work table that I’ve already designed, and I need to add holes to the top of the frame to mount the tabletop. I know that I’m going to put these holes in after the frame has been welded together to account for any tolerance stack up or machining warpage.
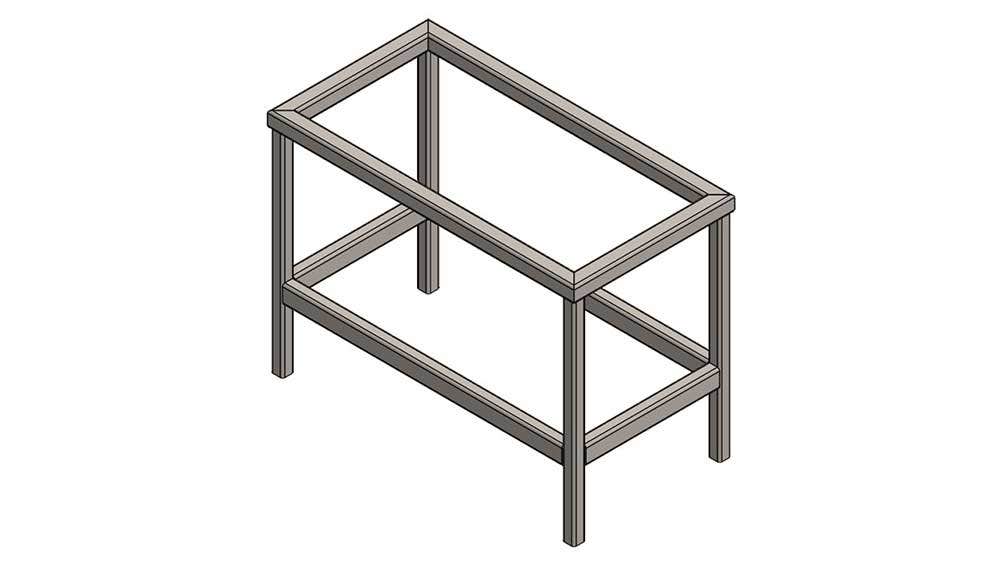
Work Table Frame
First, I’m going to switch over to the Configurations Manager. Here, I can see that when I created my weldment, SOLIDWORKS created a configuration called As Machined and a derived configuration under that called As Welded. Configurations are different versions of the weldment where features can be changed or suppressed (unloaded from memory). The active configuration is in bold and inactives are grayed out. You can switch the active configuration by double-clicking on it. These will be important when I add the holes.
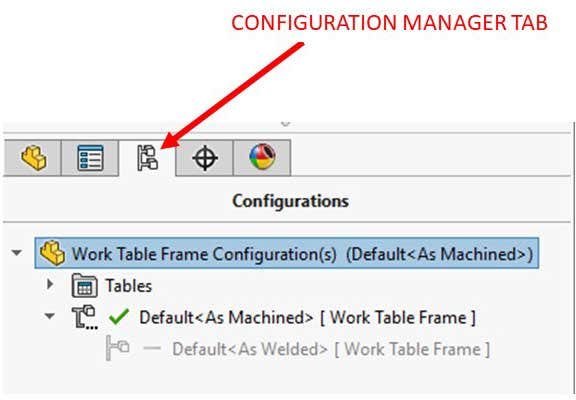
The Configuration Manager
Switching back to the Feature Manager Tree, I can see up at the top that I’m in the As Machined configuration because it’s listed after the part name. I created a sketch for the hole pattern and I’ll use it to put some ½-20 tapped holes in the top of the frame with the Hole Wizard.

Added holes to frame.
Switching back to the Configuration Manager, I’ll toggle between the two configurations. Since the As Welded one is derived, any change made in the top configuration will be shown in this one by default. However, if I make a change in the derived configuration, it won’t be shown in the top one automatically.
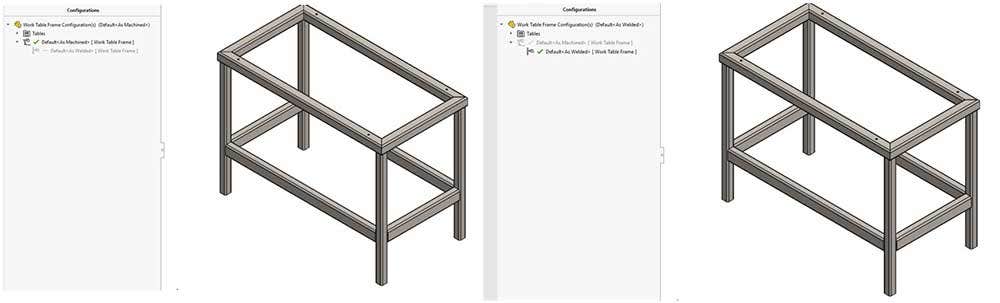
Holes shown in both configurations.
I’ll switch back to the Feature Manager Tree again, right-click on the holes I just added and select Configure Feature.
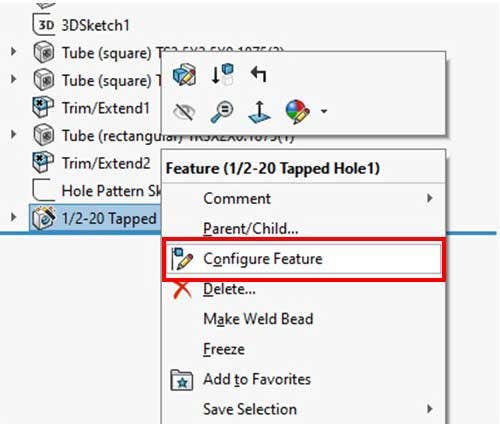
Configure Feature command.
This brings up a table with a column that allows me to suppress the feature for certain configurations. I’ll check it on for the As Welded configuration.
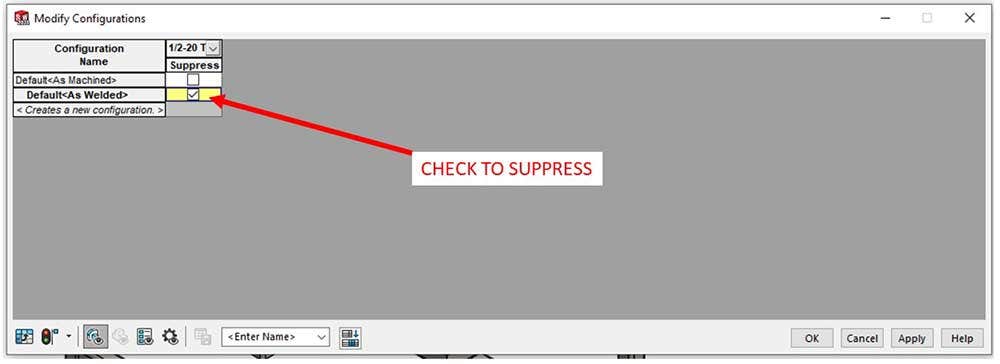
Modify Configurations dialog.
Now when I switch between the two, I can see that the holes are only in the As Machined configuration.
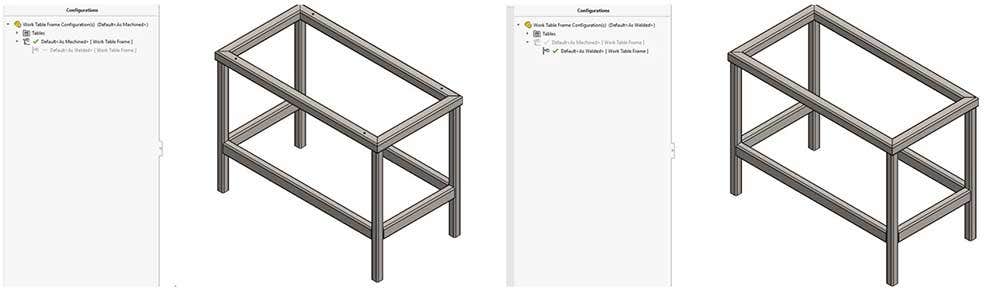
Holes in the As Machined configuration.
Now that this is done, I’ll create a drawing. I can toggle between configurations in the Property Manager for the view to show the holes in one sheet and no holes in another sheet.
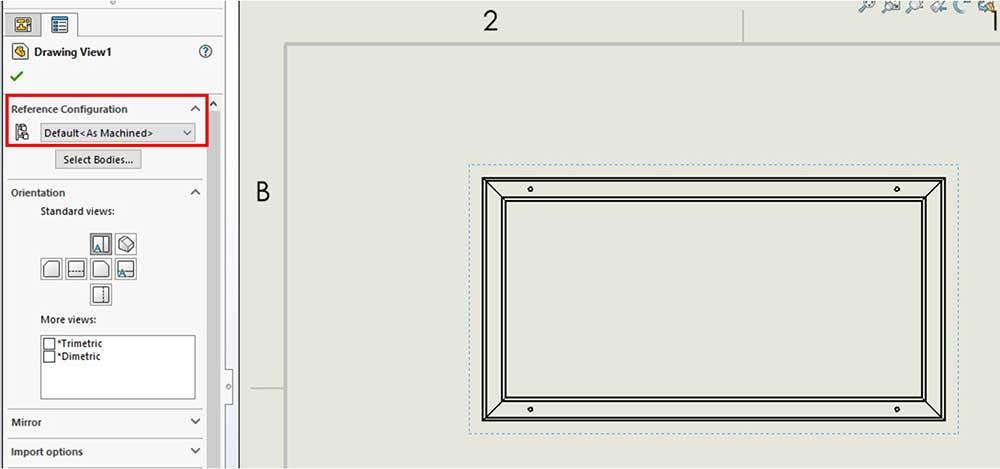
Option to switch configurations.
Hopefully, this blog showed you how to take advantage of configurations in weldments with SOLIDWORKS. If you have any questions or want to learn more, contact us at Hawk Ridge Systems. Thanks for reading!


