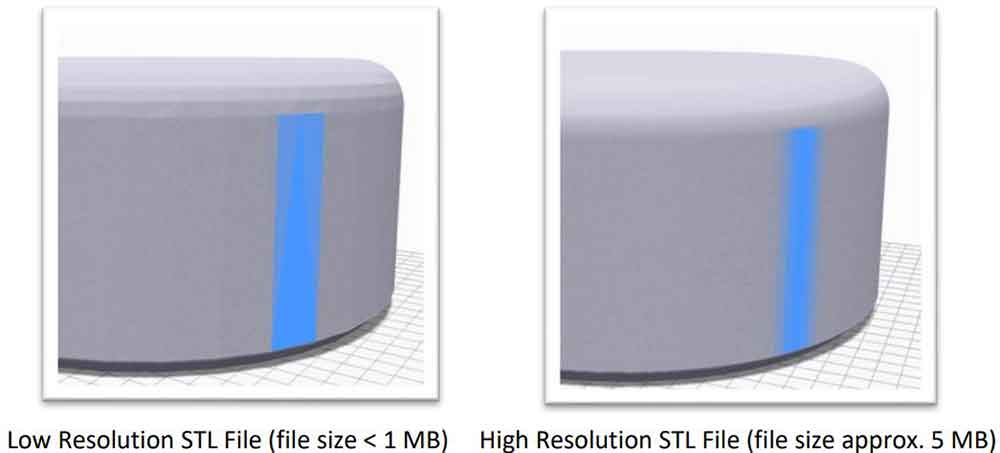
In an effort to help make your process more efficient, we want to provide recommendations for exporting a high resolution STL file from your CAD software for 3D printing. Failing to do so can cause several issues including faceting or simplification of curved geometry as seen below.
Note: The screenshots shown below are from SOLIDWORKS as it is the CAD software I am using, but the process may be slightly different depending on the CAD software you use and how you access the settings.
Step One | Adjusting Your STL Options
When you are ready to save your model as an STL file, first choose “save as” and select STL from the dropdown menu. Once STL is selected as the desired file type, an options menu will appear:

The options menu will provide an opportunity to change the settings for your STL file. The setting that is of interest for our purposes is the “Angle Tolerance” which is usually set at 10 degrees by default:
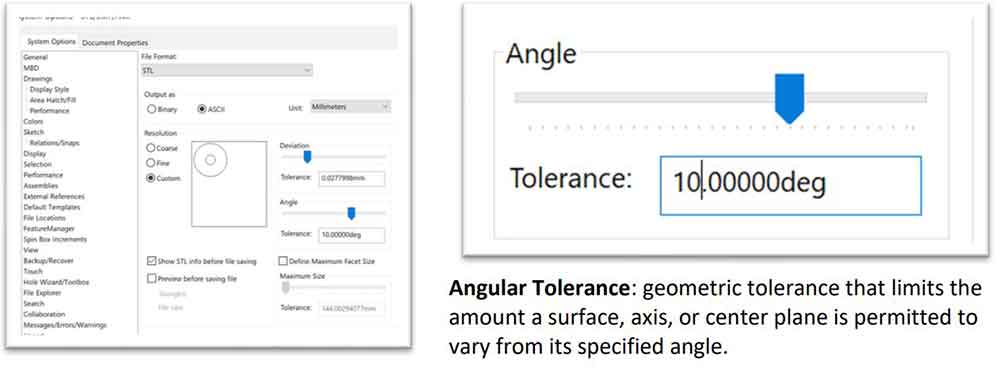
For simple parts that are orthogonal in geometry, ten degrees is usually acceptable; but for more complex parts this should be reduced to add more definition to the file. It will always be geometry dependent so there is no magic number that works for every part because the definition needed depends heavily on the geometric complexity of the part.
Step Two: Checking Your STL File
My Rule of Thumb: If the size of the STL file is between 1 – 20 MB then most likely you have sufficient definition. Parts with simple geometry should be on the lower end of that spectrum while more complex parts should be on the higher end. Parts measured in KB are typically not a well-defined STL. On the other end of the spectrum, if the file size is too large then it will likely choke the slicing software, so it is not always beneficial to over define your file either. Setting the angle tolerance to 5 degrees is generally a good balance between feature definition and file size management.
In SOLIDWORKS, after hitting the “save” button to save your STL file, another window pops up which allows you to check the file size before going through with the save. This is very helpful as you can see the file size here before committing to the save:

In this example, we can see that my file size is around 13 MB which is well within the desired file size range. If instead this number was not in the 1 – 20 MB range, I would start over and change the angle tolerance until the final file size falls within the desired range. If your CAD software does not allow you to check the file size before committing to the save, you may need to save the STL file and check the properties afterwards to see if file size is within the desired range.
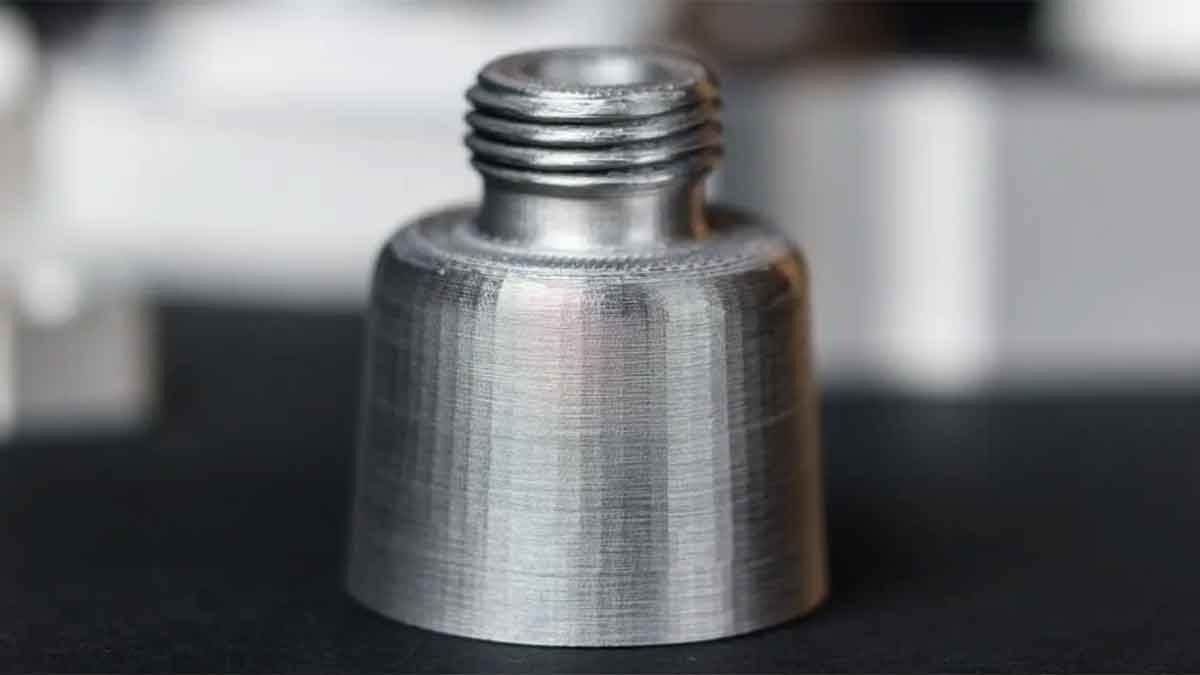
Bottom Line: A well-defined STL file is critical for high resolution prints with complex features. A 3D printer is only able to print the part as good as the STL file provided to the slicing software, so ensuring that the STL file is a fair representation of the design intent will lead to higher quality prints. For any other 3D printing related questions, contact us at Hawk Ridge Systems and we will be happy to help you! Thanks for reading!


