Aside from their ability to capture complex geometry without any targets, one of the greatest features of handheld Artec 3D scanners is their ability to simultaneously capture color.
Sometimes refered to as texture, color is incredibly important to create lifelike renders and identify key locations on parts. Normally, texture has to be captured seperately and then projected onto a mesh – a time-consuming process and impossible if any part of the object moves between the two different captures. Since the handheld scanners capture both geometry and texture at the same time, there isn’t any issue matching the color to the exact position it should be.
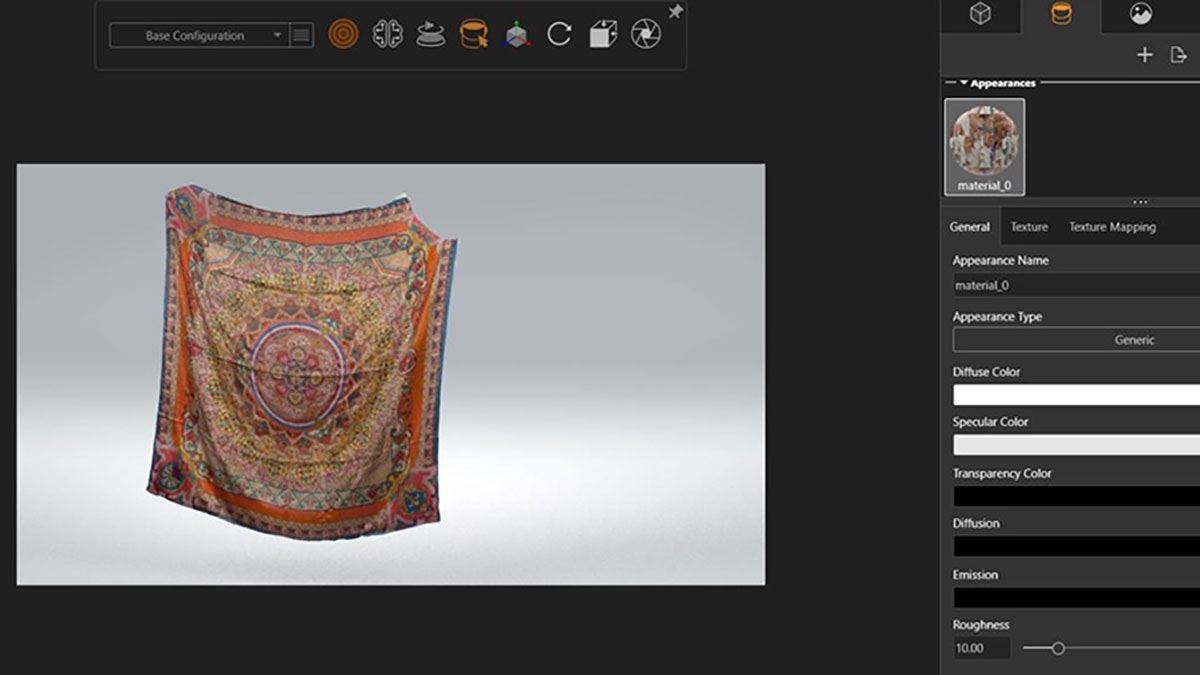
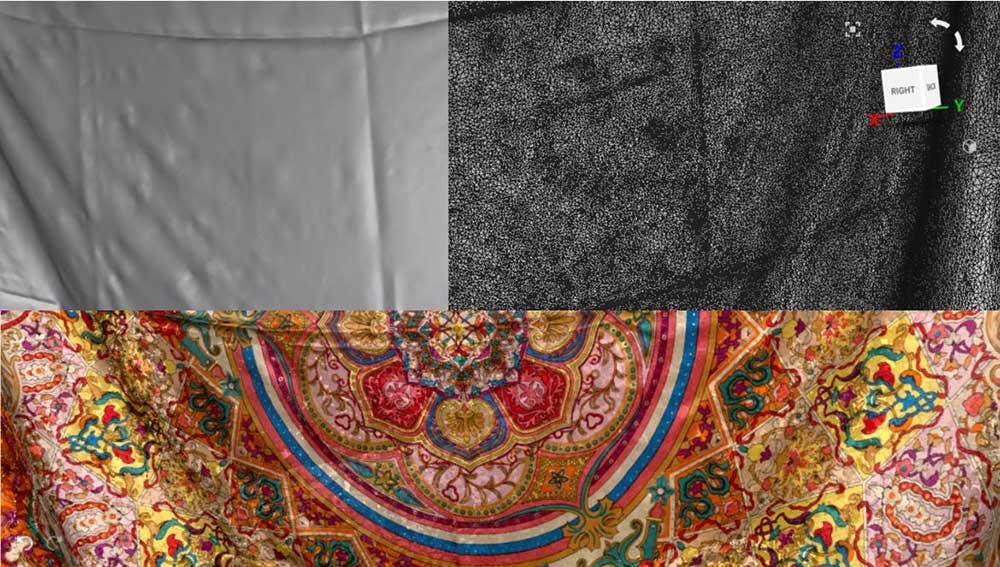
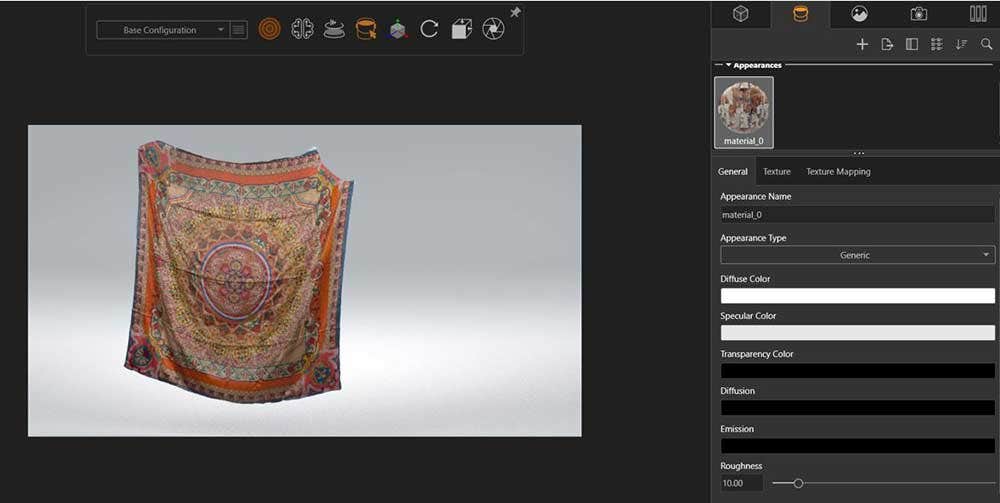
Below is an example of a tapestry captured using the Artec Leo and processed to one million triangles. The mesh, triangles, and raw texture data provides a high-quality mesh with matching full color spectrum.
How to Add Texture Effectively
With our scan captured, we can process and apply the texture to the mesh via the texturing tool. With this tool, we have various options to adjust how the color is applied – such as which scans the color will be pulled from, normalizing the textures, and most importantly, the quality of the color being applied.
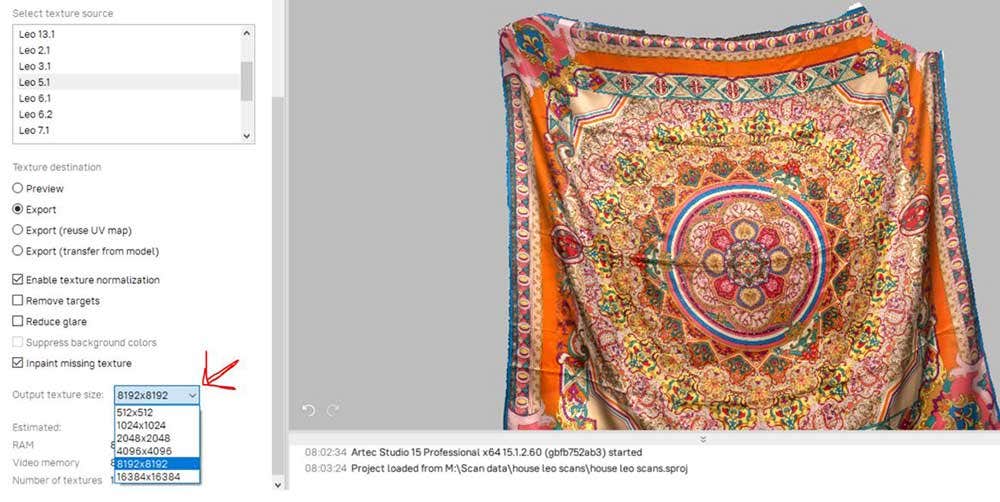
The output texture size affects the overall quality of the texture – the lower setting generates higher pixilation but has the smallest file size. This texture doesn’t have any extra information beyond color, often referred to as the Albedo layer of a material. Once exported, you can use this color layer within a rendering program and adjust the lighting and overall material of the mesh while keeping true to object colors. This texturing process can also help with reverse engineering if the product has key locations marked and outlined with chalk or paint.
Below is a list of the outputted textures based on the size used in the options:
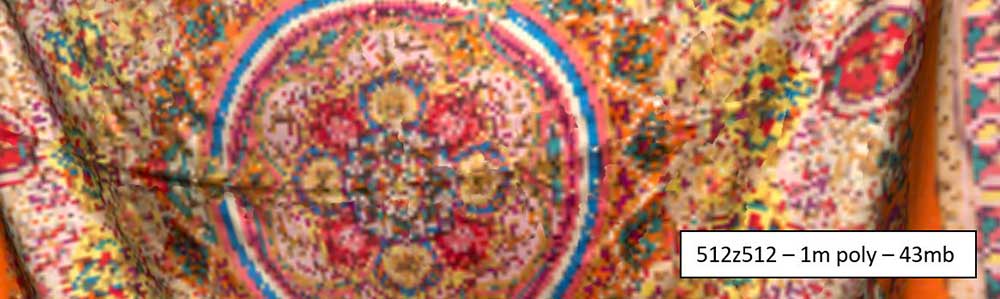
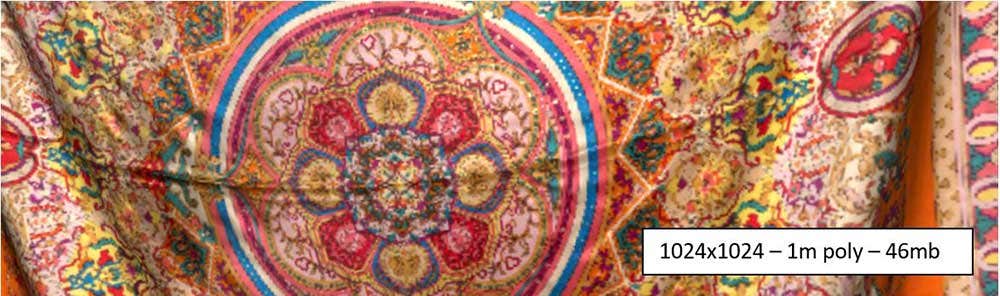
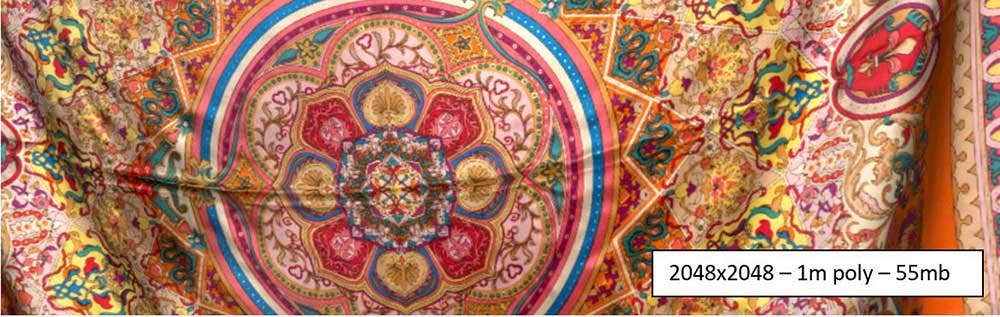
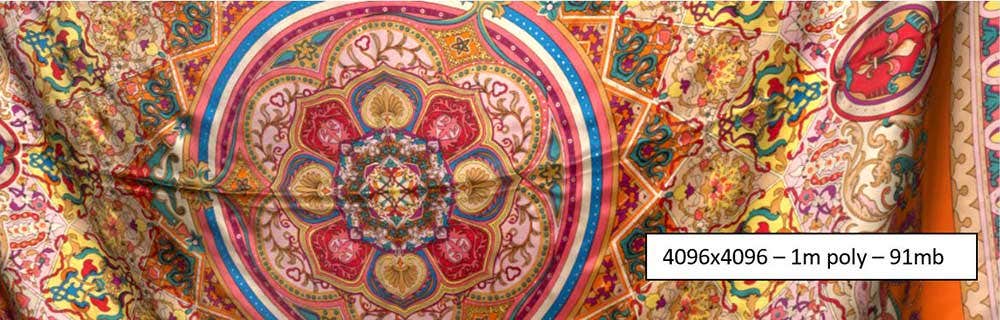
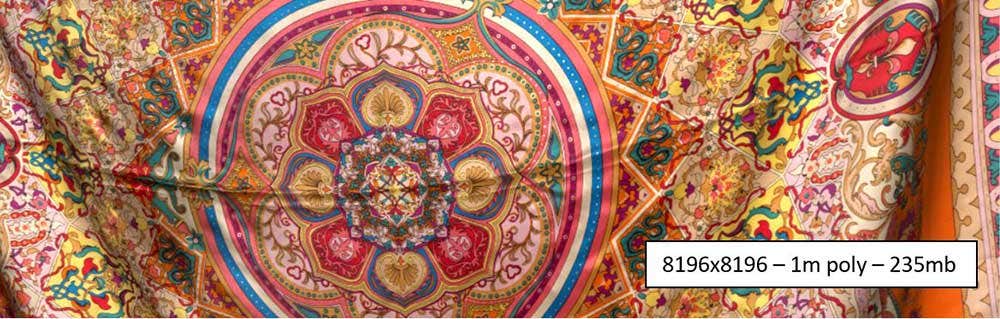

While there is a significant difference in quality between 512×512 and 8196×8196, there is almost no difference between the 8196×8196 and 16384×16384. Additionally, the file size is almost tripled between 8K and 16K, adding to processing and exporting times.
When applying the texture, keep the end use of this mesh in mind. If it’s going to be a single object, rendering the 16K texture may be useful, but in a scene of multiple items, 4K may be enough if the object is in the background.
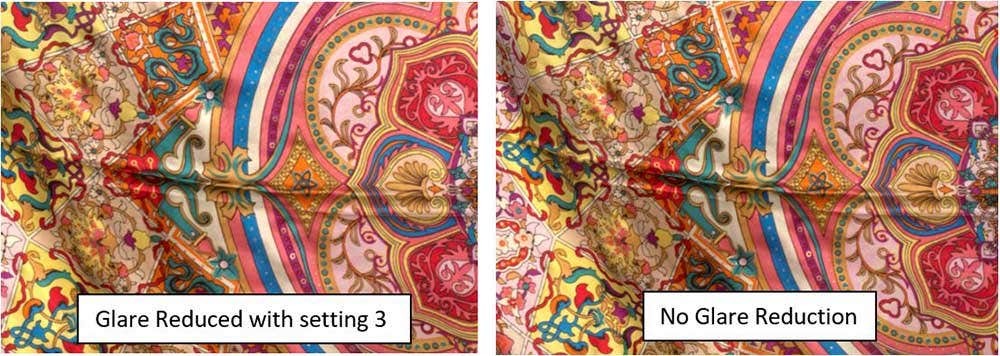
Adjusting Texture Settings with Glare Reduction
Another option that can improve the quality of the color of the mesh is glare reduction. This will normalize the entire scan to reduce areas of high contrast from the scanners light. The higher this setting is, however, the more muted the color becomes. Keeping the setting at 3-4 is recommended because of this. With reduced glare enabled, we can also use the reduce background information, which helps with competing surfaces in scan data that may cause overlapping texture issues.
Once the texture is applied using the export option, which combines the color maps all into a single file, we can export the mesh as a .obj or .wrl so the color can be remapped to our mesh in another program. From here, we can adjust the material of the mesh or color map within photo editing software to create lifelike renders.
For more information on 3D scanners or if you have any questions, contact us at Hawk Ridge Systems today.