Welcome to the fourth episode in our series the 3DEXPERIENCE platform explained. Lately, there’s been a lot of hyperdense systems about the concept called PowerBy. As you may have heard, there are a lot of good presentations on this topic but I wanted to do a hands-on and really take a look under the hood of PowerBy. As you will see in the video, regardless of which CAD software/tool you are using, the PowerBy enables you to continue using that CAD. No more card translations are required in order to build an assembly for multiple sources. The product engineer can work in one place validating designs and building a product visually.
Watch and Learn the Power of 3DEXPERIENCE POWER’By
Video Transcript
POWER’BY Widgets
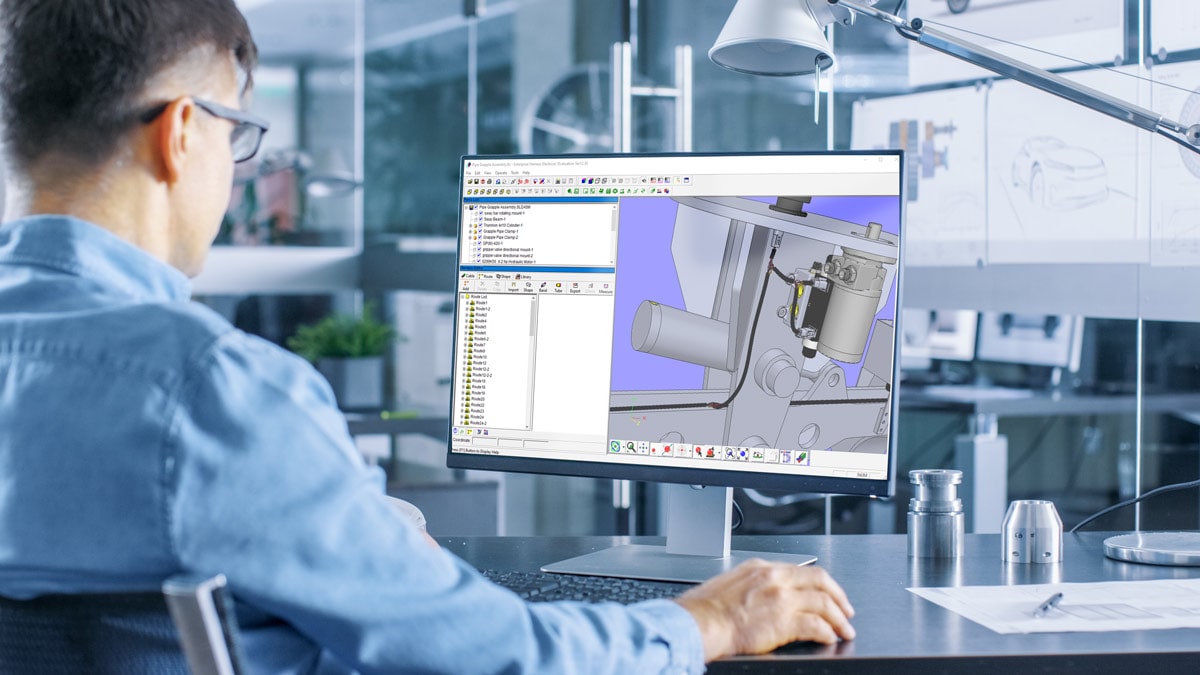
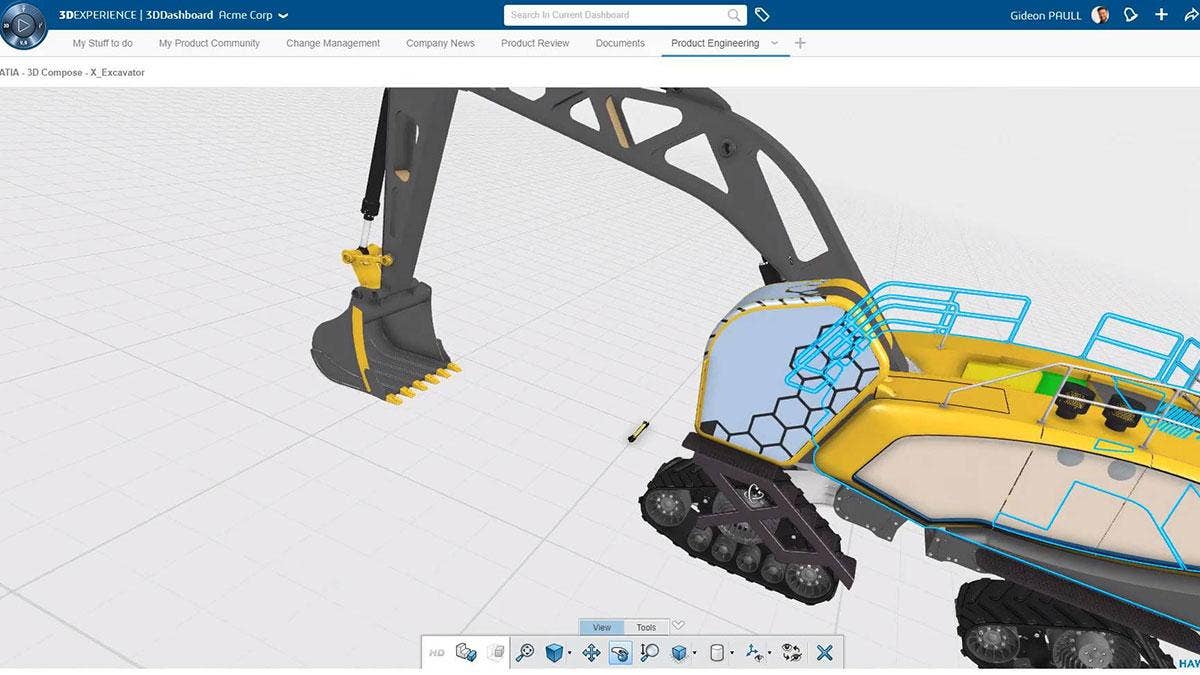
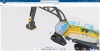
This widget is, in fact, two separate widgets. The structure explorer and Catia 3D compose. These two widgets go hand in hand. With a simple search, I’ll look for a product that I already stored on the platform, the excavator. I’m going to drag and drop it into the product explorer, the structure gets loaded and the 3D graphics get loaded into 3D compose. I’m now going to search for some other parts of the assembly and bring those into the product structure explorer. Here, I can see that the Boom and Arm assembly originated in Catia V5.
Three Different CAD Systems Regardless of Their Source
Regardless of the source card, I can bring into the product explorer. As we can see the structure gets added in through a product structure explorer and the graphics get added. Let’s look for one more part and drop it into our assembly positioning is based on the current card position. Using the 6W tag function, let’s take a look at where our various card files originated. Here we see that we have paths from three different CAD systems regardless of their source they can all be viewed in one scene.
This innervate self is a very powerful capability. We can now mash up assemblies that might have come from suppliers or even departments each using their own CAD system. Wotj the 6W tags we can we can color the assembly in parts based off of their release state or any other attribute in the system to quickly gauge the completion state of our product.
3D Composed Tools
3D composed has many tools for selecting parts of the assemblies. Directly from the interface, we have access to an interactive life cycle flow that enables us to change the site to the paths based upon our authorizations. Now we will see a very powerful capability regardless of cards source. We can now create our own assemblies inside the product structure editor just by dragging and dropping the parts and suck the assemblies into the structure.
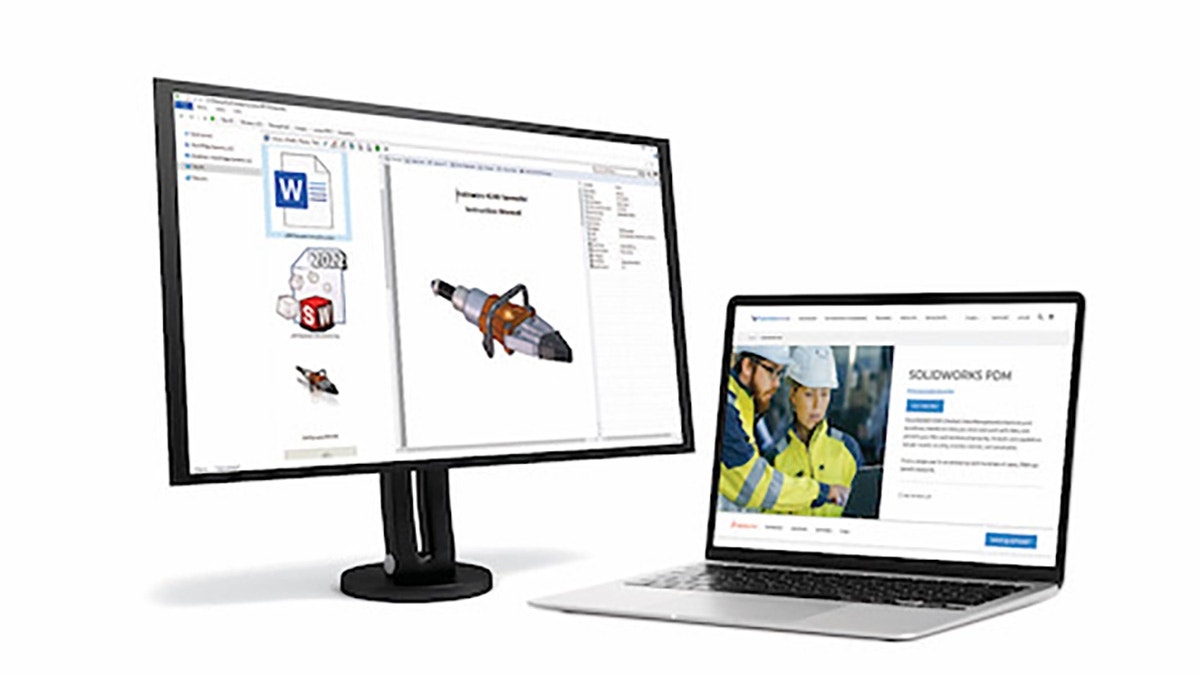
SOLIDWORKS & Catia V5 Add-in
Users can also add the SOLIDWORKS in Catia V5 components into what was Catia 3DEXPERIENCE structure thereby making a hybrid structure. As we can see here by looking at the properties of the Boom and Arm that the source card definition is maintained. Next, we’ll use some of the simple drag and drop tools available to position the boom and the arm correctly in the Catia 3DEXPERIENCE assembly. As you can see it’s a simple drag and drop snapping tools that are available. For more accurate positioning the assembly can be opened in CAD. This positioning is maintained and respected even when opening in the CAD system. Looking at some of the basic functionality of the widget we can see that cross highlighting is available as is multi selector parts using the control select key. Cross-highlighting works from both directions. There are numerous tools available for focusing on a specific part either in a 3D graphic or in the tree. Now we will take a look at what happens when we open our new hybrid assembly in Catia 3D experience.
Selecting the top level, first we’ll load Catia 3DEXPERIENCE and we’ll see that regardless of CAD source the complete assembly is loaded. Also, we see that positioning changes made have been respected. If we look at the feature tree we see that parts that were designed in Catia V5 cannot be edited here. However, parts that were designed in this CAD system have their full features defined and can be edited. This enables us to design in context regardless of the source CAD.
Back on the platform, another very nice functionality of the product structure explore is the search capability. Here we can see that all instances of our search term are highlighted in complete step through. Next, we’re going to look at a change scenario in enabled through PowerBy. We’re going to select the bone and arm which are currently released in creating a newer revision of the assembly. As we can see here, the newer revision is automatically added to the products structure explorer. It has the P.1 designation and is placed in the work state.
Switch Out Versions Quickly
We have the ability to update some of the attributes we can see here adding in a description or changing the name. Using the available tools we can quickly switch out the prior version for the newer version in our hybrid assembly. The assembly is updated and we can now remove the duplicate preference from product structure explorer. In our scenario, we will be changing the size of the bucket. Let’s take a quick look at the bucket. We can zoom straight to the bucket and use the available tools we can measure its width.
Measuring Surfaces Made Easy
The snapping tools allow us to easily measure from one surface to another. Manipulation of the assembly inside the 3D compose is simple and very easy. We are now beginning to understand why this is called PowerBy. Before we can make changes to the bucket we want to create a change of action. To enable this I’m going to add the change action widget directly to my tab. It’s easy to create a new change action, give it a name, description, severity, a due date. The change action is quickly created for us. Now that we have a new change action let’s add a team of people to work on it. There are four roles available, owner, assignees, reviewers, and followers. Before the change action can be completed and the pass released the reviewers must sign off on the changes. The next step is to add in the parts that are going to change. Here we select the bucket that is currently in a release state by dragging and dropping it into the proposed change tab. We can quickly add in parts that are changing depending on the reason for change selected here, the states of the part would be promoted accordingly. We have selected a change for revision which means that a new vision of our path will be created.
We can also add in context, meaning parts and assemblers that come along for the ride but are not affected by the change. This is useful to provide context for our parts when designing. Finally, we move the change action into the work state. As we see here under-realized changes, this creates a new revision of the part and places it in the work state. As a designer on the platform, I have access to the change action exactly as it was defined. All the relevant information is available here. I’m going to search for the bucket and find the latest revision of the bucket as we see here in the properties.
Drag and Drop Capability and Editing Permissions
With drag and drop from the search results, I can load it into the product structure explorer. I’ll now update the system to define that all changes to this part are being governed by a change action. This will also prevent anyone else from making modifications to the bucket outside of the change action. Next, we’ll edit the bucket by opening it in the package it was created in, in this case, Catia V5, which we can do directly from the platform. As we can see here I have full editing capability. Even inside Catia, I can see that I’m currently working under a change of action.
In this case, I’m going to make a quick editor parameter and change the width of the bucket. We refresh the graphics and now save our changes directly to the platform through the integration. As we see here the bucket has changed and will be saved to the platform. Back on the platform we’ve refreshed the view in 3D propose and can now verify the change by measuring the width again. As we see here the bucket has been successfully updated. I can now move the bucket to the frozen state to prevent any more changes to it.
Its promotion to the release state will be governed by the completion of the change action. Before we can complete the change action it has to be assigned to some reviewers. Therefore it must go through a review state where the assignees will have to approve and sign off on the changes. Once all approvers have signed off the bucket will be released and the change action completed. The last action required is to update the assembly with the latest revision of the bucket as we saw before. This is an easy task of swapping the current revision with the latest. Our assembly now has the modified, bigger bucket. Since we have several versions of the bucket, we may want to review the differences. For that, we have the compare widget that we see here. I can drag and drop the bone and arm assembly into the compare widget. It instantly shows me all available revisions of the assembly. In this case, we have only one change. However, we can easily step through and understand what changes, attribute comparison is also supported as we see here.
Use Any CAD System with POWER’BY!
As we have seen, regardless of which CAD you are using, the PowerBy enables you to continue using that CAD. No more card translations are required in order to build an assembly for multiple sources. The product engineer can work in one place validating designs and building a product visually. This ends our fourth episode of Hope Wages BD Experience Explained series.
With solutions targeted to your industry, and roles involving functionality from SOLIDWORKS, CATIA, ENOVIA, DELMIA, and SIMULIA, 3DEXPERIENCE can help put the right tools and data in front of the right people throughout your entire product development team. Contact us today to request a custom demonstration!