We do not have only one size of rail or duct, so when we use the default
rail/duct in
SOLIDWORKS Electrical, it doesn’t always match what we’re looking for. However
Change Length of “Rail” or “Duct” is a very useful tool, that
doesn’t seem to exactly cooperate with any rail/duct shaped part file.
Additionally Insert as horizontal/vertical rail/duct is a
useful feature in
SOLIDWORKS Electrical
that saves us an extra mate to be added in.
We’d like to have different rail/duct files that properly represent the size
and appearance of what we’re actually going to be using. We’d also like to be
able to use Change Length… to be able to easily change the
length without messing up other areas where this rail/duct is used. Sadly the
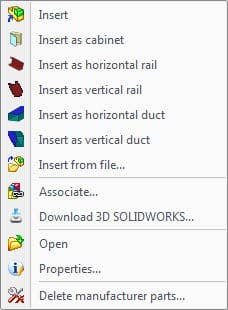
Insert as horizontal/vertical… feature is presently not
able to be used on any other files besides the default rail/duct. This blog
will cover creating such a rail/duct.
If you, like me, would like for the
Insert as horizontal/vertical… features to work with our
custom rails/ducts, here is how to enter Enhancement Requests:
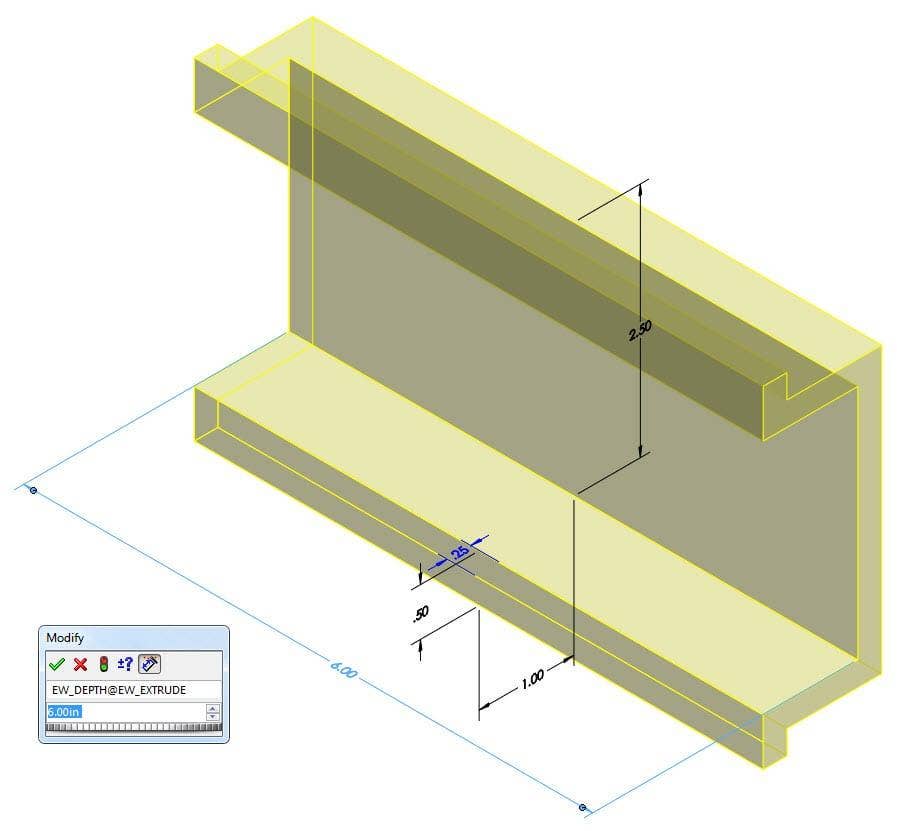
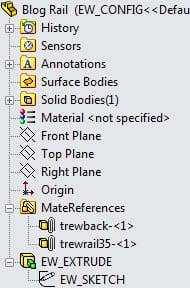
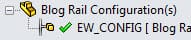
Proper Names
-
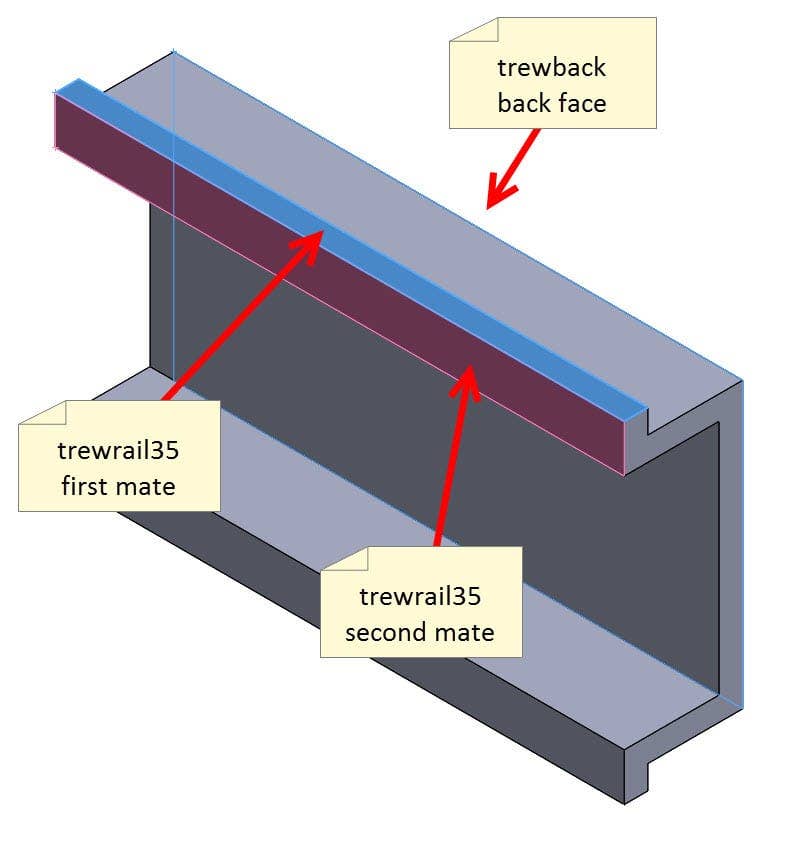
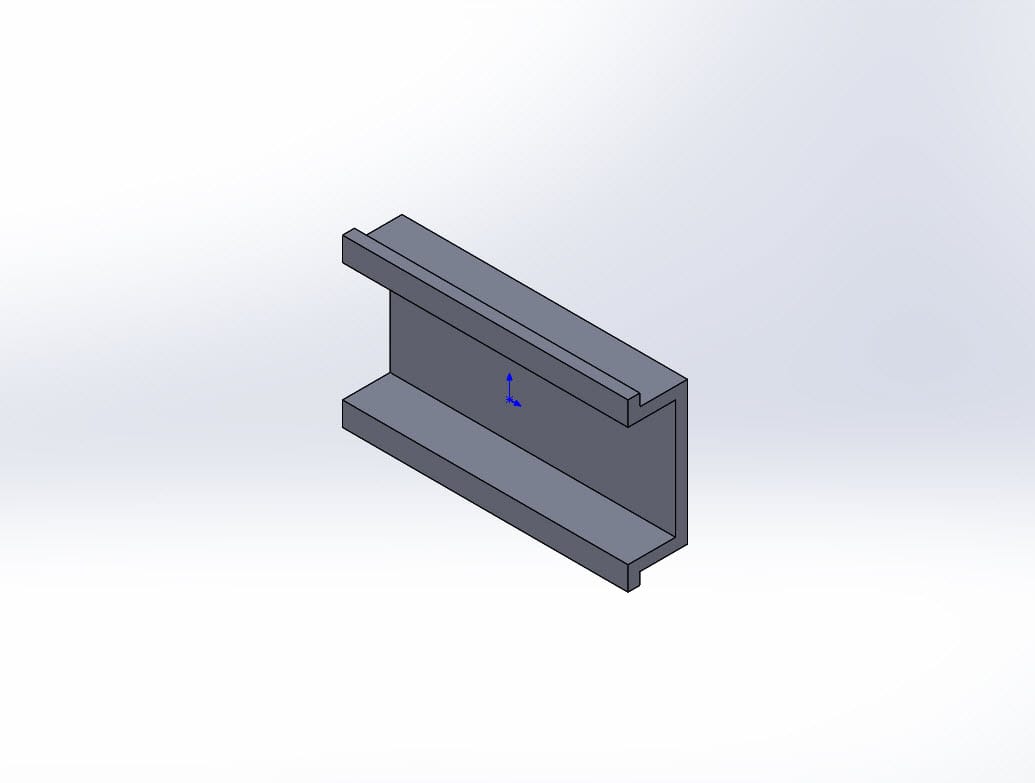
For our custom rail/duct(s) to work, we must make sure that the proper names
are applied in their proper locations. The picture below shows the name of
all but the dimension that is needed. -
Extrude must be named: EW_EXTRUDE (required for
Change Length… to work) -
Configuration must be named: EW_CONFIG (required for
Change Length… to work) -
MateReferences must be named: trewback and
trewrail35 (required for Mate References to work in
conjunction with Electrical Parts)
![]()
-
Dimension of the Extrude Distance must be named: EW_DEPTH (required for
Change Length… to work)
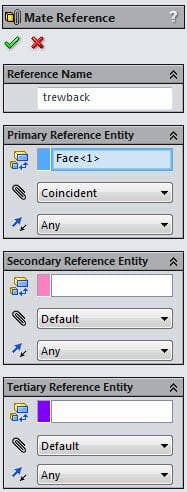
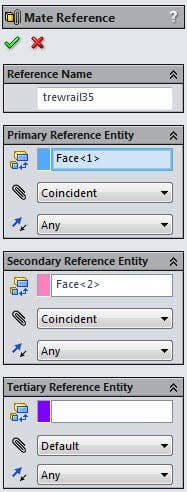
Mate References
To make it easy for Electrical Parts to be assembled, we’d likely wish to add
the Mate References that match up with those parts. These
Mate References are set up as shown below.
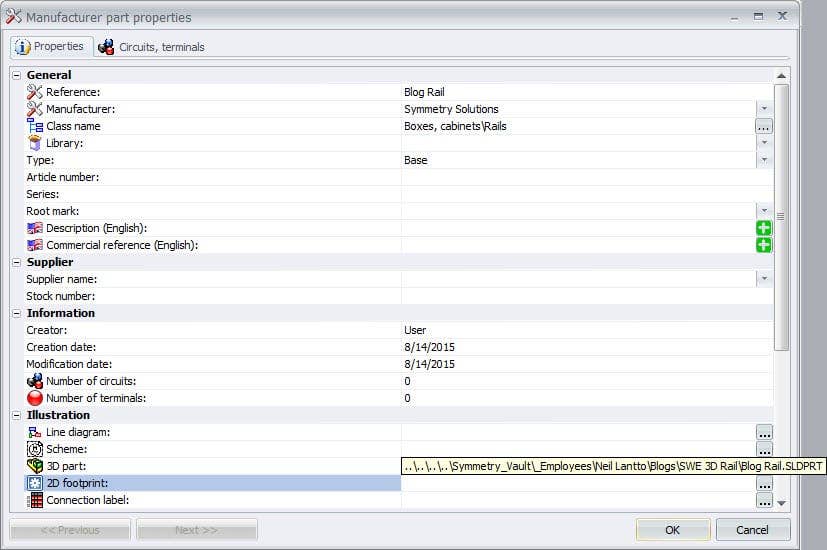
3D Model
Assigning a 3D part to your Manufacturer Part is always a
good idea, it will save you a lot of browsing down the line. It works just as
well for rails and ducts.
However, the Insert as… feature doesn’t work for these custom
rails and ducts, so you’ll have to add that extra mate into your assembly to
get your rail/duct in the correct orientation. This, in my opinion, is a small
sacrifice to make for the ability to use Change Length… and
have the proper size and appearance of our model.
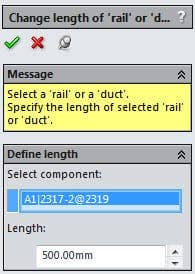
After getting all of the naming correct and bringing in the model, we can use
the Change Length of “Rail” or “Duct just like with the
default ones. Click the feature > Click the part > type in the number
> OK!


*Quack*


