Would you like a more interactive dashboard to manage your next product release? 3DEXPERIENCE provides a platform that optimizes your part supply management with the flexibility and scalability to meet your deliverables. Experience effortless design collaboration to help your team focus on innovation.
Watch and Learn about the 3DEXPERIENCE Engineering Release Manager

Video Transcript
Introduction
Hi. Welcome to Hawk Ridge’s, 3DEXPERIENCE Explained Series. Today, I want to take a closer look at a new app in 18X called Engineering Release Manager. This is the new bill of material management app on the platform. During this session, I’m also gonna take a closer look at Part Supply, one of the exciting new services in the 3DEXPERIENCE Marketplace. I’m going to start by creating a new tab on the dashboard. I’ll name it Engineering.
Widget
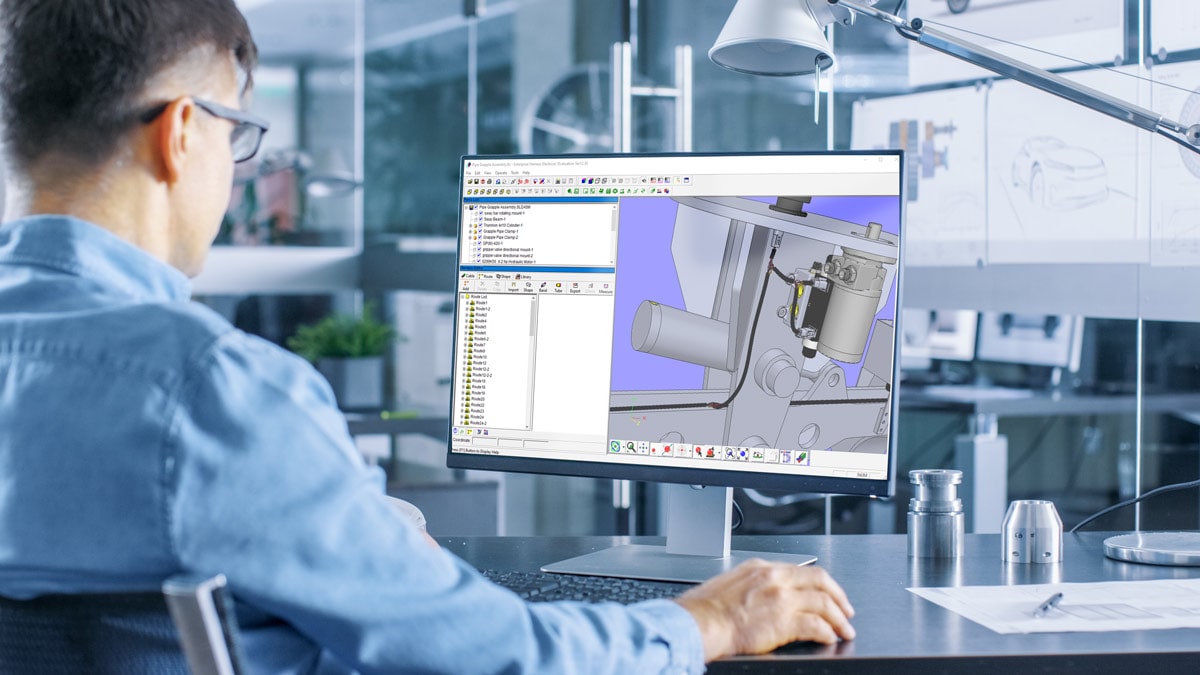
Now, from the compass, I’ve added the Engineering Release widget to my favorites. I’ll drag and drop it into my tab. The widget gets populated with parts that I’m the owner of. Let’s search for the Excavator. We can drag and drop the Excavator into the widget and it would load its hierarchical structure as we see here. We can start digging into the sub-assemblies and viewing their contents. Immediately we can see information such as state, responsible party, date information, et cetera. The parts can be grouped by different criteria. For instance here, I’m grouping by reference and showing various instances of the parts.
Lifecycle State
Let’s go up a level and group by lifecycle state. Here we see parts group by Frozen and In work state. Let’s clear the grouping. Look at the top level, let’s add in some additional information for Excavator Assembly. For any part, we can easily add in a part number. Looking at the properties of the part, we can quickly edit available fields providing descriptions. This information is populated on the part and instantly available.
Now, let’s look at a very useful tool that is available across the platform, the Relational Explorer. This shows us the interconnecting links between the product and any other objects in the system such as projects, simulations, et cetera. Here, we see the hierarchical links that make up the Excavator. It’s easy to traverse the structure and even execute many operations on a part directly from this interface. Closing the Relational Explorer, let’s come back to the Engineering Release Manager and dig back down into the structure.
Engineering Release Manager
Looking at the preferences, we can see the option to assign a new part as a specific CAD file, we’ll check this option for now. Now, let’s add a new item to our product. The system asks us which CAD system we are using. We do expect solid in this list shortly. This enables us to make a placeholder item for a physical CAD part that will be designed later on.
The item gets added and we can edit its attribute providing a description, part name, and filling in any other mandatory values. Now, I want to look at an administration option. Defining new attributes for our items. From the Platform Manager widget, I have access to the attribute management options. In this case, I’m looking for the physical part type, since this is what I just created.
Here I can see, there is already a custom attribute defined. I’ll add a new one. We’ll make it material. For the most part, the interface is very self-explanatory. I’ll provide a default value and leave the rest as is. Let’s save and apply the changes and jump back to our corporate dashboard. In the Engineering Release Manager, let’s take a look at the new item we just created. As we can see here, in the item properties, the new attribute has been added with its default value.
Next, I want to look at adding in another widget. This time, the Product Structuring Editor along with the CATIA 3D Compose widget. These two widgets go hand in hand. Let’s just resize our layout a little so we can work on one tab comfortably. There seems to be quite a lot of overlap between the capabilities of the Product Structure Editor and the Engineering Release Manager. I then drag and drop my top link called Excavator into the Product Structure Editor.
The structure loaded on the left and the graphics on the right. We can browse the structure or navigate through the graphics. Let’s resize this a bit more and dig into the structure. Let’s pull the graphics area over here and get a nice big viewing area and let’s look for that new part. Here it is with all the values we just added. This is an example of the unified product structure.
Part Supply
The single data model Enovia uses, BOM, CAD manufacturing BOM, et cetera. All the same object with just a different view of the data. One of the nice things I can do here is the 6W tagging system to sort and filter the product by any attribute. In this case, lifecycle state. Here we can see the completion state of the product. Now, let’s take a look at the 3DEXPERIENCE Marketplace, specifically, the Part Supply service enabled through the Marketplace. Part Supply allows users to browse through thousands of components, configure them and order online direct from the manufacturer.
Looking at the categories of parts, we can quickly find the category of the part that we’re looking for. In this case, let’s take a look at bearings. We can browse a list of bearings until we find what we’re looking for. When we click on an option, a configuration page opens. Here we can see that there are numerous standard configurations that we can order from. With the drawing available, it’s easy to find the correct bearing configuration that we require. Suppliers may enable additional parameters to be configured as we see here. Suppliers can define exactly which options are available and which parameters are configurable.
Let’s go back to the main home page. A more common way to find what we’re looking for might be to type some information into the search, just as we would with Google. Let’s look for hydraulic valves. We instantly get an extensive list of different hydraulic valves. Clicking on one, we see the configuration properties and a graphical image. In some cases, the 3D is provided as well. Notice the similarity search; this uses Exalead OnePart to search for similar parts based upon the 3D data. This enables us to quickly find similar parts that might be provided cheaper by other vendors.
Let’s take a look at this ball valve. Once again, we have the 3D available; we can configure the parameter to the ball valve. Different graphical views might be provided. In many cases, a 3D model can be downloaded. The supplier will probably provide additional data sheets, documentation and order information. I’ll download a STEP file, that I can later import into my assembly. The file gets downloaded as a ZIP file that I can open later.
We’ll grab one more option here. Once again, there are similar configuration options. We configure the valve to our own specifications, get a price, and order online from the marketplace directly. Clicking on standard configurations, I get a detailed list on the left. After clicking on the engineering tab, let’s select the CAD product and open it in CATIA 3D Experience for authoring. Here in the structure, we see our new part already defined with a 3D shape, ready for authoring.
Now, I know next to nothing about working in CATIA, so I might be doing this wrong. But I want to add one of the valves I downloaded into my product. I import the STEP file, this gets saved directly onto the platform. Here we see the valve imported from STEP. Now, I’m just gonna copy this and come over to my valve and paste it in here. Probably doing this totally wrong but, we should see some result here.
Looking at the CAD assembly, we see that the valve has been added in. I’m not going to attempt to position it here, that goes way above and beyond my CAD capabilities, unfortunately. I’ll save the changes, and jump back to the platform and see what happened. Back in our structure editor, we see the updated item with it’s newly associated 3D graphic. Obviously, I could correctly position the valve inside the structure editor.
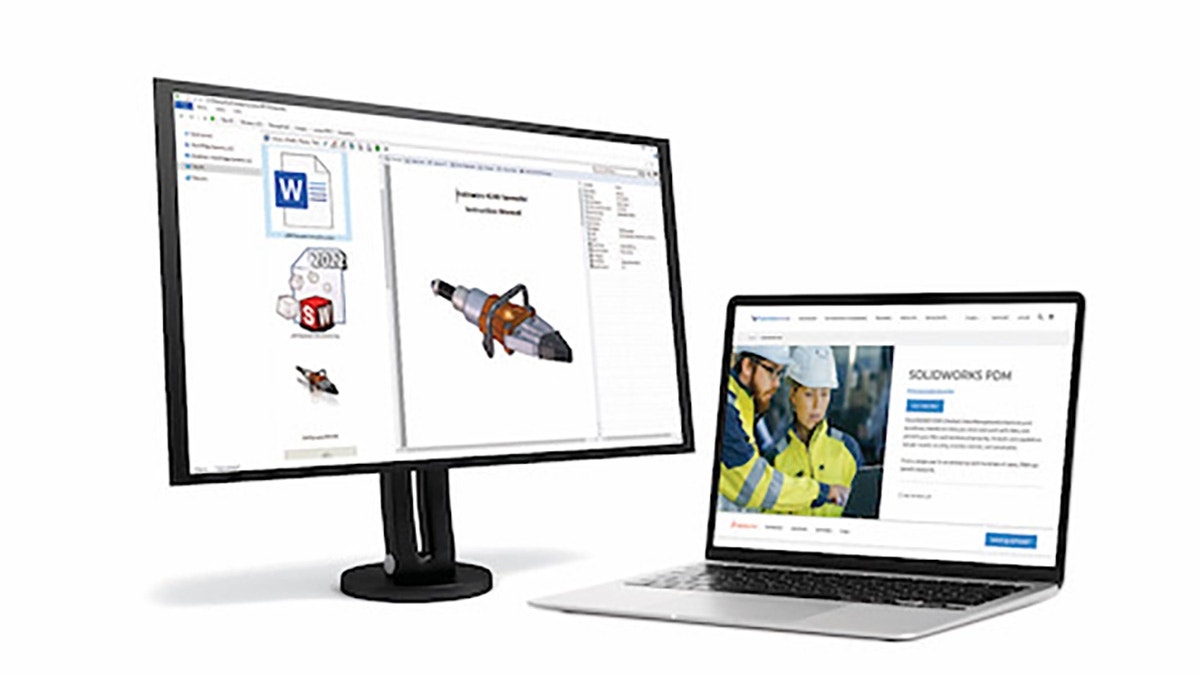
Let’s take a look at the Engineering Release widget. We refresh the interface and instantly see the updated item. Now, let’s release this item. Directly from the interface, we have lifecycle options. In this case, open the-the valve system item from In work directly to Released. The status gets updated immediately. Now, let’s add a new document to the product structure. This could be a reference document or any documentation that goes along with the product. In this case, it’s the datasheet for the new valve. We can add its attributes directly from the interface here. Let’s just save and update the document. Switching tabs, I’ve set up a place where I manage bookmarks and the content of the collaborative space I’m working in.
For more on managing documents, see my video that examines this subject in depth. I see the PDF document already there and I can easily view it and drag it and drop it into a bookmarked folder. This is one of the documents related to the Excavator. I can also add in the new valve to my bookmarks. And as we see here, its released and we see the same data that we saw previously. While I feel the functionality provided in the Engineering Release app is limited for many used cases, it does provide a very good look at the benefits of the unified product structure and shows a clear direction that is always taken for the product engineer role. Thank you.
If you’re interested in learning more about 3DEXPERIENCE, please CONTACT US or GET A DEMO TODAY!