Text wrapping is a fairly simple tool to use within
SOLIDWORKS
part modeling when you are applying a wrap to a flat face or around a
cylinder, but when you run into a part with a changing radius and a rounded
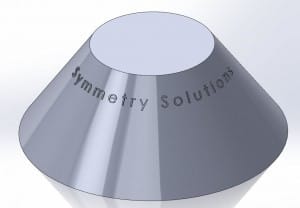
face, the wrap feature becomes a little more complex. For this example,
we will wrap text onto a conical feature.
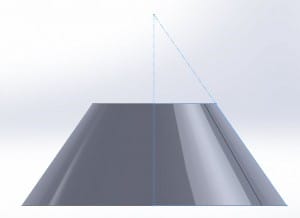
In order to create this text wrap, we must first create some
construction geometry that is relative to the dimensions of the cone. By
identifying the point where the axis of the cone and the plane of the cone
intersect, we can use this point to further create a half circle on our sketch
plane. So lets go ahead and define this point.
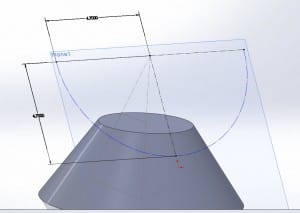
Now create a plane tangent to the face of the cylinder; this plane will be
used to add the text and text curvature. You will see that the distance
of where the text is placed is going to be the radius of the half circle we
create in the next step. In this example, the text is located 4.7 inches
down from the top of the conical section, so go ahead and create a half circle
arc with a radius equal to the distance you want the text to be relative to
the tip of the cone.
Now all of our construction lines are in place, insert the sketched text and
click the arc to create the correct geometry for the text to be wrapped.
Make sure that the text inserted is on the same plane you created but
inserted as a different sketch than the construction lines you have created.
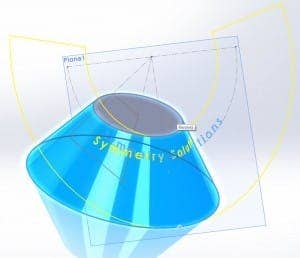
Click the wrap feature, choose the sketch of the text you are wrapping and the
face of the cylinder and you are all done!