There’s a lot that goes into creating SOLIDWORKS drawing templates – sheet formats, linked custom properties, document properties, and more. With all of this, one topic that often gets overlooked is how to keep your title blocks neat and organized. Here are some tips to help.

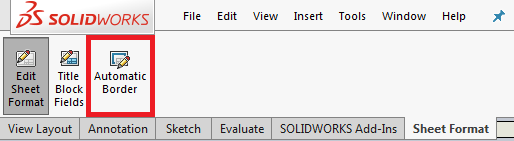
A good place to start is setting up your border. The Automatic Border tool makes this process pretty painless. Check out this post for more on this.
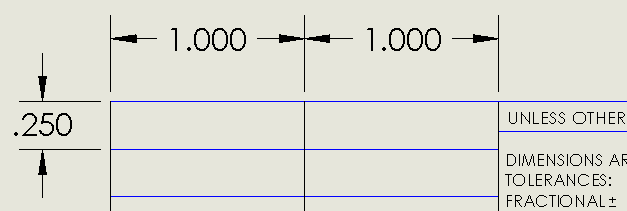
Next, you’ll want to get the lines of your title block in place. If you’re starting with one of the default SOLIDWORKS sheet formats, you’ll notice that the lines of the title block are under defined. While you don’t absolutely need to fully define these lines, small adjustments can cause things to fall apart pretty quickly when there aren’t any relations.
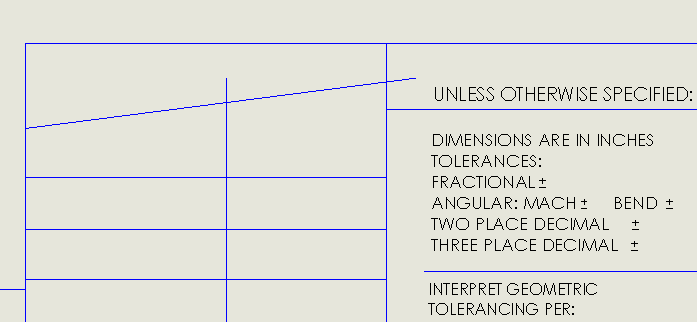
Some Horizontal, Vertical, and Coincident relations can go a long way toward keeping things neat.
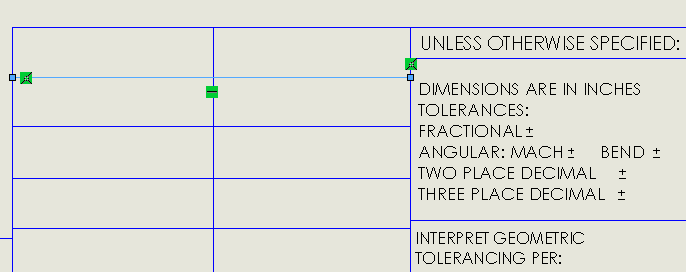
You can take things a step further by using Equal relations to create scalable title block sections. The Scan Equal tool (Tools -> Relations -> Scan Equal) is great for this.

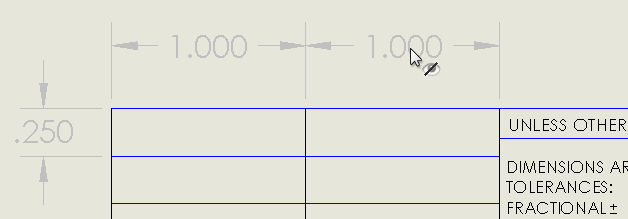
As for actually locking the lines in place, some like to add Fix relations to their lines. I prefer to add dimensions. This can be done using the Smart Dimension tool like you usually would in a sketch.

However, because we don’t actually want these dimensions on our drawings, we need to take an additional step and use the Hide/Show Annotations tool (View -> Hide/Show -> Annotations) to hide the dimensions.
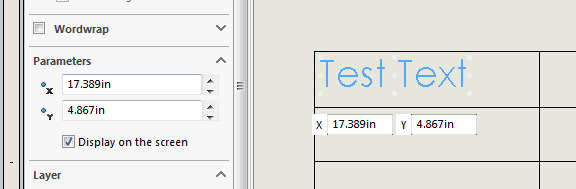
Once you’ve got your lines in place, you can start to add and organize your notes. To locate notes precisely, you’ll want to use the x and y coordinates in the Parameters section of the PropertyManager. Checking the box displays the coordinates on the screen for easy access.
Another way to organize notes is to center them within a box. Right-click on the note and select Snap to Rectangle Center.
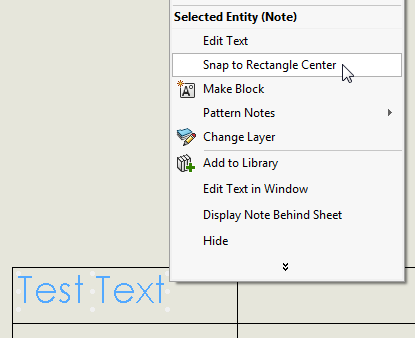
Then select 4 lines which make a rectangle (the order in which you click them doesn’t matter) and the note will be perfectly centered.

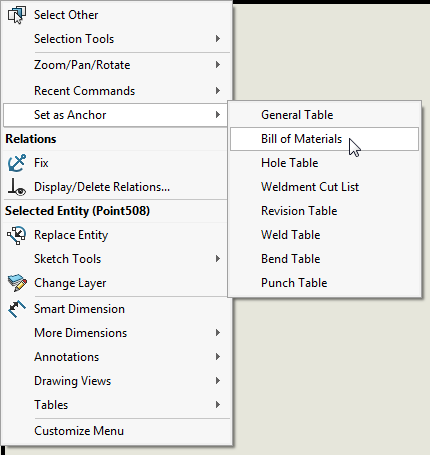
One last tip I’ll mention here is setting anchor points. Anchor points predefine locations for tables that will be inserted on the drawing. To set an anchor point, right-click on a vertex and select Set as Anchor for the appropriate type of table. When you insert tables, you’ll be able to choose which corner of the table should be attached to the anchor point.
I hope you find these tips for organizing title blocks helpful. For more information request a SOLIDWORKS 3D CAD quote or contact us at Hawk Ridge Systems today. Thanks for reading!


