
This topic is going to be a little more general than what I usually cover in my blogs, and that is some tips for viewing your models. I’m going to show these tips using parts, but all of them will apply to assemblies, and some will also help in 2D drawings.
If you’ve been using SOLIDWORKS for a while, you’re used to rotating around (or manipulating views of) your model by holding the middle mouse button and dragging your mouse. This allows you to freely rotate the model to investigate it. However, if you are looking for a more standard view (such as a Right View) you can use the keyboard shortcut Spacebar to bring up the Orientation window. For reference, this will pop up close to where your mouse cursor is.
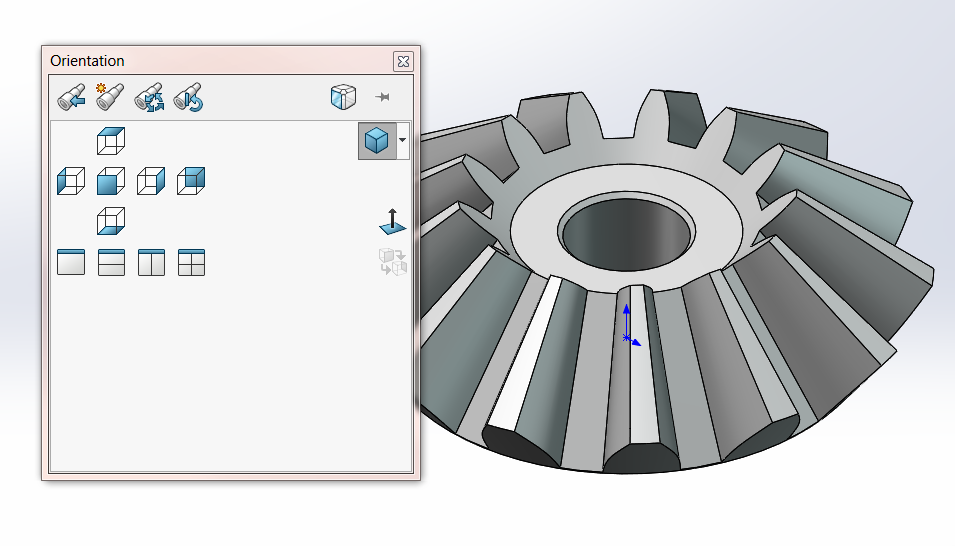
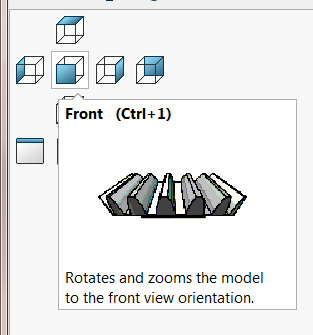
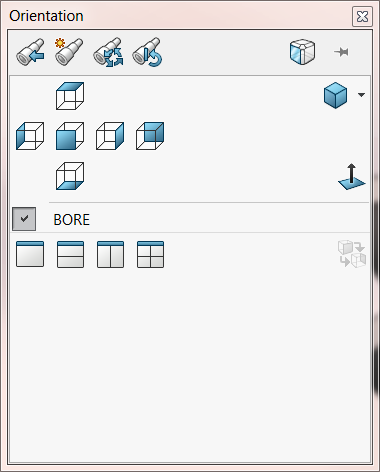
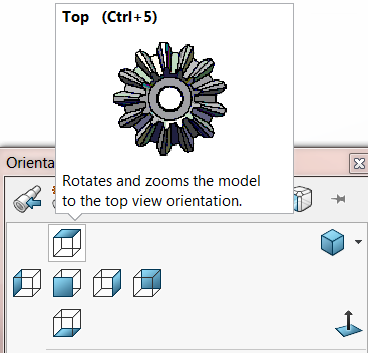
Once this window comes up, if I click on a view, it disappears until the next time I hit Spacebar. There are all of the standard views, Front, Top, Right, etc. in this section. Notice as I hover over one, I get a preview and the keyboard shortcut shows for each view, which is a helpful feature. Next to those standard views are the Isometric, Trimetric and Dimetric standard views. Below that is the Normal To button, allowing you to put the model normal to a face, or normal to the sketch plane if editing a sketch.
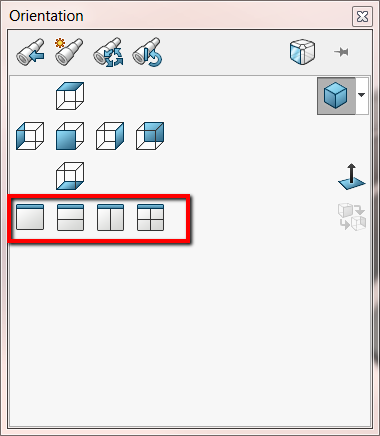
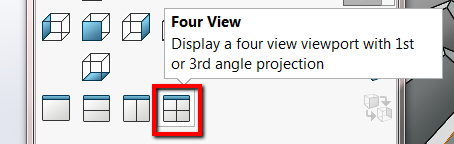
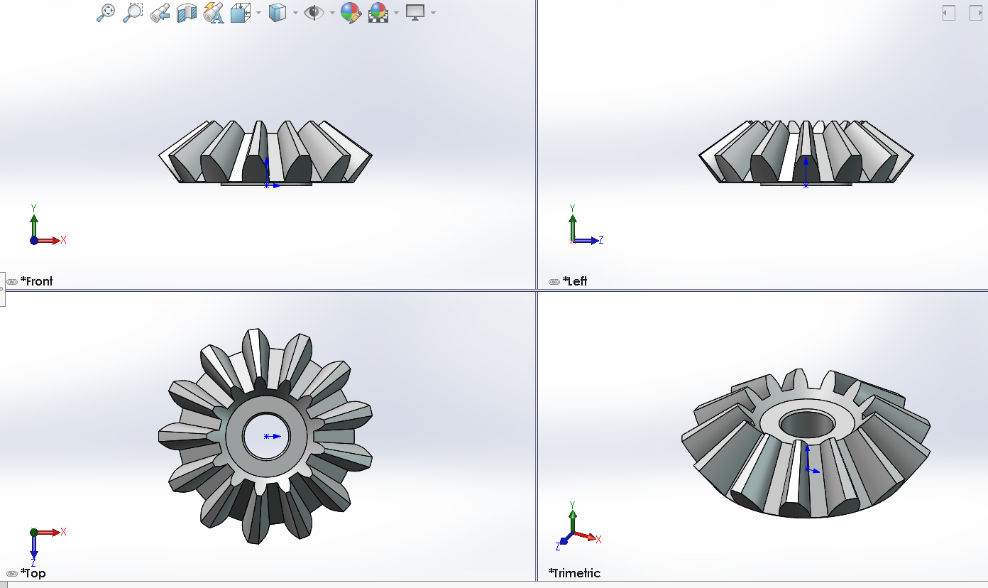
Below that, I can split the window into different viewports, such as 2 or 4. For example, if I hit the 4 view, the model views are shown at Front, Left, Top, and Trimetric. This can be helpful for looking at different sides of the part at the same time and is particularly helpful when 3D Sketching. Select the view you want to go back to after you’re done, click it to select it, and bring up the Orientation window to change it back to the single view.
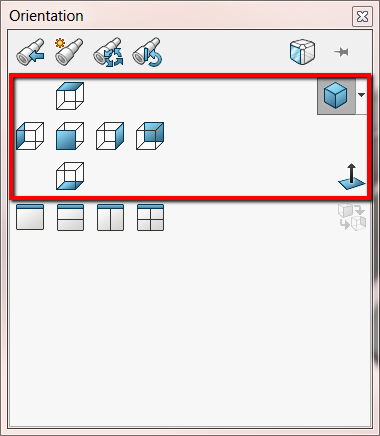
Moving up to the top left, the first button is the Previous View. If I rotate the model around and then hit that button, it will take me back to the last place I was viewing and will keep stepping back if I moved the part around a few times.
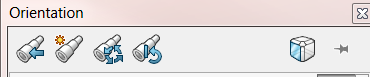 Figure 7: From left to right: Previous View, New View, Update Standard Views and Reset Standard Views
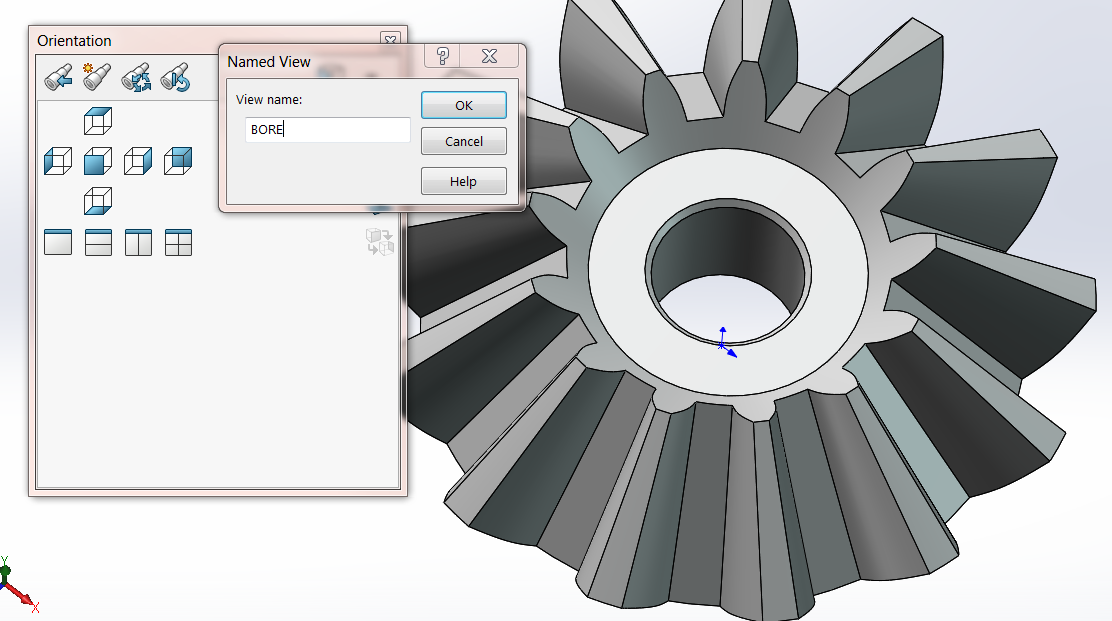
The next button is one of my favorites, the New View button. If you go to a lot of trouble getting the model in the perfect spot to look at something and want to go back to that view at any time, this command is for you. I rotated the gear around so that I can see the bore inside and that’s the view I want to save. Hit Spacebar to bring up the window and hit the New View button. Type in the name of the view and hit OK. It’s added to my Orientation window and I just have to click on it to return the model to that view.
Next, we can change the standard views. Why would you want to do this? When you bring in a view on a 2D drawing, it references one of the standard views. However, whoever designed the part (even if it’s you) might not have had the same definition of a Top View as the person doing the drawing. Updating the standard views will save having to remember that what you think is the Top View is actually the Front View.
On this gear, the Top View looks like this.
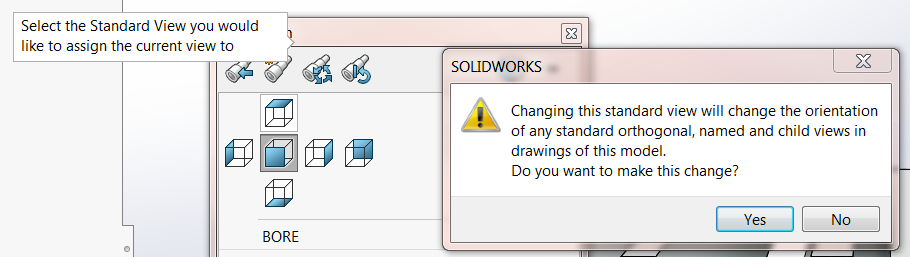
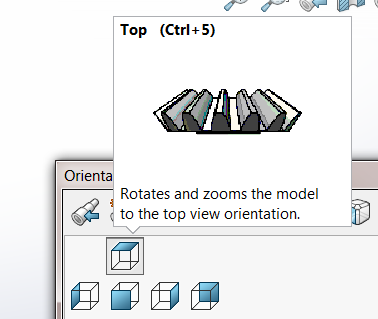
For the sake of argument, I’ll change the Top View to the Front View. Change the model orientation to the Front View, then hit the Update Standard views button. SOLIDWORKS will ask you for the view you’re changing this view to, warn me of the change, and now the current view the Top View.
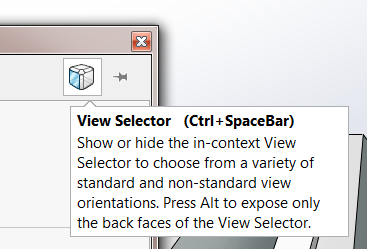
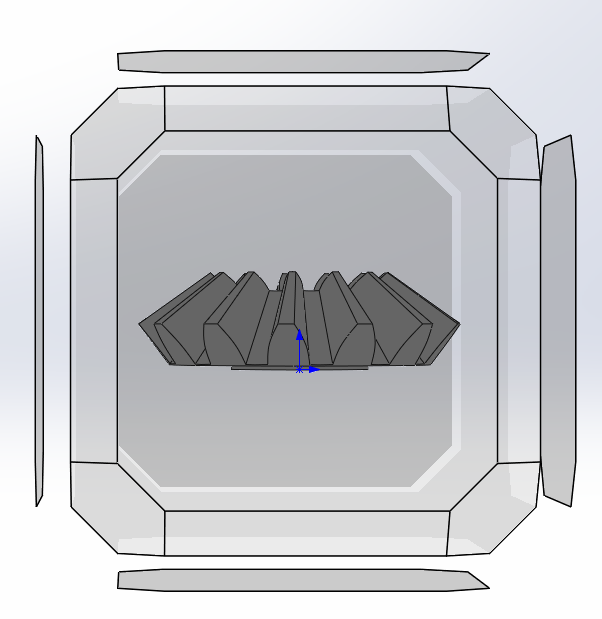
At any time, if I want to go back to the original, I can always hit Reset Standard Views and go back to the default. The last button on the right is the View Selector that we can rotate around and then click on a face of the cube to orient the model. This cube will stay on and pop up every time you hit Spacebar until you click the button again.
In this blog, I went over some options to help you view your models within SOLIDWORKS. For more information, check out our YouTube channel, get a quote for SOLIDWORKS or contact us at Hawk Ridge Systems today. Thanks for reading!


