Do you use Instant3D and Instant2D when modeling in SOLIDWORKS? If you’re not sure, you’re not alone. Many experienced SOLIDWORKS users aren’t exactly clear on what these tools do AND when it can be helpful to turn them off, so here’s an overview.
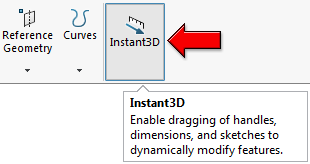 |
Let’s start with Instant3D. Instant3D has been around since 2008, so if you have been a SOLIDWORKS user for a while, chances are you have used it at some point. It allows for models to be dynamically modified in 3D and updated – you guessed it – instantly. It is located on the right side of the Features tab on the CommandManager and it is enabled by default. When enabled, there are several different ways Instant3D can be used.
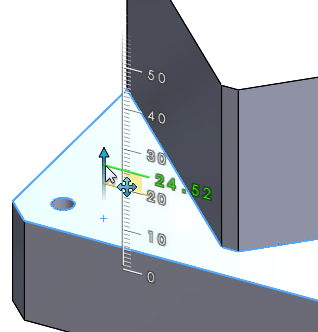 |
Click and drag the arrows that appear when a face or edge is selected. The appropriate dimensions will be modified and the model will update.
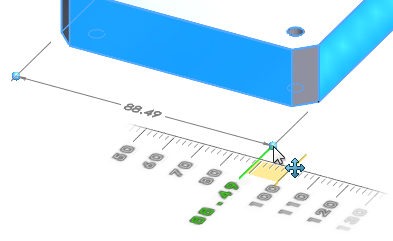 |
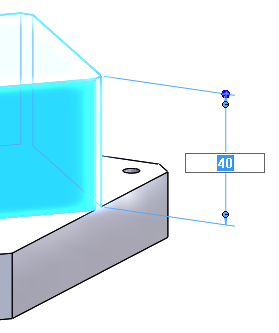
To modify specific dimensions, click on a feature (either on the model or in the FeatureManager) to bring up the associated dimensions, and then click and drag the drag handles (blue dots).
 |
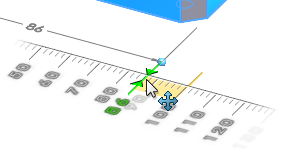
During these drag operations, a ruler appears on the screen. Moving the cursor over the ruler allows you to snap to the ruler increments.
 |
If you prefer to type instead of drag, single-click on the dimension value, type in a new value and hit Enter. Notice that there’s no need to rebuild the model after making any of these changes.
 |
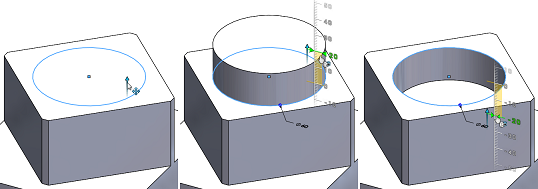
In addition to editing existing dimensions, Instant3D can be used to create new extrude features by dragging the arrow that appears when a sketch is selected. Drag away from the solid to create an extruded boss or drag into the solid to create an extruded cut. Holding M creates a midplane extrude.
 |
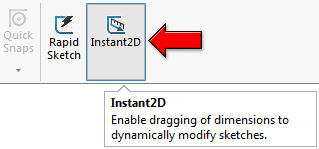
What about Instant2D? Instant2D was added for SOLIDWORKS 2016 and simply brings the same drag handles and single-click editing techniques to the sketch environment.
 |
While Instant3D and Instant2D are great when you want to make changes quickly, there are some times where turning these functions off can actually make things easier.
 |
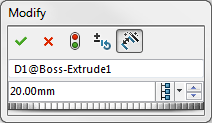
Double-clicking on a dimension brings up the Modify box, which is useful for renaming dimensions, adding global variables and equations, and working with configurations. Instant3D and Instant2D make this a bit tricky since they allow for single-click editing. You have to double-click VERY quickly to access the Modify box and not the instant edit box. If you’re feeling more like a sloth than a hummingbird, disabling the Instant tools should help.
 |
If you’re a seasoned SOLIDWORKS user, your muscle memory probably has you clicking on dimension values to select, move, delete, or access the PropertyManager of a dimension. With the Instant tools enabled, this opens the instant edit box and can be a real pain in the workflow. Disabling Instant3D or Instant2D is a quick fix, but you can also easily avoid this problem by learning to click the dimension leaders instead of the dimension values.
So that’s the rundown on Instant3D and Instant2D. Hopefully, you now know how to use these functions to make quick edits to your designs, and how to turn them off when they’re in your way! To see more tutorials, check out our YouTube channel or contact us at Hawk Ridge Systems today!


