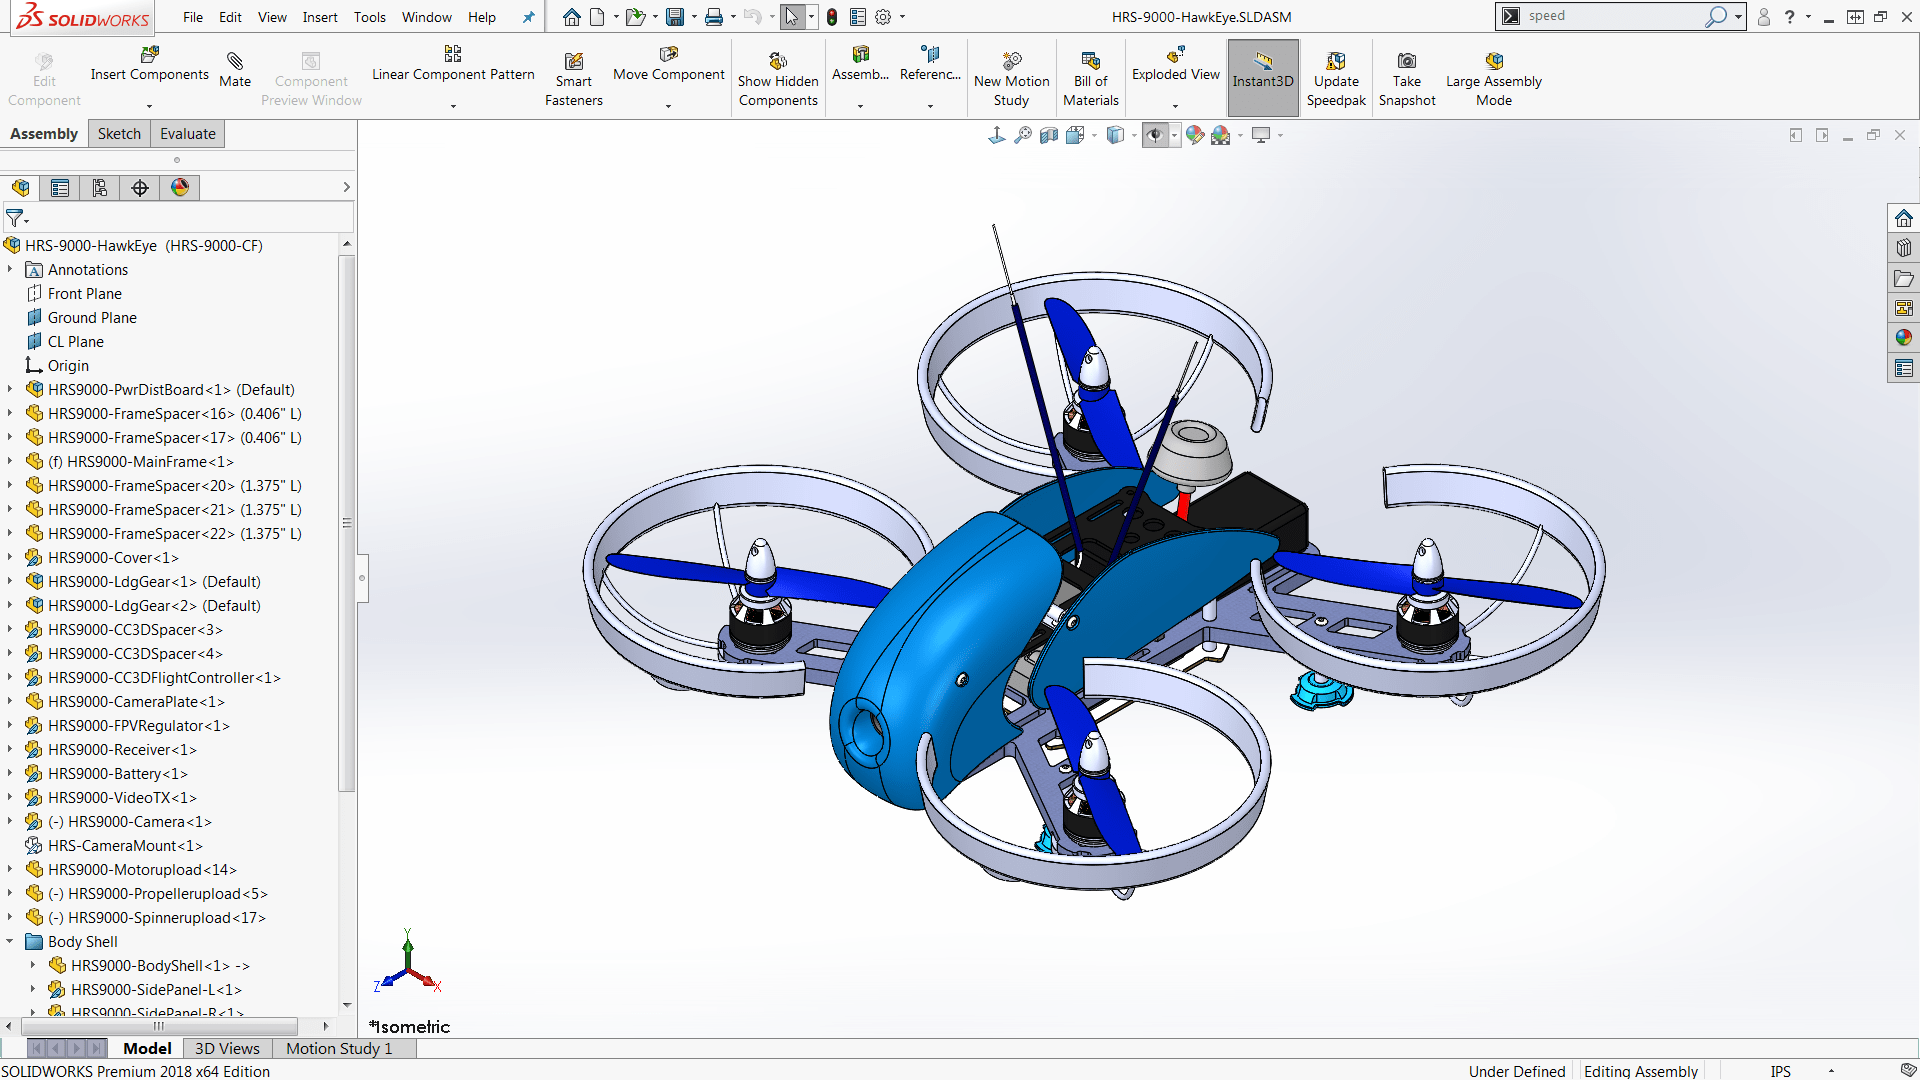
Do you have trouble with the performance of your assemblies? Is it sometimes difficult to rotate or zoom in and out? Are you often stuck waiting for that loading bar to figure out what it’s doing? One main concern for many SOLIDWORKS users is the performance of large or complex assemblies. A great way to increase performance while working in assemblies (or drawings of assemblies) is to create SpeedPak configurations. SpeedPak configurations are graphical representations of assemblies and subassemblies that only retain information needed for making selections (i.e. mates) and measurements.

First off, what exactly is a SpeedPak configuration and what does it do?
- It is a simplified, graphical representation of an assembly or subassembly that does not require the user to suppress components/features or substitute in “simplified” placeholders
- It retains faces, bodies, sketches, curves, and reference geometry that may be needed for selection or dimensioning (the ability to select specific sketches, curves and reference geometry was added in SOLIDWORKS 2017, previously all unsuppressed, top-level sketches were included)
When to use SpeedPak:
- When you have a complex subassembly, especially when it is only referenced by a handful of mates/dimensions
- To facilitate file sharing or protect intellectual property; SpeedPak information is saved in the assembly, so component files are not necessary when sending it to another user for reference (here is a great video covering this use case: https://www.youtube.com/watch?v=t14xWy3x8qg)
- For assemblies that represent “off-the-shelf” items that will not be edited
- For library/commonly used assemblies
Making a SpeedPak configuration
To make a SpeedPak configuration for an assembly, just go to the ConfigurationManager and Right-Click on a configuration and select Add SpeedPak. The SpeedPak is always a derived configuration, meaning any changes to the parent configuration will trickle down. It is good practice to standardize the configuration used to create the SpeedPak across the company if possible, such as always using the Default configuration, though one SpeedPak can be created for every configuration if required. Also note that until SOLIDWORKS 2018, SpeedPak configurations could not be automatically updated when the assembly changed.

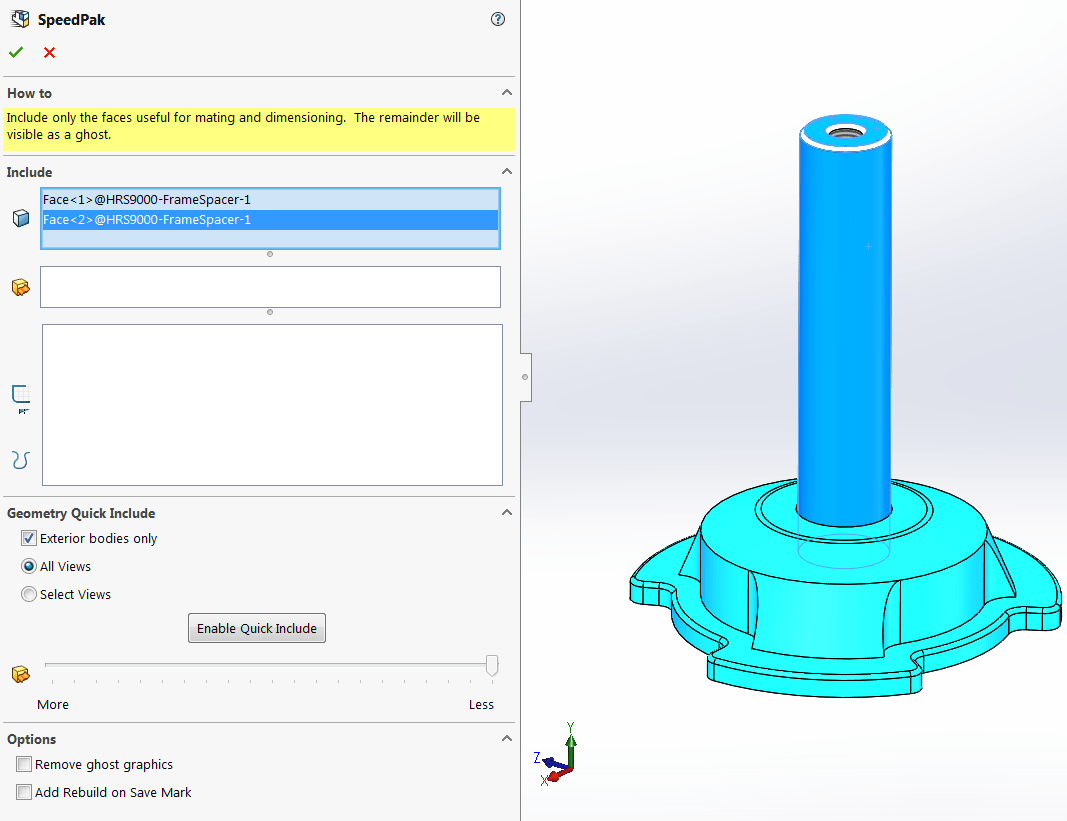
Once in the SpeedPak PropertyManager, any faces, bodies, sketches, curves, or reference geometry you want to remain selectable can be added to the Include boxes. You can also use the Geometry Quick Include to make selections for you based on components that are on the exterior of the design, or visible in specific views. The slider allows you to control how many of bodies will be saved into the SpeedPak.
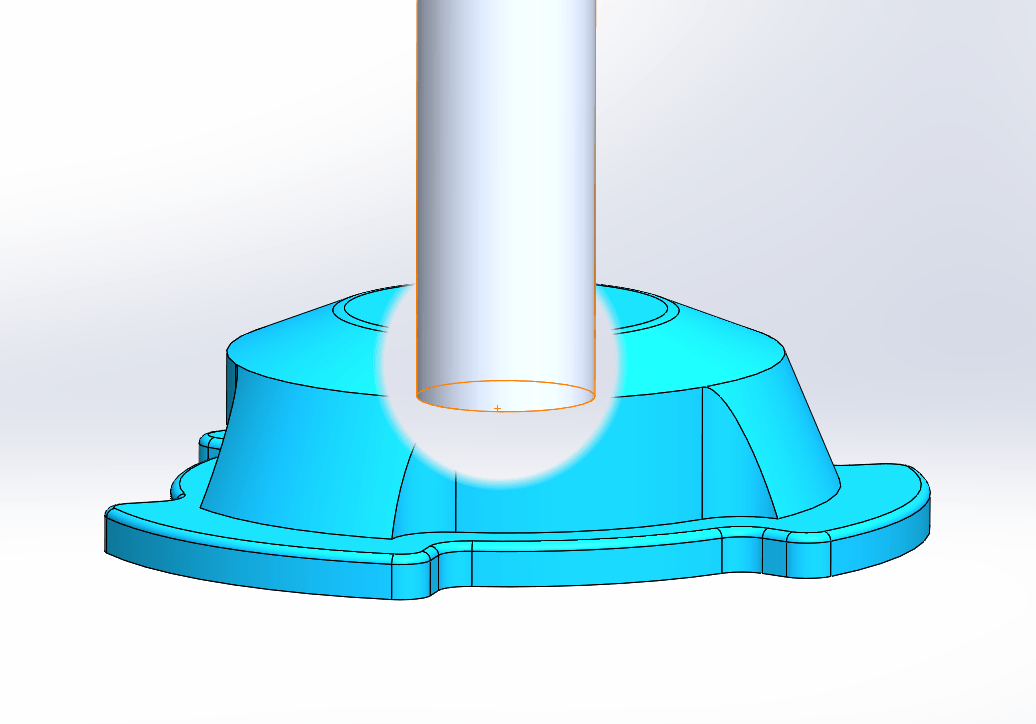
All non-included aspects of the assembly will appear as graphics-only and will not be selectable. You may also notice that when moving the cursor over the assembly, a “ghost circle” appears – this is the SpeedPak Graphics Circle, and can be toggled with ALT-S to help highlight selectable entities.
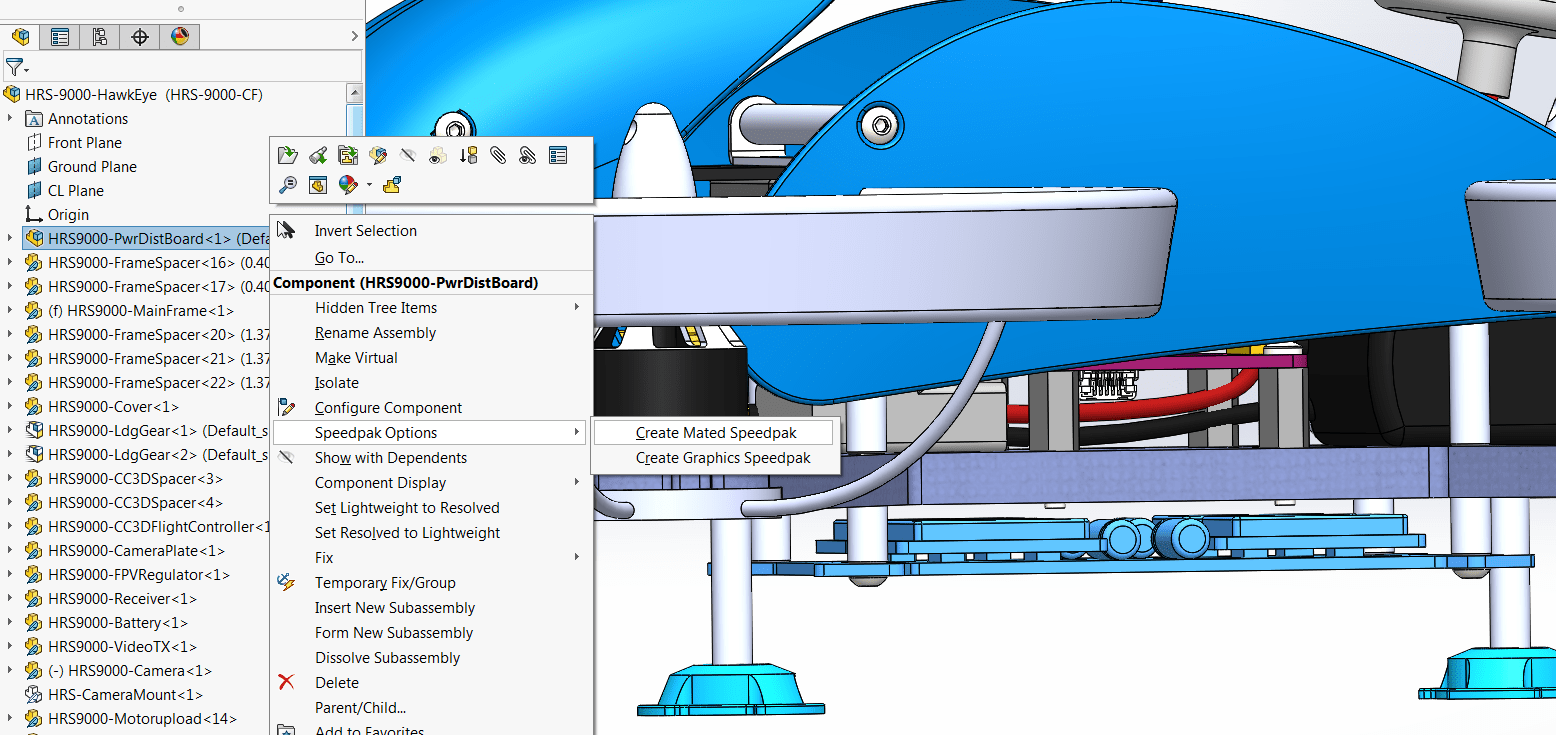
SpeedPak configurations can also be created from the top-level assembly there are used in, greatly simplifying the Include process. Simply right-click on the subassembly, go down to the SpeedPak Options, and select either Create Mated SpeedPak or Create Graphics SpeedPak. This will be created for the currently active configuration. The Mated option will automatically include any faces (and therefore edges attached to them) currently used for mates, while the Graphics option will create a SpeedPak without any included references.
When changes to the assembly have been made, such as moving components or editing features and dimensions, the SpeedPak must be updated for those changes to be represented.
To update a SpeedPak, do one of the following:
- Right-Click the SpeedPak configuration in the Configuration Manager and select Update SpeedPak
- Right-click the subassembly in the top-level assembly, go to SpeedPak Options and select Update SpeedPak
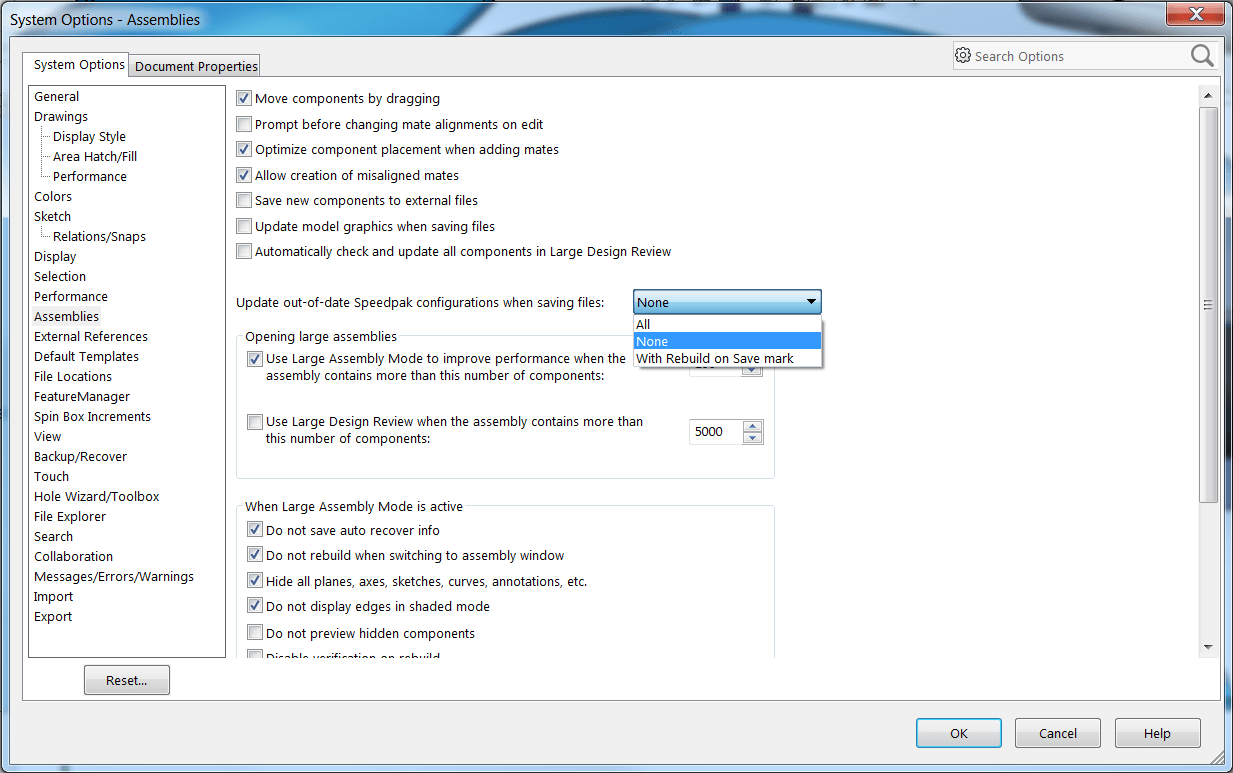
- Go to Options > System Options > Assemblies > Update out-of-date SpeedPak configurations when saving files and select either All or Rebuild on Save mark (available in SOLIDWORKS 2018 and beyond)
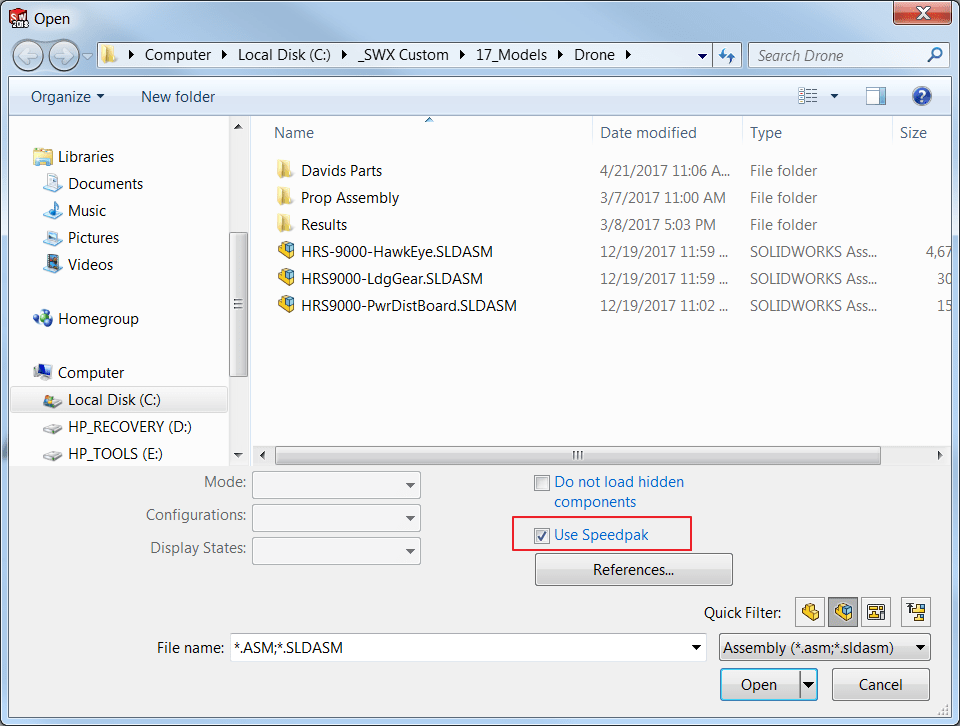
One last tip: when opening assemblies, all SpeedPak configurations can be activated in the Open dialog box.
SpeedPak configurations are a solid option to help reduce the workload on both your CPU and graphics card while retaining functionality. Remember, if you run into limitations of what your SpeedPak allows you to do, you can always switch particular subassemblies back to the main, fully loaded configurations at any time.
For more information, request a SOLIDWORKS 3D CAD quote or contact us at Hawk Ridge Systems today. Thanks for reading!