 |
Many times a drawing view must be created that is not part of the available
standard views. The relative view command allows you to use faces or planes in
your model to define a specific orientation. This is a great way to create
views normal to angled faces of your model that you may need to dimension out
or show detail on without having to have the reference drawing view that an
auxiliary view requires.
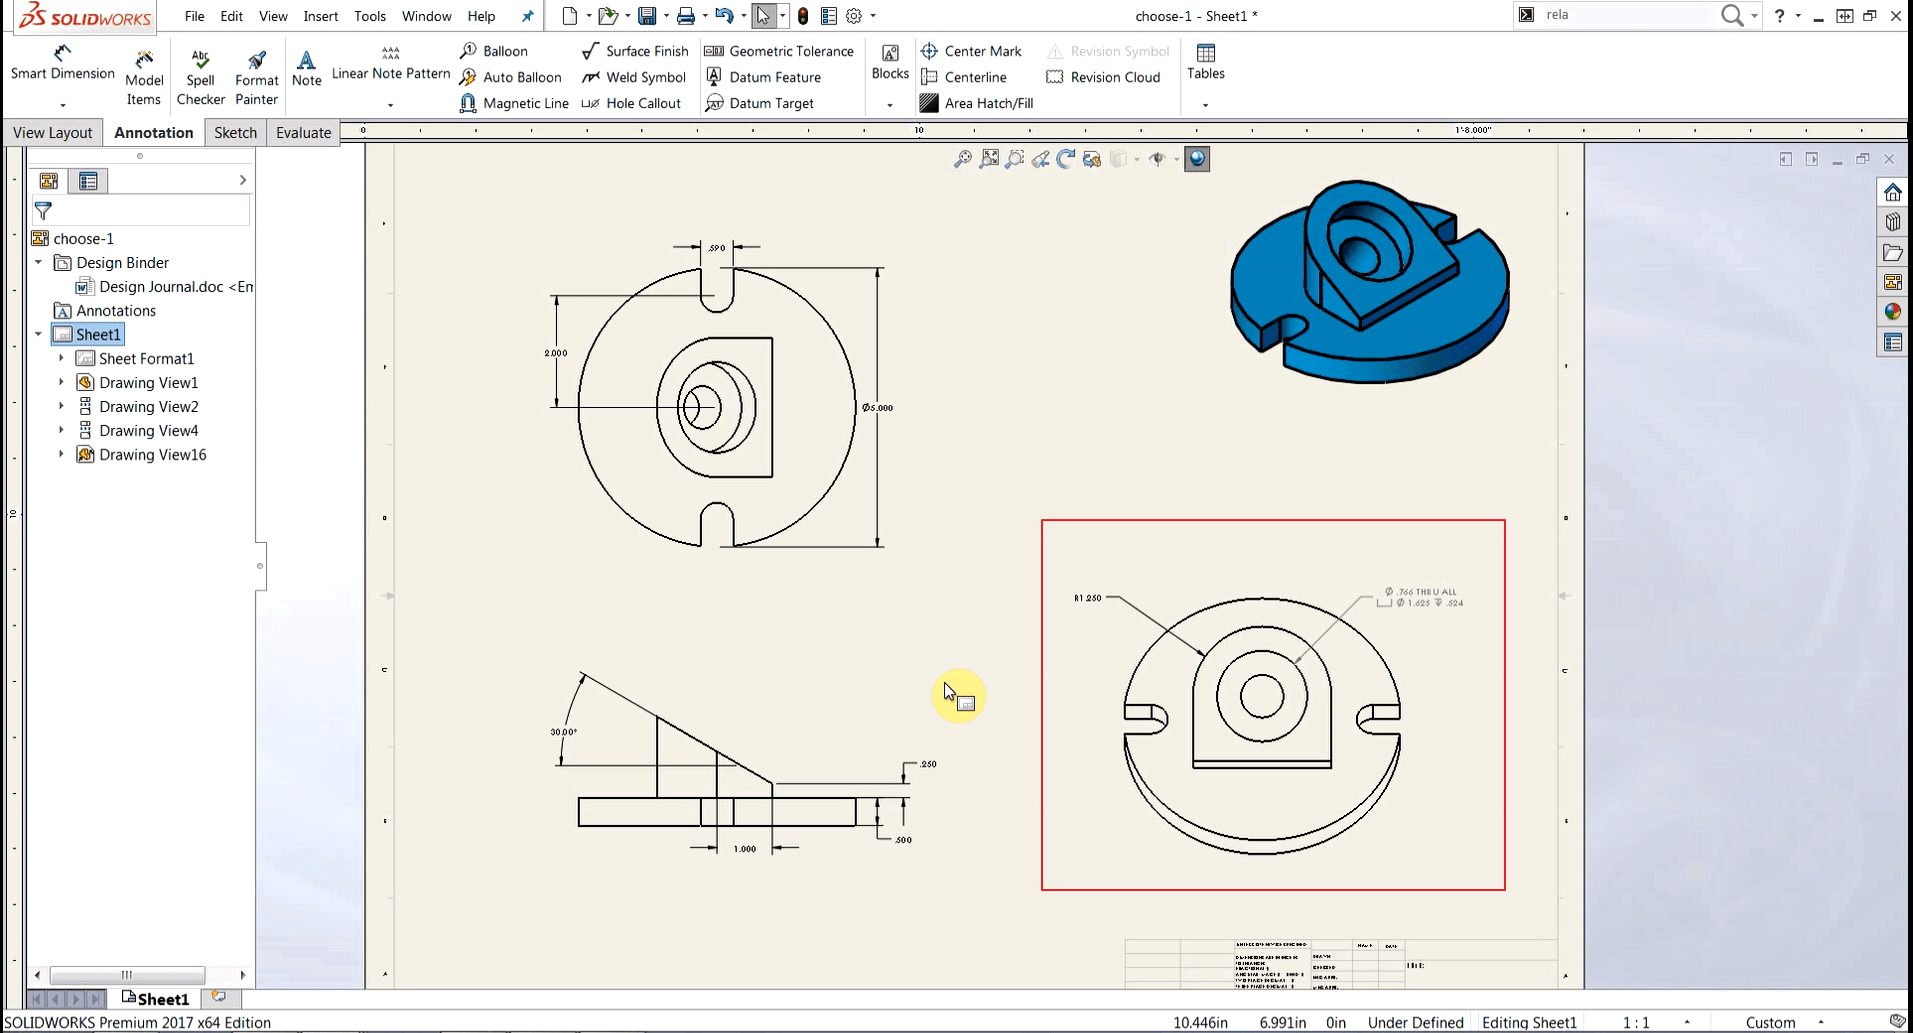
So, how do we do it?
- Start a drawing or open an existing drawing file.
-
Start the relative view command:
- Insert>Drawing View>Relative to Model
- Use the Command Search Bar for “Relative View”.
-
Select the model you wish to create the view of:
- Select a drawing view containing the part or assembly.
- Right-click and select “Insert From File…”.*
-
Once directed to the part/assembly file you will select faces or planes to
define the orientation of the model** - Place the Relative View on your sheet.
Notes:
*Use this method if you want to create a Relative View of a component but do
not want any other components from the assembly in the view. This prevents the
creation of extra references to the assembly, which in turn can cause the
Relative View to break if the assembly changes.
**If the model is a multi-body part the Property Manager will also have
options for using the “Entire Part” or “Selected Bodies”.
For more information, check out our
YouTube channel
or contact us at
Hawk Ridge Systems
today. Thanks for reading!