If you’ve ever worked with assemblies in SOLIDWORKS, you’re probably familiar with some of the tools to evaluate the functionality of a design. There’s Collision Detection, which helps identify collisions between selected components during dynamic assembly motion. Interference detection is used to check for any interferences between static components. And Clearance Verification, which determines the minimum clearance between static components. But what if you needed to check the clearance between components while they’re moving? For example, the clearance between the piston and the cylinder head.
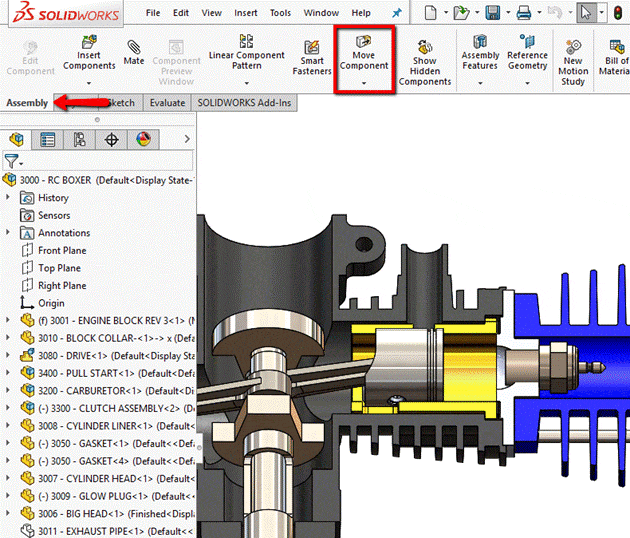
That’s where the tool called Dynamic Clearance can help. As its name suggests, it allows you to detect the clearance between two moving parts. It can be accessed by clicking on Move Component or Rotate Component on the Assembly toolbar (the same place to access Collision Detection).
In the PropertyManager, you’ll see a checkbox to enable the Dynamic Clearance tool. In the Components for Collision Check, select the components you want to measure the clearance between and click Resume Drag. Now you’re free to drag components to move/rotate your assembly as usual. You’ll notice a blue dimension appear in the graphics area. This dimension is the minimum distance between the selected components at any given position and dynamically updates as the components move.
You’ll also see this dimension displayed in the PropertyManager, along with a value in brackets. The value in brackets is the minimum distance found during the motion the assembly was subjected to, so be sure to move the components through their full range of motion.
Additionally, there’s an option to Stop at Specified Clearance. With this option is enabled, you can specify a clearance value to prevent the components from moving within the specified value. This works in the same fashion as Collision Detection, with the Stop at collision box checked.
This option can be helpful in helping you determine specific values for advanced mates such as limit mates in order to meet your design requirements.
For more information, check out our YouTube channel, get a SOLIDWORKS 3D CAD quote or contact us at Hawk Ridge Systems today. Thanks for reading!


