
Transparency settings in SOLIDWORKS are great for clarifying the inner details of a design and gaining access to obscured areas of a part or assembly. Occasionally, however, transparency can become difficult to manage. This is especially true for face transparency, as it is not tracked in the FeatureManager Design Tree like features and bodies.
In some cases, it can become nearly-impossible to remove the transparency from a face. You must select each transparent face, right click, and turn transparency off.
Or you can quickly learn how to do the same for all faces at once in a fraction of the time.
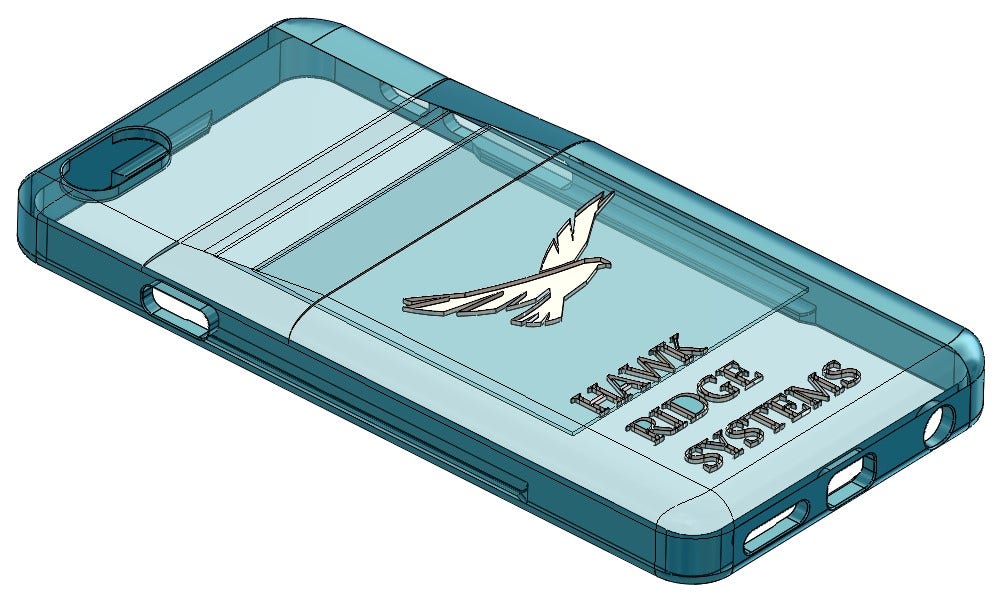
iPhone Case Model with Several Transparent Faces
I ran into this issue when working with a phone case model that I designed. I had hidden several faces on it to gain access to some obscured areas, and when I tried to turn the transparency off for these faces, I had to select all of them individually (which is a pain on its own) and there were some faces I had a very difficult time selecting at all.
Adjust Transparency
Before using this method, it is prudent to make sure that the faces you are trying to remove transparency from aren’t being controlled by a feature, body or top-level transparency. The quickest way to confirm this is to open the Display Pane and check the Transparency column. To open the Display Pane, click the right-facing arrow at the top-right of the FeatureManager. The last column in this pane will show an icon for any feature or body that has been set to a transparent display. Toggle these off as needed to remove as much transparency as you’d like.
If this doesn’t do the trick, then the individual faces of your part may be set to transparent. When faces are set to transparent individually, the faces are added as a selection to their parent appearance, and the transparency value for the face selection is set to 0.75 by default. The transparency can be removed by deleting the face selection from the parent appearance, but this can sometimes be difficult to identify if you use a lot of appearances. This may be the best approach, however, if you only need to remove transparency from a couple faces that are difficult to access.
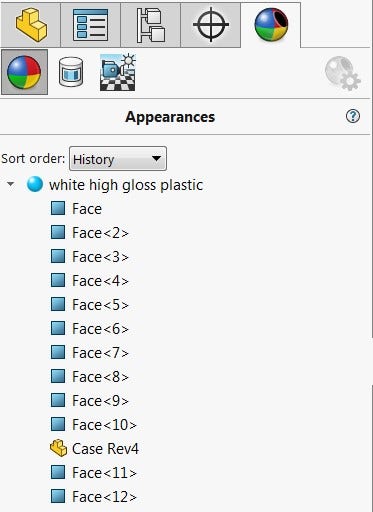
Face Selections Added to Appearance as a Result of Adding Transparency
Using Selection Filters
If you have a lot of faces that need transparency removed, then it’s time to go scorched-earth. First, it’s necessary to select all the faces of the model. Using the Select All command seems as though it should work, but it selects more than just faces. Because of this, it will not allow you to remove all transparency at once. This is where Selection Filters come in. Show the Selection Filter toolbar by navigating to View > Toolbars > Selection Filter, or press F5 on the keyboard. Once visible, select the Filter Faces icon. This prevents anything other than faces from being selected. Now, use Select All once again by clicking in the graphics area and pressing Ctrl + A on the keyboard. Be sure to select all faces.
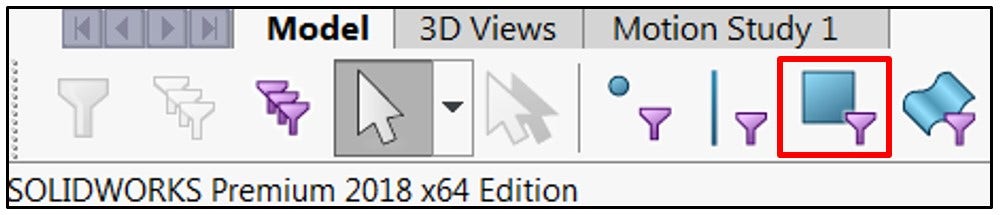
Applying the Filter Faces Option
From here, right-click and choose Change Transparency under the Faces category of the shortcut menu. It is likely that all faces of the model will become transparent. If this is the case, repeat these steps once more and all the faces will become visible. If any transparency remains, it is likely tied to a specific feature or body. Be sure to check the Display Pane in the FeatureManager Design Tree for any transparency settings (don’t forget the Solid Bodies folder).
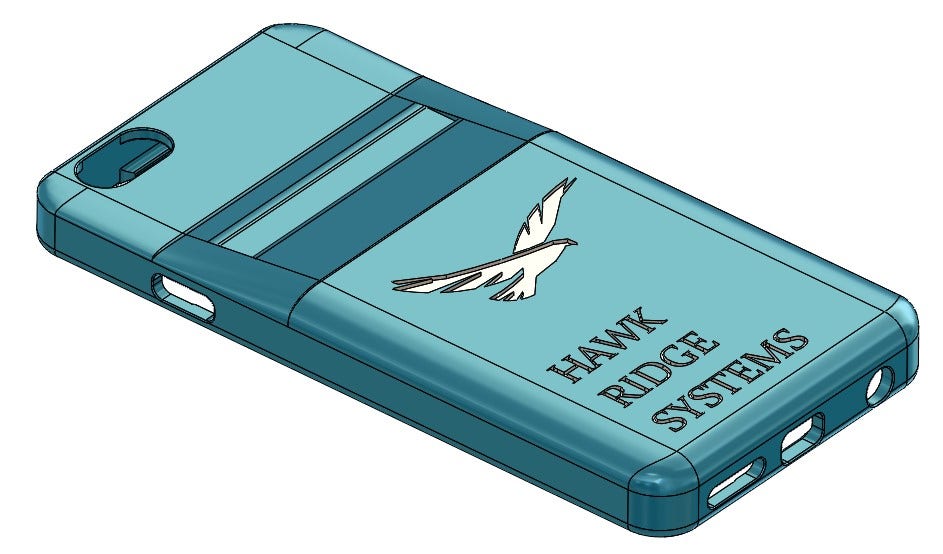
Model with All Face Transparency Removed
That’s all there is to it! Any appearances will remain intact, and all face-level transparencies should be removed. Do you have any other tips or tricks for dealing with transparency in your models? Let us know in the comments! For more information on SOLIDWORKS or if you have any questions, contact us at Hawk Ridge Systems today. Thanks for reading!


