Do you have designs that are similar but different? Or better yet, do you use macros, design tables and/or configurations to automate your designs? Well, DriveWorks might be your one-stop solution to automate your design process.
What Is DriveWorksXpress?
DriveWorksXpress is a rule-based software that is included with every license of SOLIDWORKS. It allows you to quickly generate new versions of your SOLIDWORKS parts, assemblies and drawing by capturing and controlling dimensions, features, custom properties and configurations.
How to Activate
The first thing you want to do is turn on DriveWorksXpress and register your product. You can do this under Tools>Xpress Products>DriveWorksXpress.
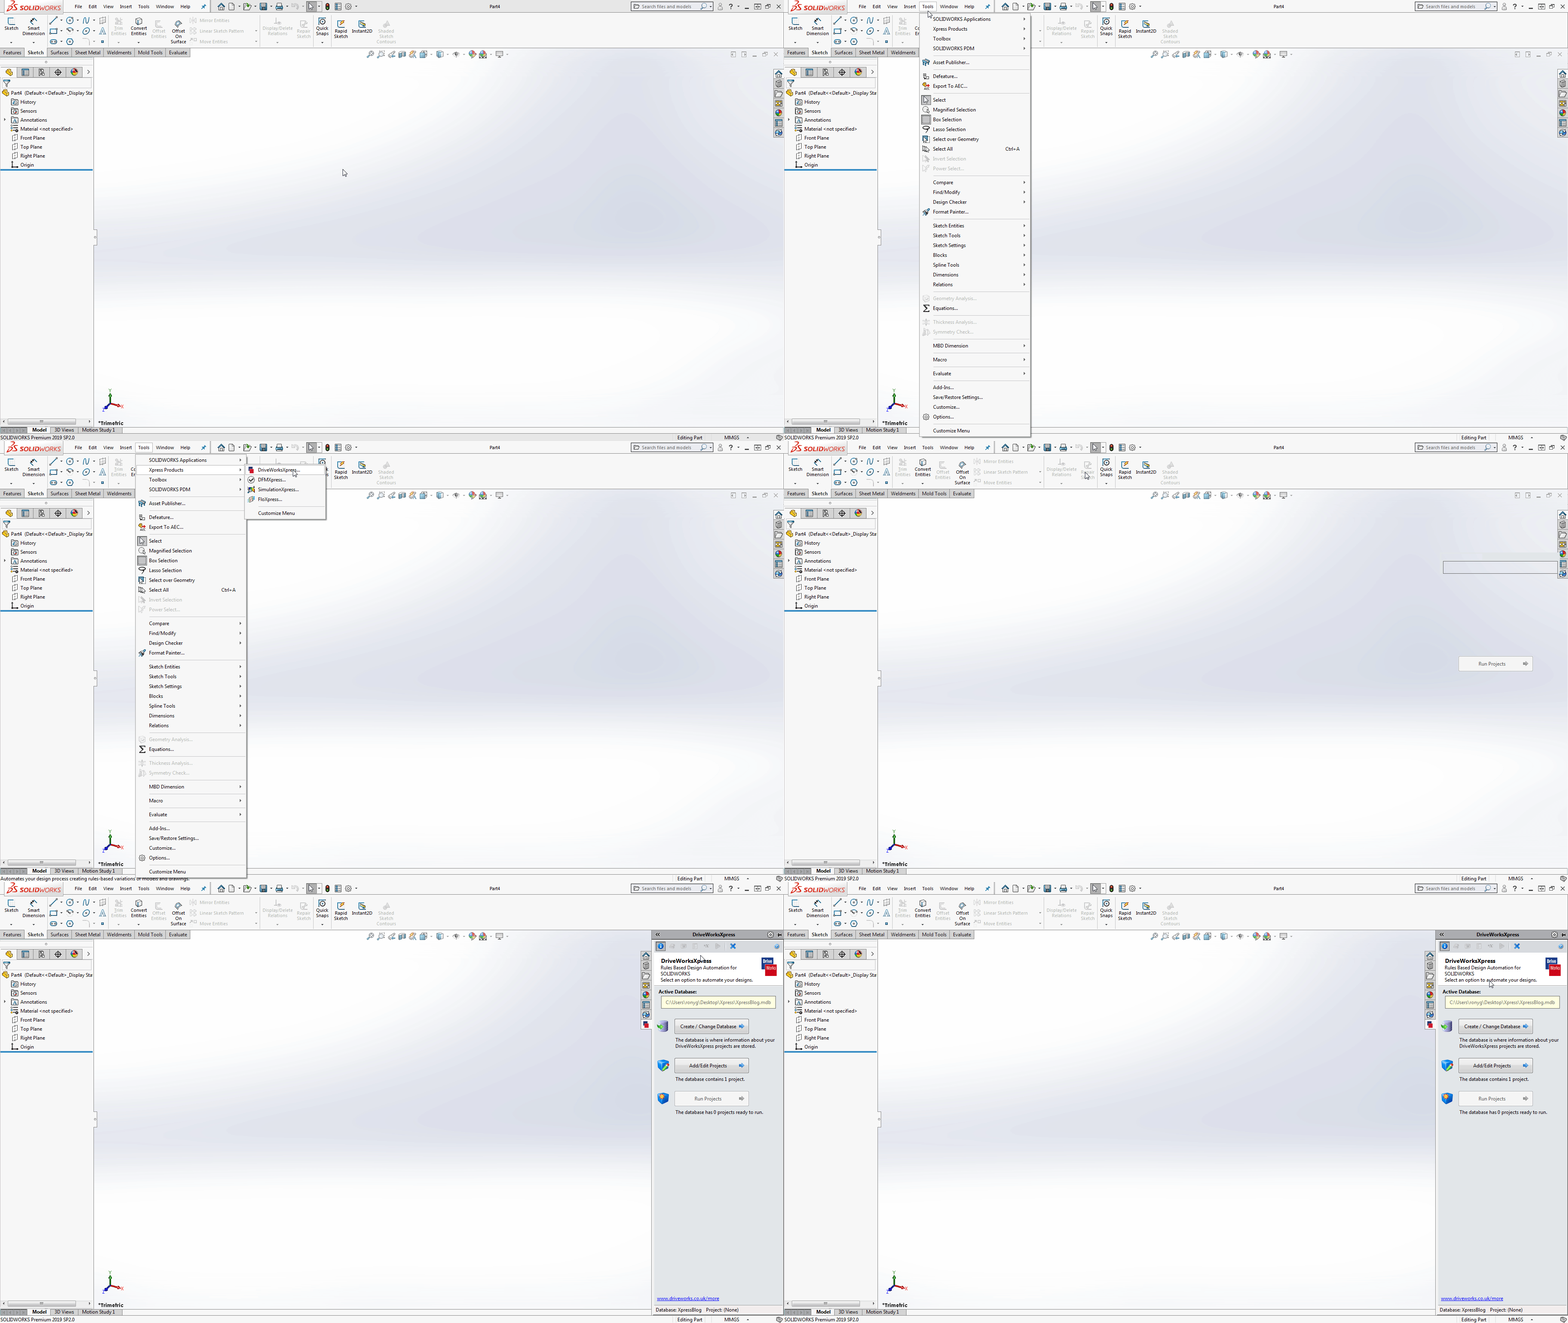
*If prompted, click on the my.solidworks.com/xpress link to log into your customer portal and receive your product code.
Once you insert your activation code you are ready to use DriveWorksXpress!
Using DriveWorksXpress
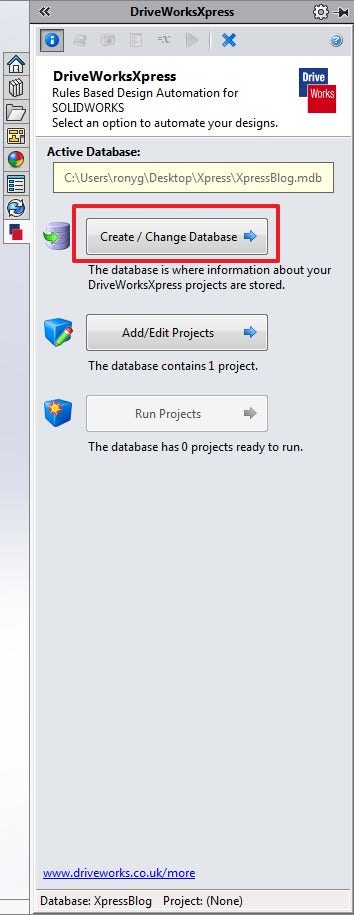
Once you activate DriveWorksXpress, you can start by either creating/changing a database, adding/editing a project, or by running a project. If you have never created a project before, you’re going to want to Create a Database. The software is database-driven so the first thing you will want to do is create a new folder to store the project. Give the database a name and click Open to create it.
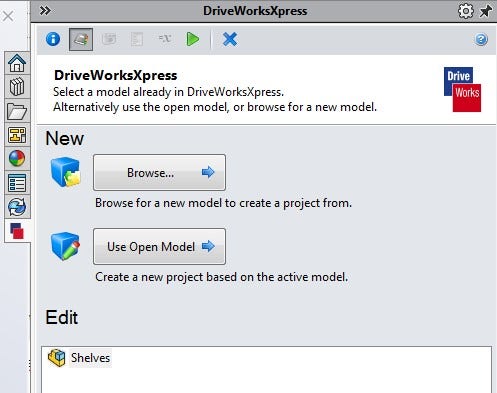
Next, choose what model you want to use in DriveWorksXpress. You can either browse for a model or use a model that is already open.
Capturing Dimensions
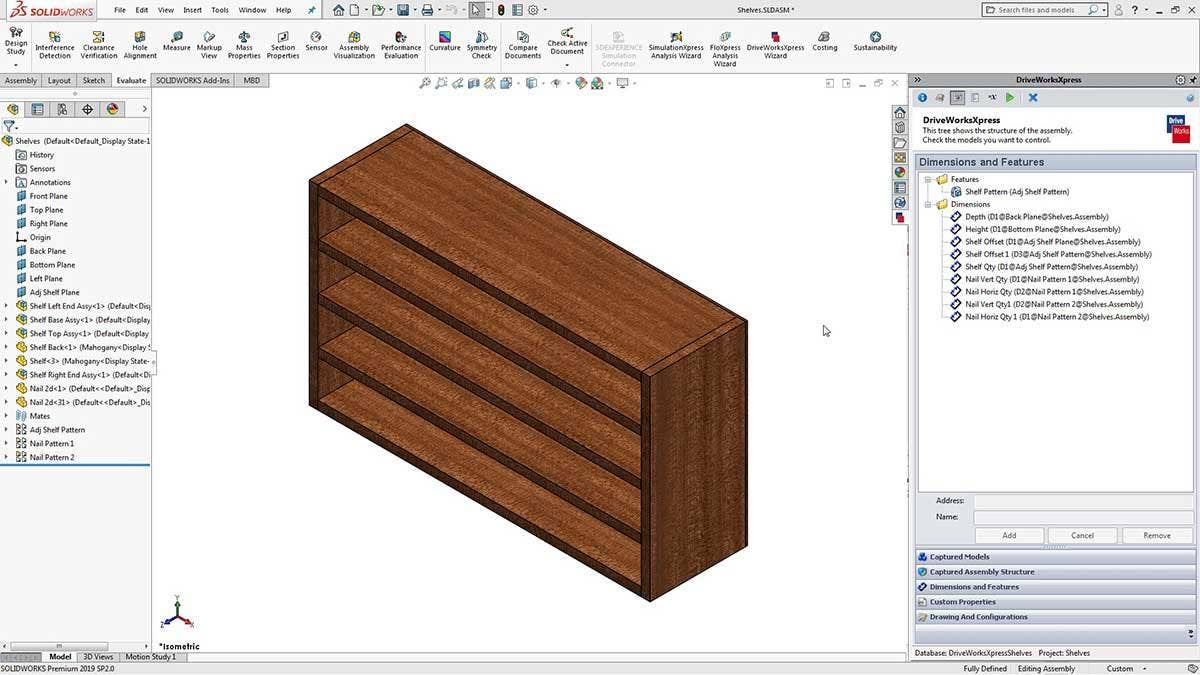
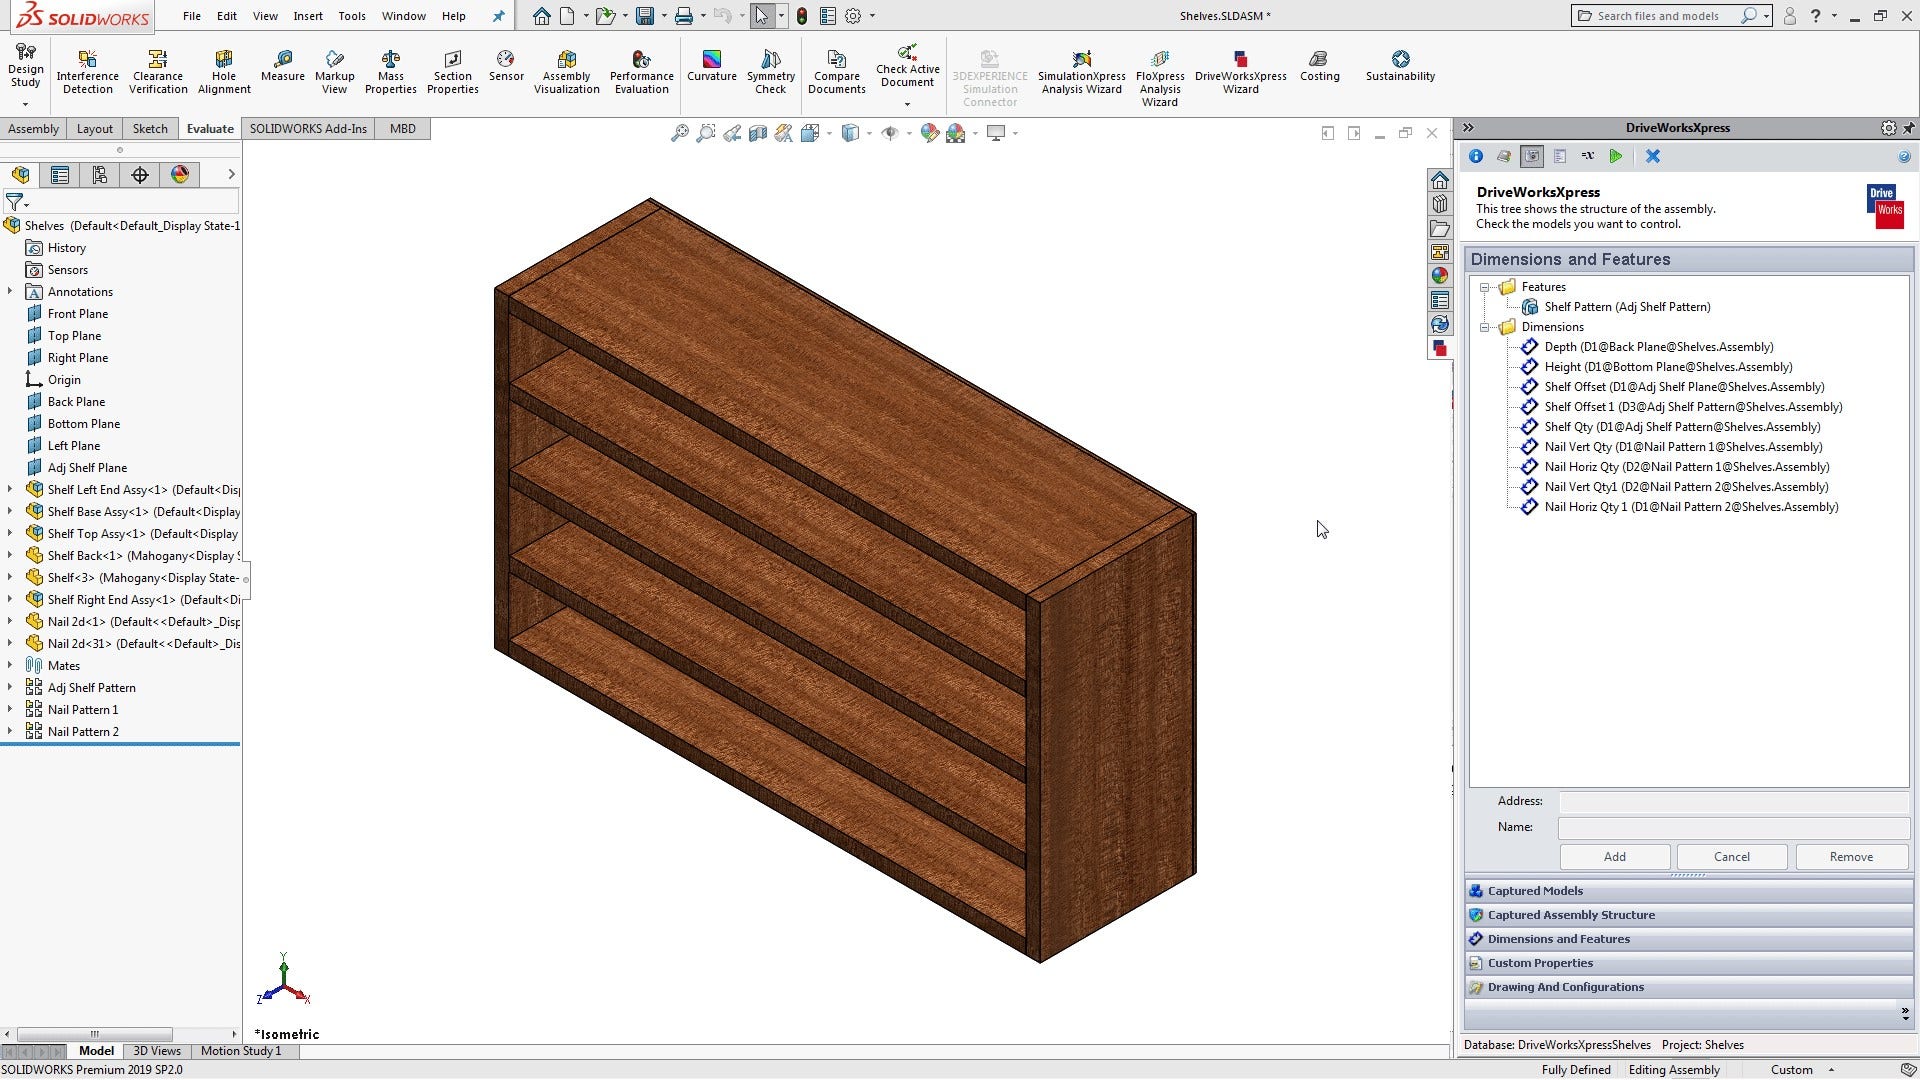
From there, you can begin capturing your model by opening different models and picking the dimensions you want to drive. For the example below, I chose to drive the height, width and depth of my cabinet by capturing the corresponding dimensions. To capture a dimension, activate the Dimensions and Features tab then activate the dimension and click on it. Give the captured dimension a descriptive name and repeat the process until you captured all the dimensions you want to drive.
Once you’ve captured all relevant dimensions, features and properties, we are ready to create rules to drive those dimensions. The user access point to the rules is called a Form. We design a Form to make it easy to dictate the result of the rules. This is where the customization and automation will take place in the final step, so it’s important to layout a Form that is easy to follow but allows for maximum customization.
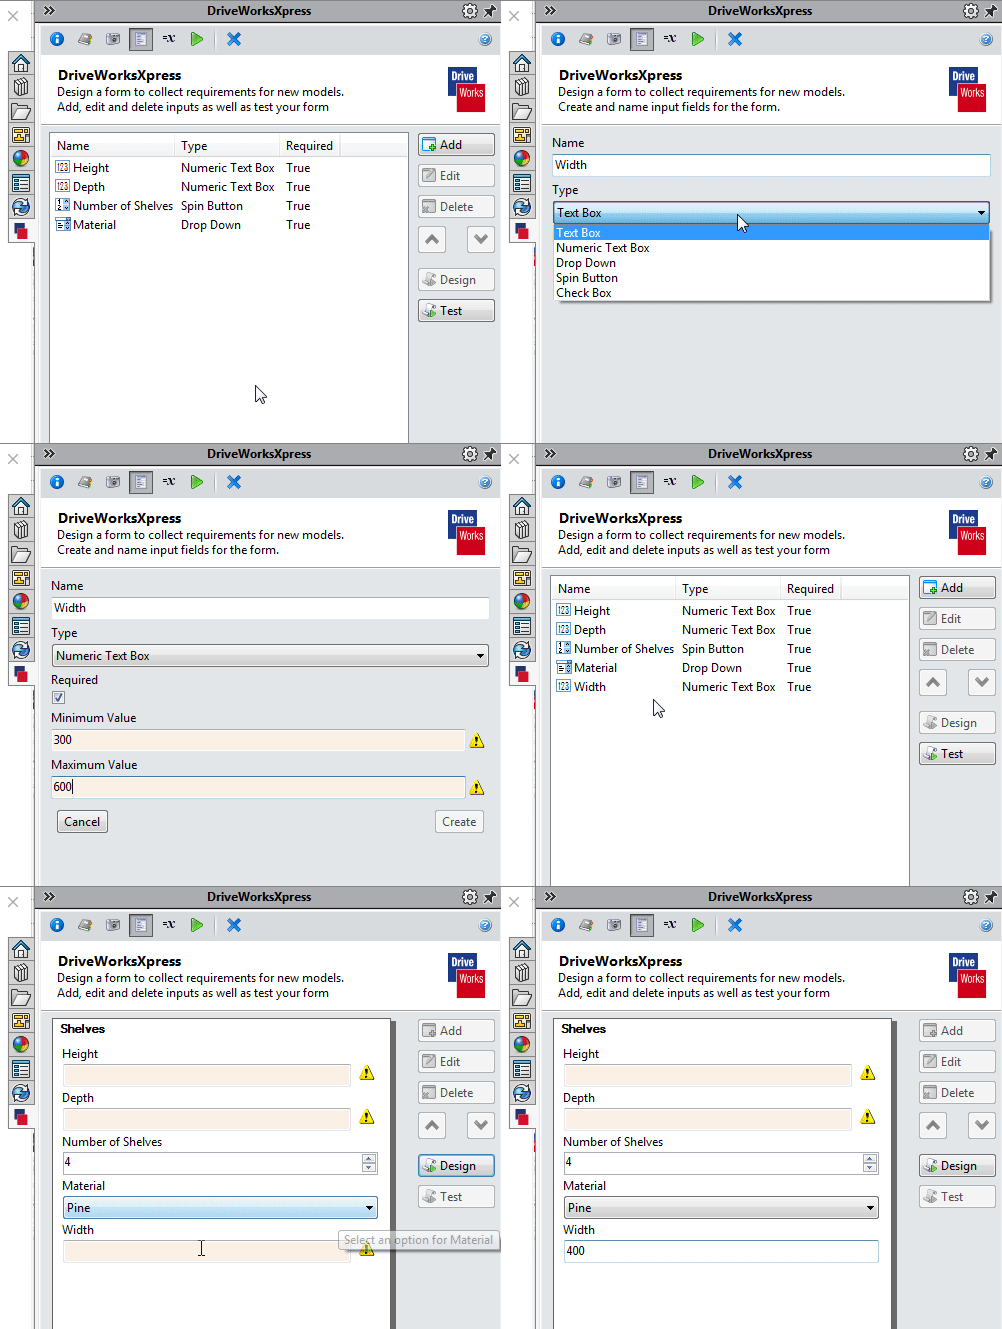
The inputs to these fields will then be used inside the formulas to drive the dimensions and features inside the Rule Editor.
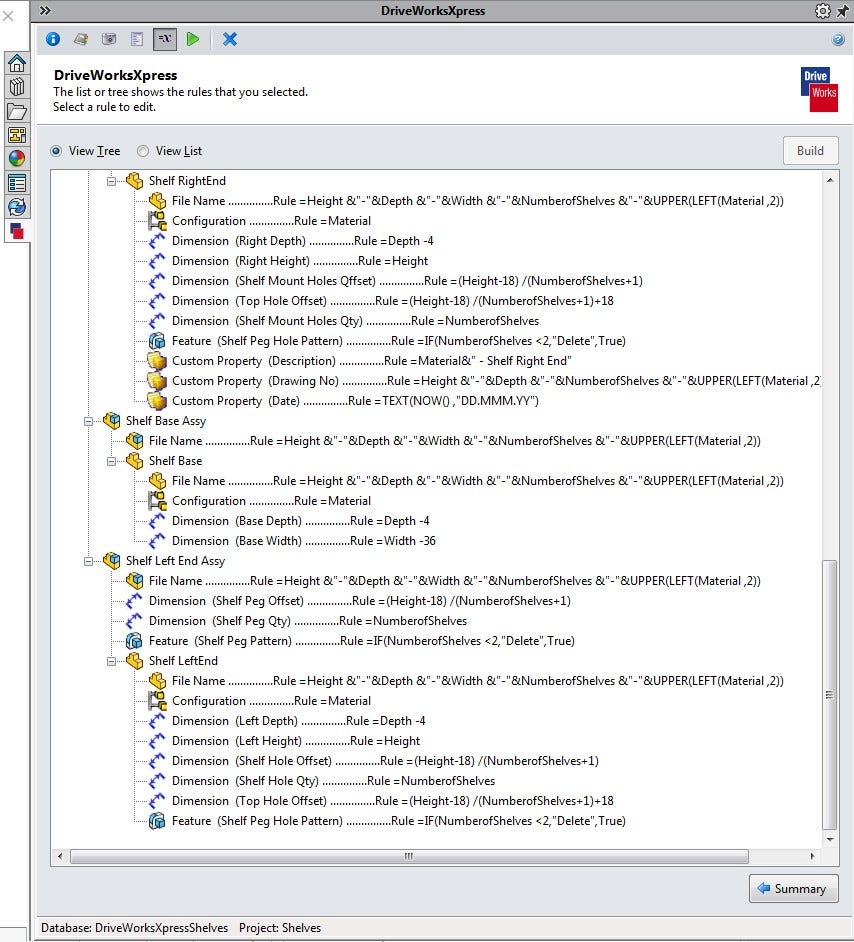
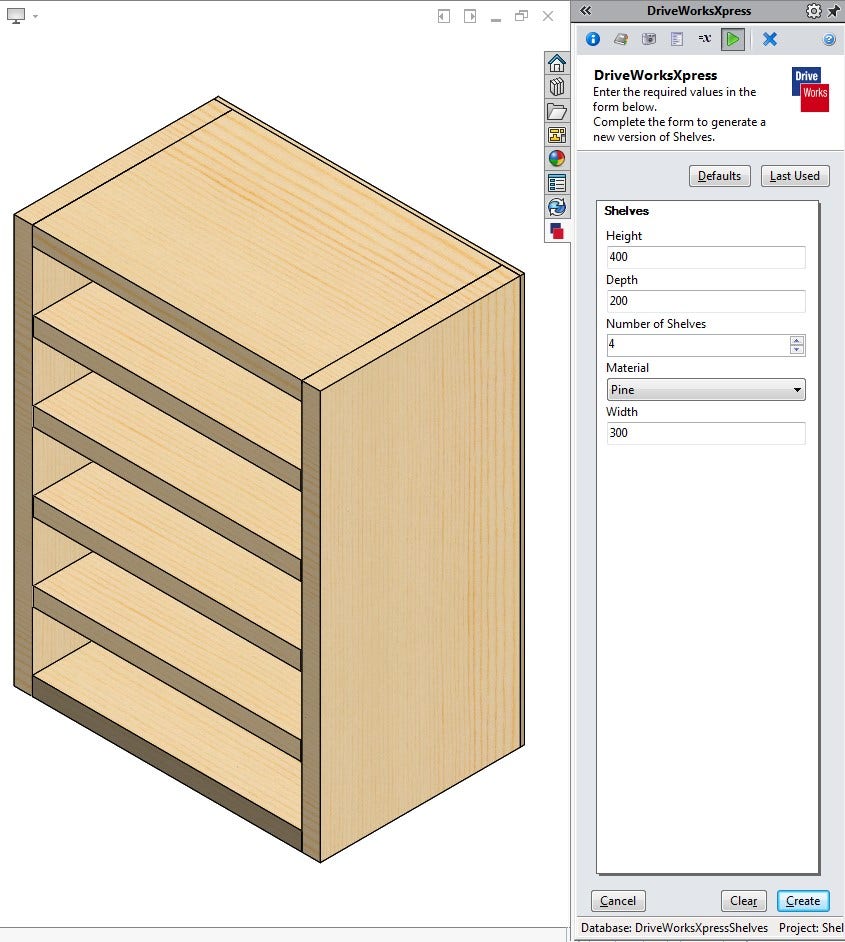
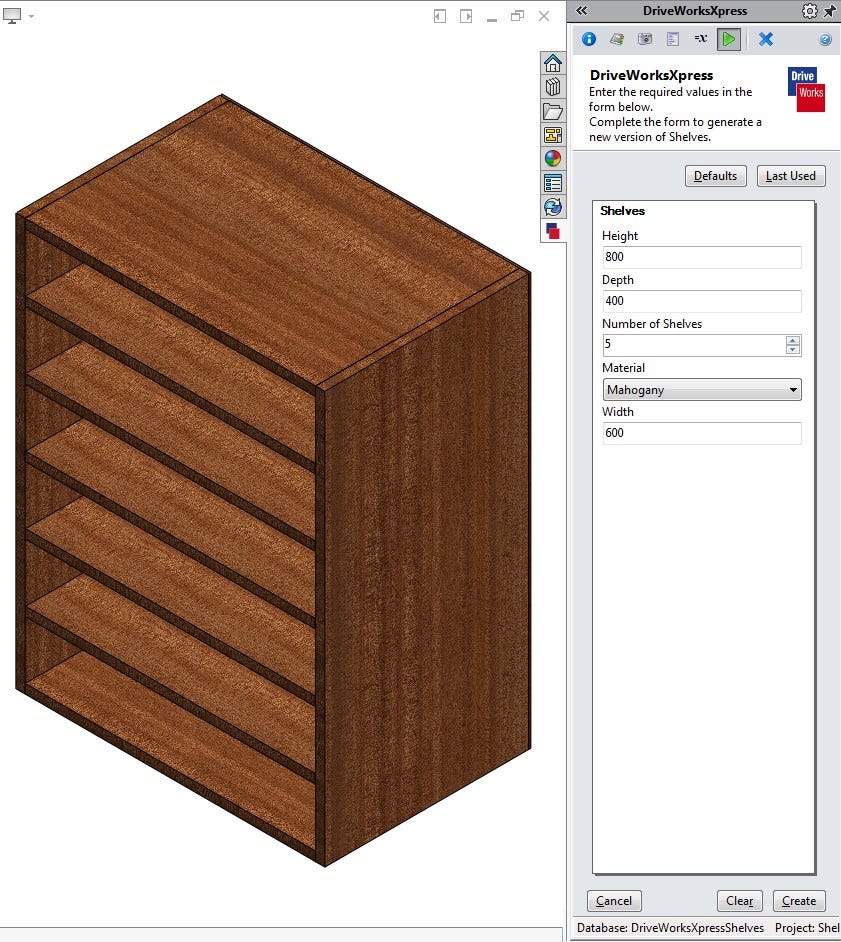
Once your Form has been created and your Rules set up, you can run the assembly using the form we created and quickly generate new configurations of the original design. Below I have included some examples of what I was able to create with the assembly.
If you have any additional questions on SOLIDWORKS or need help exploring options, contact us at Hawk Ridge Systems today. Thanks for reading!
