SOLIDWORKS
Treehouse is a useful tool that is unknown and unexplored by many users. It is
useful for assembly structure planning and viewing existing assembly
structure. After the structure is completed, the structure can be exported to
SOLIDWORKS.
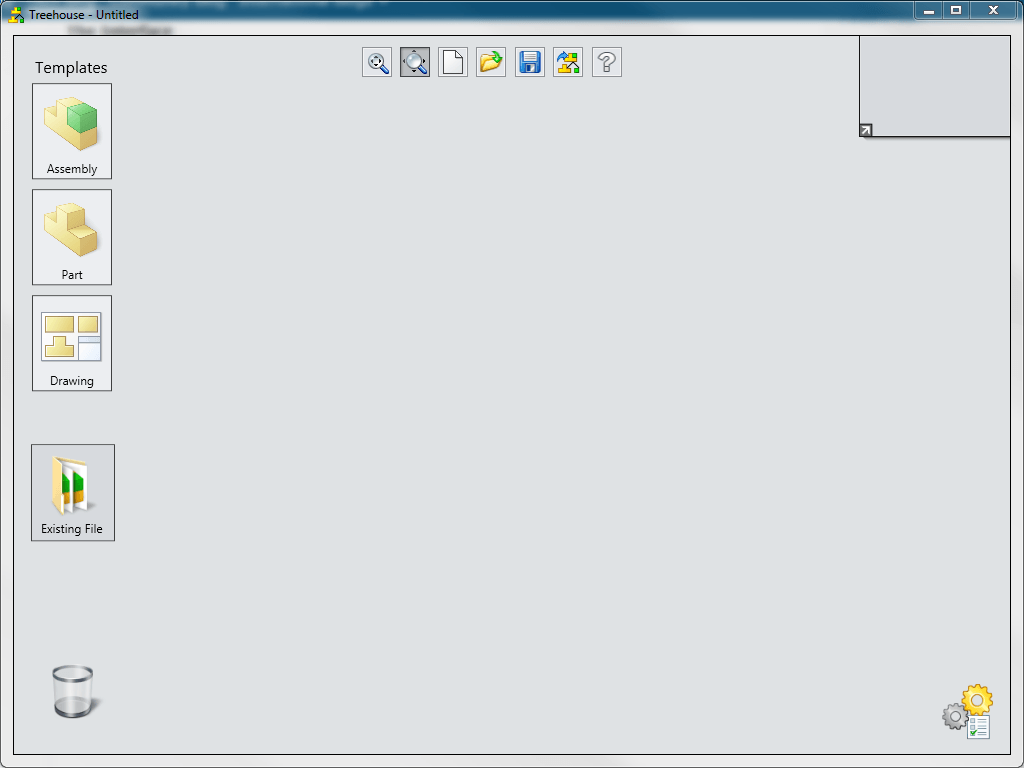
 Figure 1: Blank Treehouse
Here are the steps to use SOLIDWORKS Treehouse:
1. Open: Start > Programs > SOLIDWORKS 20## > SOLIDWORKS Tools
> SOLIDWORKS Treehouse 20##
2. Set up templates to use (Part, Assembly, and Drawing): Options
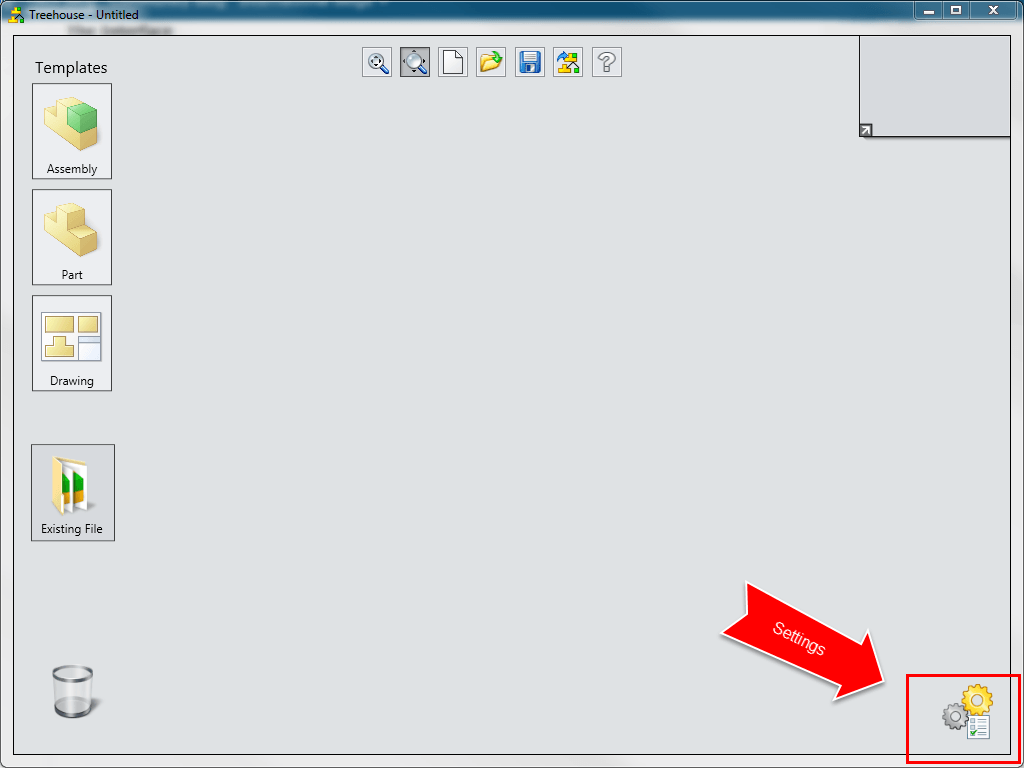 Figure 2: Settings
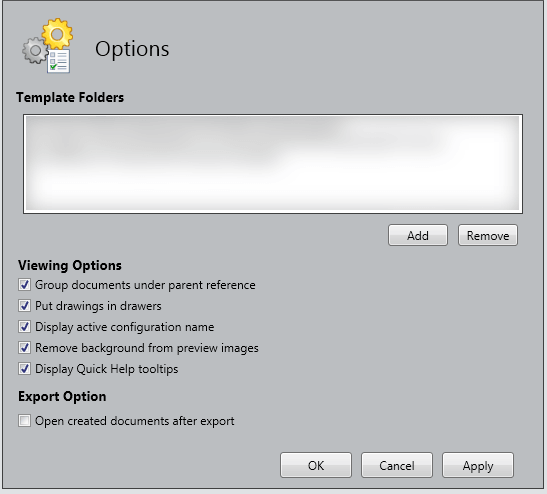 Figure 3: Add template paths
3. Bring in Assembly:
· Use existing files (Can be a combination of existing and new)
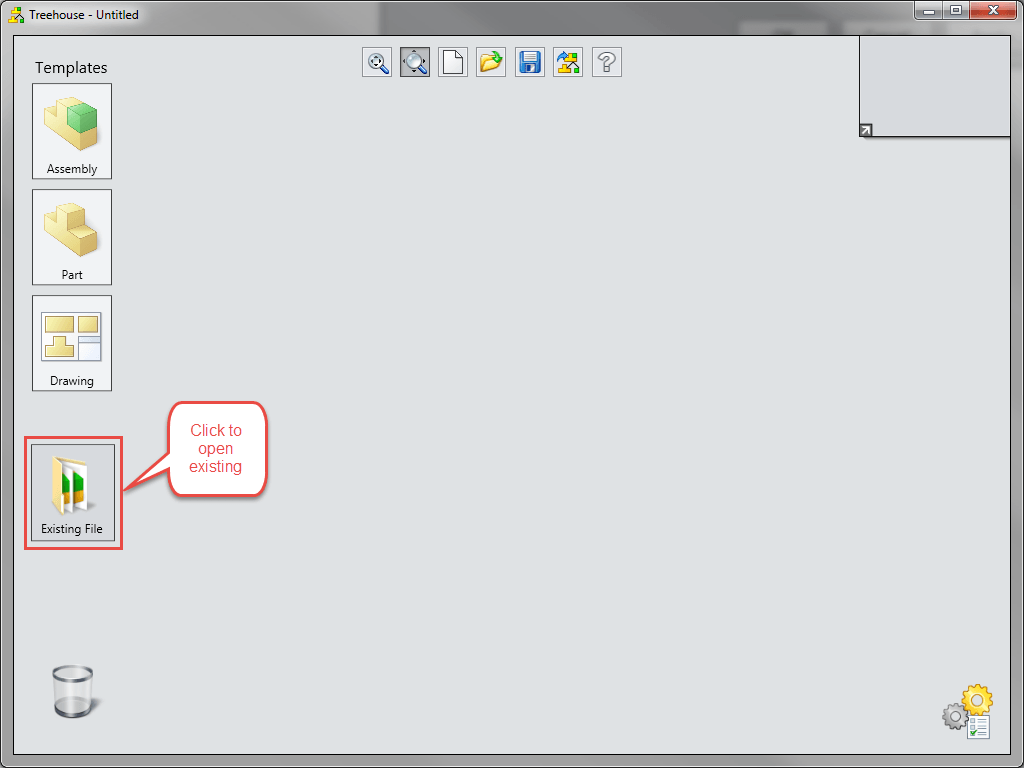 Figure 4: Add existing files
-OR-
· create new files
Hover over each file type to view the templates. Start with dragging in an
assembly. Drag in additional assemblies and parts and drop them on top of the
assembly they are in.
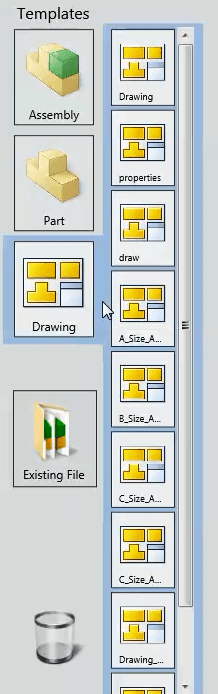 Figure 5: Available templates
4. Edit properties
· Double click to alter Properties or single click the lower left
document properties icon
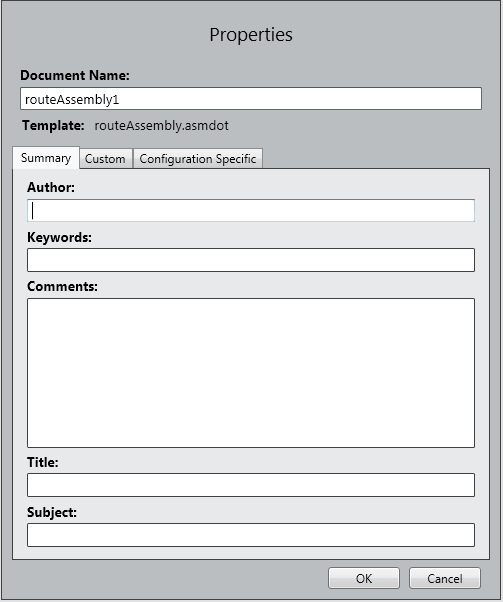 Figure 6: Edit Properties
· Add and Remove Configurations
Single click on the configuration icon in the upper left corner to edit the
Configurations
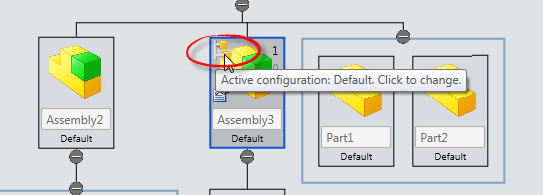 Figure 7: Edit Configurations
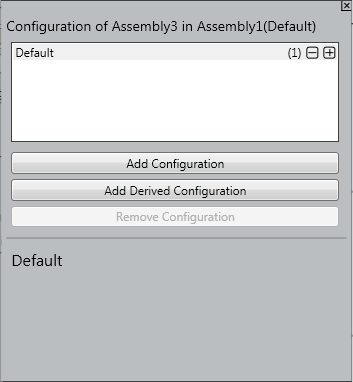 Figure 8: Add/Remove Configurations
· Edit component and suppression count
Single click the upper right numbers to change the component and suppression
counts
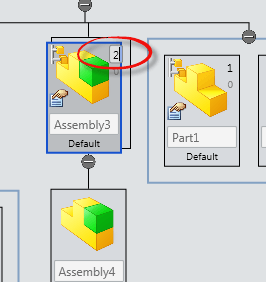 Figure 9: Edit component and suppression counts
5. Optional: Save if want to come back to structure; Saves as a .asmtree
file type
6. Export to SOLIDWORKS: Creates the structure in SOLIDWORKS with the
appropriate references
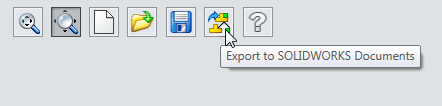 Figure 10: Export to SOLIDWORKS
Optional: Open in SOLIDWORKS after exporting: Settings > Open created
documents after export
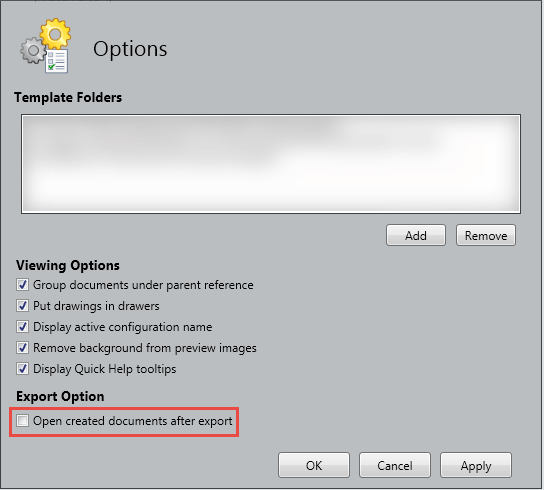 Figure 11: Can open in SOLIDWORKS after export
You can also import an existing assembly into treehouse by dragging and
dropping the file in the graphics area


