Offline Eiger is a convenient Markforged software solution for companies that have higher security requirements such as DOD, aerospace, automotive, and certain tech sectors. This article will detail how to go about obtaining and installing an offline Eiger license so you can be printing off the cloud in no time!
Create an Online Eiger Organization
The first step as counterintuitive as it may seem is to create an online Eiger account for your organization. If you already have an Eiger organization, feel free to skip this section. It is important to select a team member to act as administrator so they can add other team members to the new organization. To do this, have the administrator navigate to eiger.io and fill in the prompts to create an account.
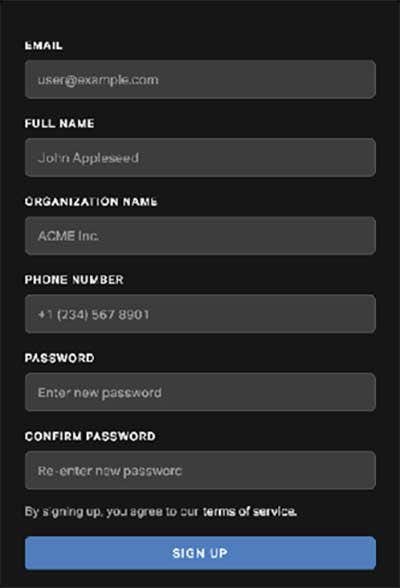
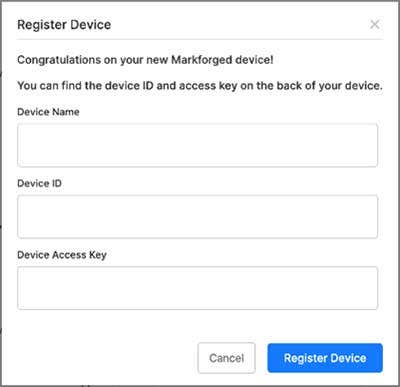
Once you select sign-up, Markforged will automatically generate an email to assist in completing the sign-up process. If you already have a printer, you can proceed to register the device to your Eiger organization.
After registering your printer, the next step is to add users to your organization. You can do this by navigating to the Organization Settings found in the drop-down tap at the top right-hand corner of the screen.
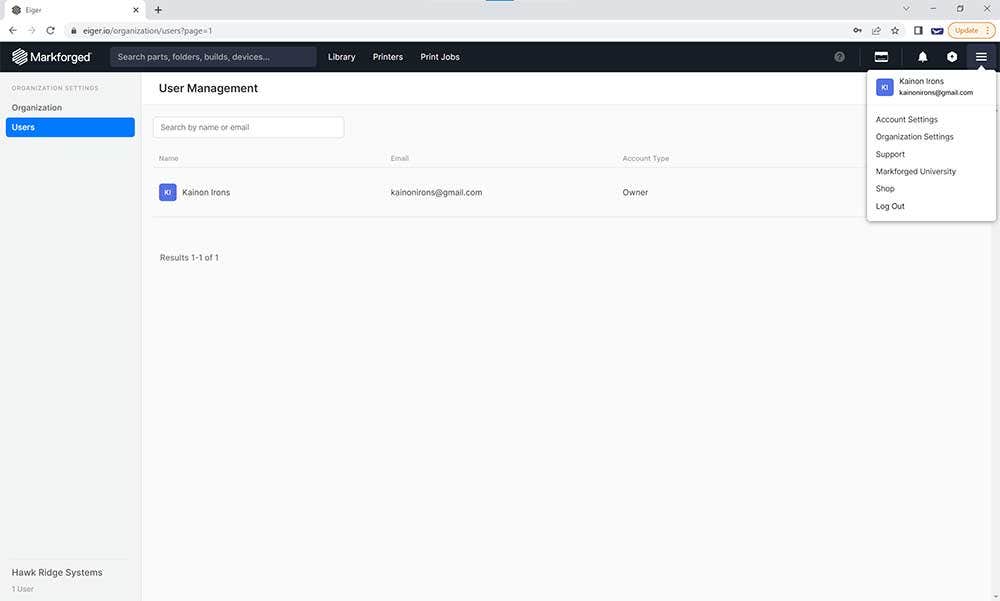
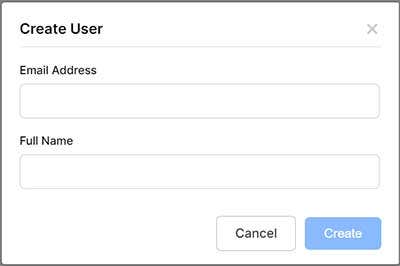
Next, proceed to create new users by inputting the emails and names of your teammates that require access to the printer.
Activate or Purchase a Subscription License
Now that you have signed up for an Eiger organization, the next step is to activate or purchase an Offline Eiger subscription. In either case it is best to reach out to our 3DP orders team for activation or purchasing the license.
When reaching out, make sure to include your Machine ID located on the sticker at the back right-hand corner of the machine as well as the name and email attached to your admin account.
If you have a machine already and need to purchase an Offline Eiger license, reach out to us at the same 3DP Orders email for pricing and subscription options. Offline Eiger can be purchased at one-year, three-year, and five-year subscription intervals.
Download Offline Eiger and License Key from your Online Eiger Account
Once Offline Eiger has been added to your account, it is time to download the software directly to your machine. Here are the offline Eiger PC requirements:
Operating System Requirements:
• Windows 10 or later
• 64-bit operating system
Hardware Requirements
• 2GB RAM
• 1GB HDD Space
• Graphics card compatible with WebGL
If you are running on a Mac machine, Markforged can accommodate per special request. Make sure you notify the 3DP orders team of this request when it comes time to activate the license!
Before downloading the software, you need to decide if you wish to print via a USB flash drive or via LAN connection. Printing via the local area network may require additional assistance from your IT department. The LAN Connector software must be downloaded in addition to Offline Eiger if LAN printing is desired. Both the LAN Connector software and Offline Eiger should be downloaded on a computer that is on the same local area network as the printer. LAN Connector only needs to be downloaded to a single computer on the network. It is recommended that the LAN connector is installed on a dedicated hub PC that is powered on most of the time to avoid disruptions in the connections and usability of other PCs sending jobs to the printer. If you would like to know more about this, contact us for an instruction manual that goes more in-depth when it comes to setting up your LAN connection.
To download the software and license key, simply login to your online Eiger account and navigate to your Account Settings from the drop-down on the top right-hand corner of the screen, and then select Downloads:
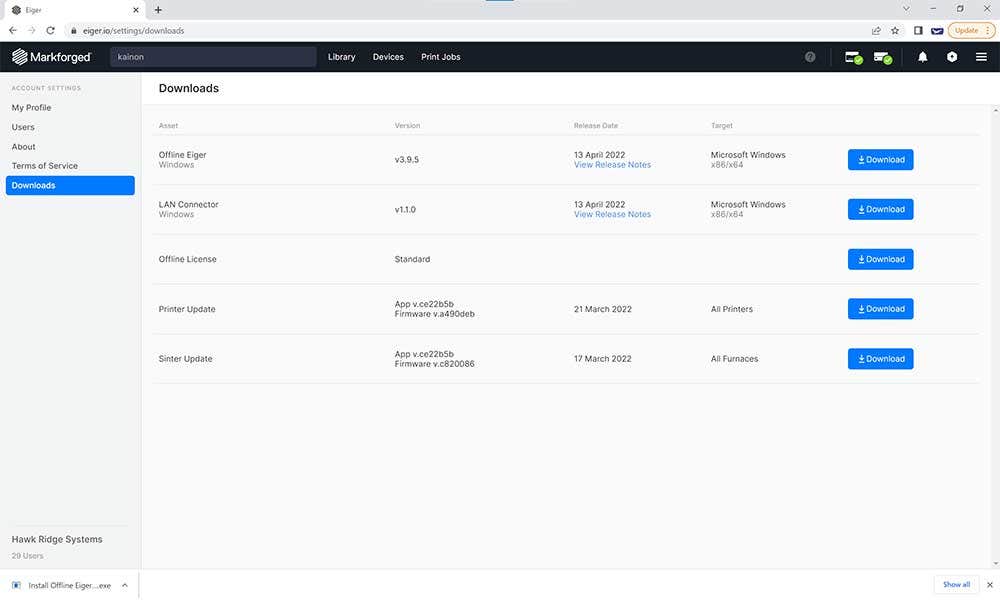
On the Downloads tap, you should see Offline Eiger and an Offline License that both can be downloaded. These should be downloaded by any computer you wish to slice files on. For those opting to print via LAN Connector, go ahead and download the LAN Connector software on a dedicated hub computer.
Install the Software
Once the software and license key have been downloaded, it is time to import the license key after agreeing to the user Terms and Conditions.
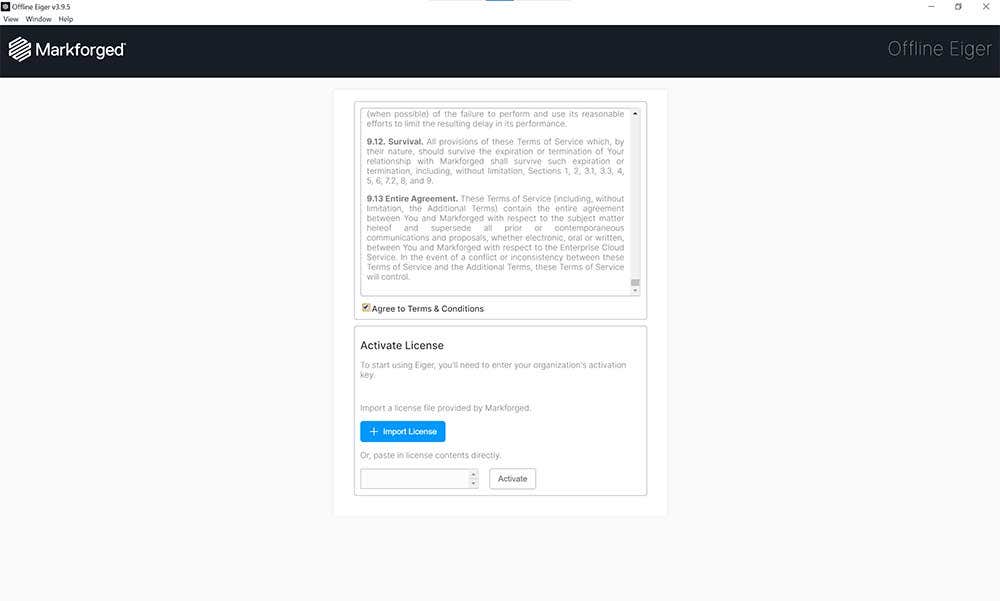
Now you have officially downloaded Offline Eiger!
Starting Your First Job
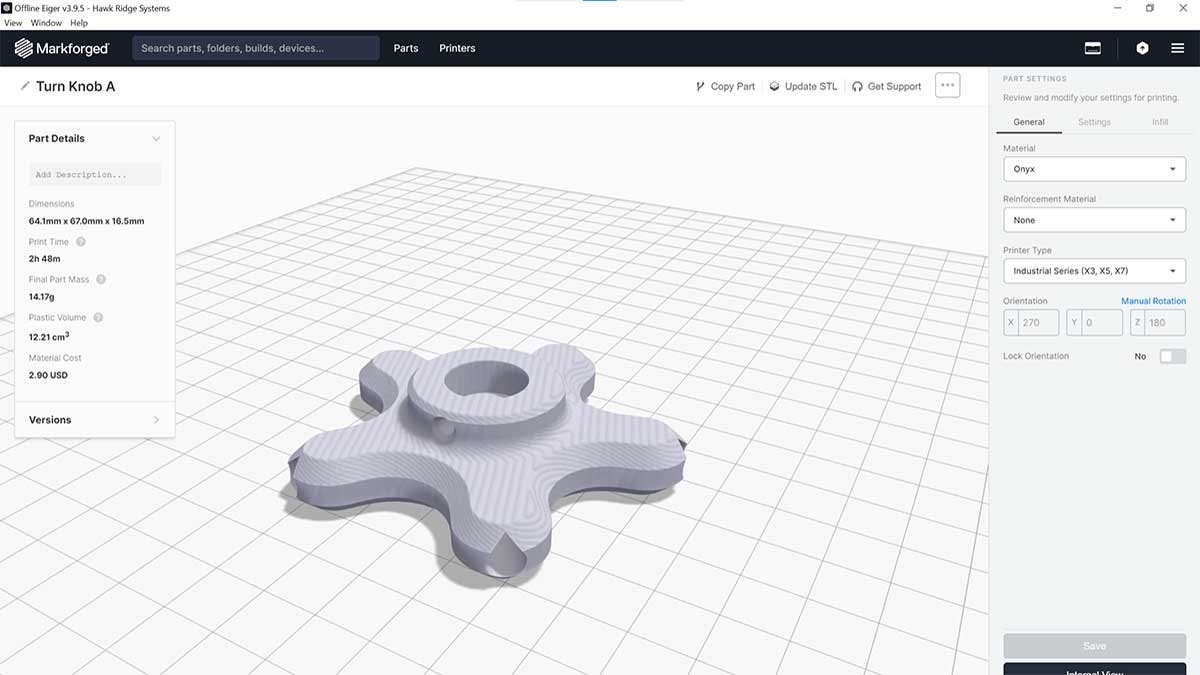
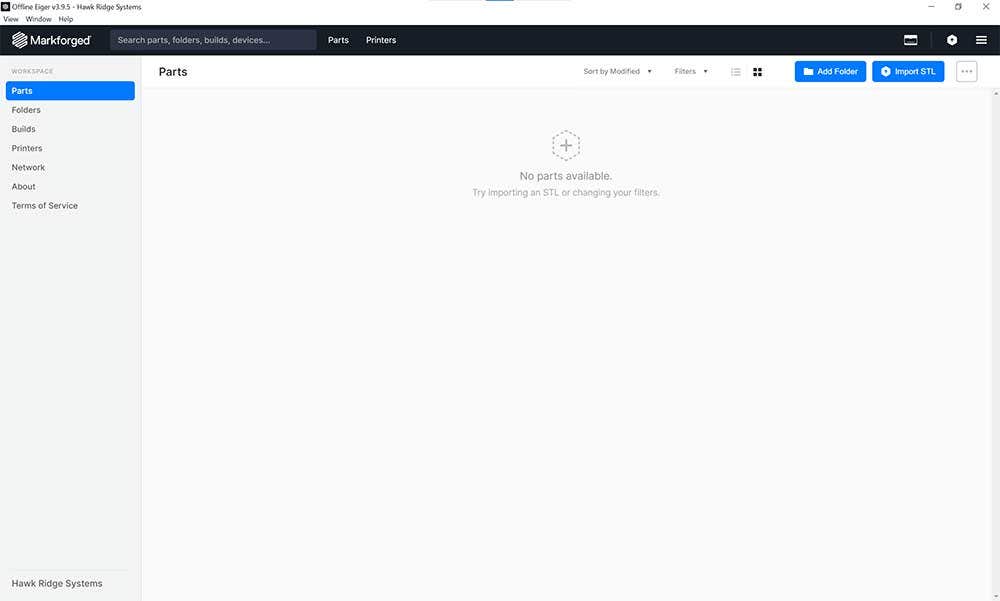
In order to print your first job, you will need to create a folder which will be stored in your chosen location. This folder will contain your individual build files and slice settings on a part-by-part basis. After folder creation you can select Import STL to upload part files for printing.

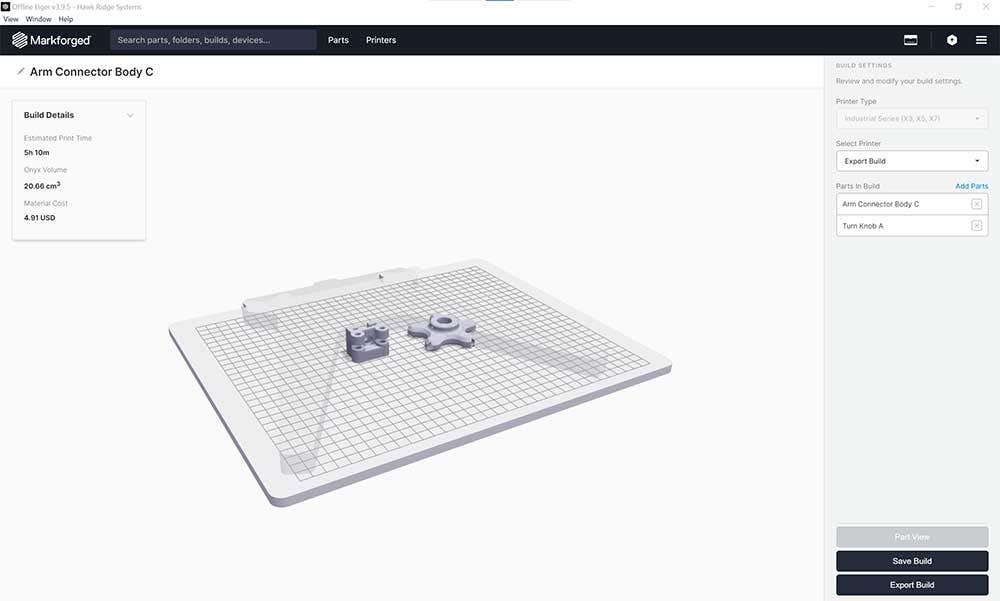
Select your print settings and save the sliced file before sending the final job to print. In the print build view, you can add additional parts to a given job and select whether you wish to Export the print or submit the print via LAN.
Well, that’s all there is to it. You are now fully set up to run your Markforged printer offline. If you have any questions about Eiger software offerings, be sure and contact us today!