Fused filament fabrication (FFF) or fused deposit modeling (FDM) 3D printers are known for being the easiest machines to run, calibrate, and maintain due to their simplicity. There are no UV lights, resins, or powders. Calibration typically comes down to setting the material flow, bed level, nozzle heights, and belt tension. This is true of Markforged desktop 3D printers as well, although the material flow isn’t needed as that’s already set up in the system.
In order to calibrate for plastic, bed level test circles are printed which allow users to adjust the bed level and plastic nozzle height simultaneously. Bed level test circles take some practice, but if mastered can be the difference between great prints, “ok” prints, or even failures.
Using Shims to Reset Markforged 3D Printer
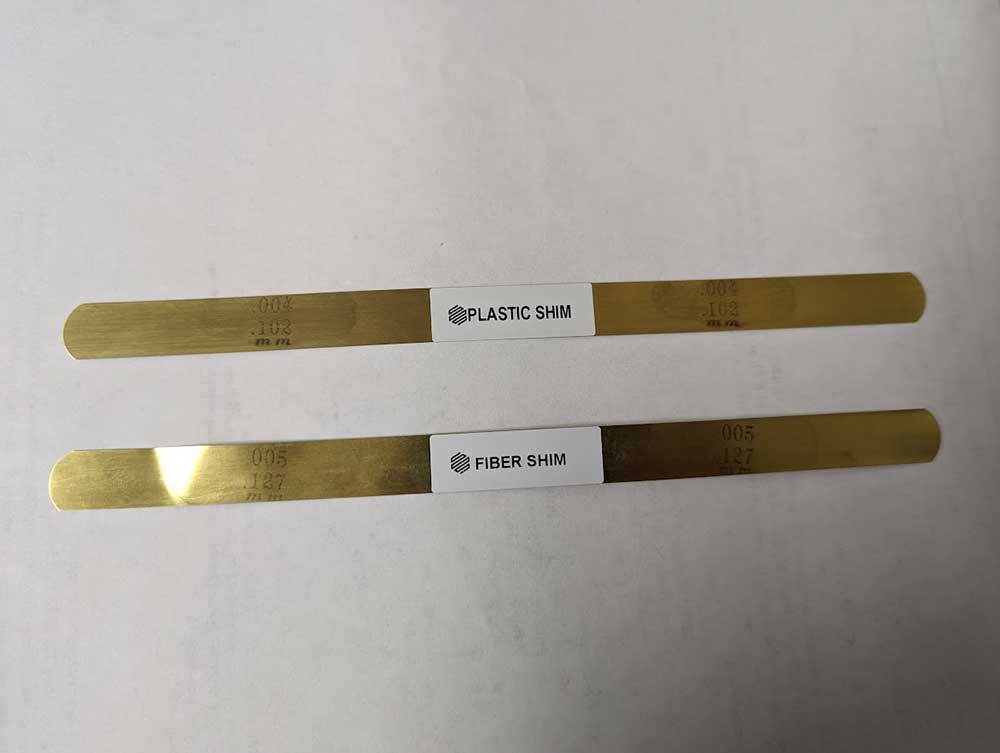
Markforged composite printers come with a set of shims that are used to set up the printer and initially calibrate. If you move the printer or have a bad build, then it’s definitely a good idea to do a bed level shim and “reset” the machine. The problem with shimming is that it’s too subjective and will produce different results depending on the user. For this reason, the shim calibration is not accurate enough to get consistent, top-level prints. However, shims are a great way to get the printer “in the ballpark” so that bed level test circles can be performed next.
How Does a Bed Level Test Work?
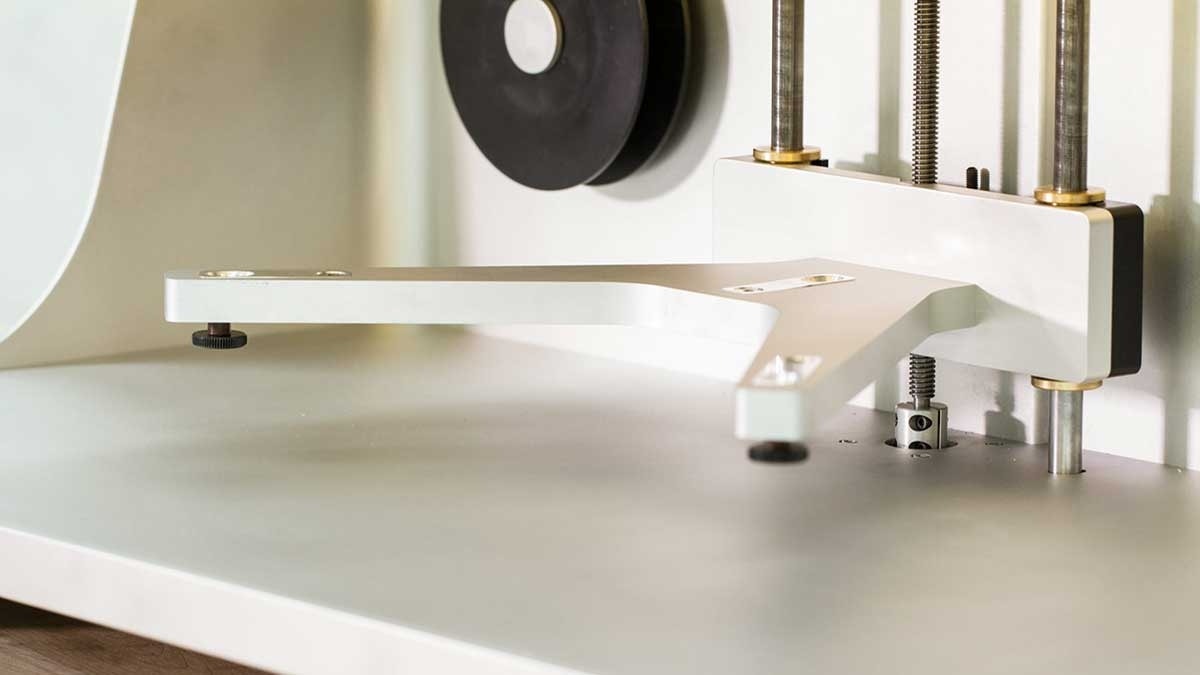
To kick off bed level test circles, go to Utilities > Test Prints > Bed Level Test Print on the user interface. The printer will print a circle over each adjustment screw on the print stage, and a skinny purge strip in the middle.
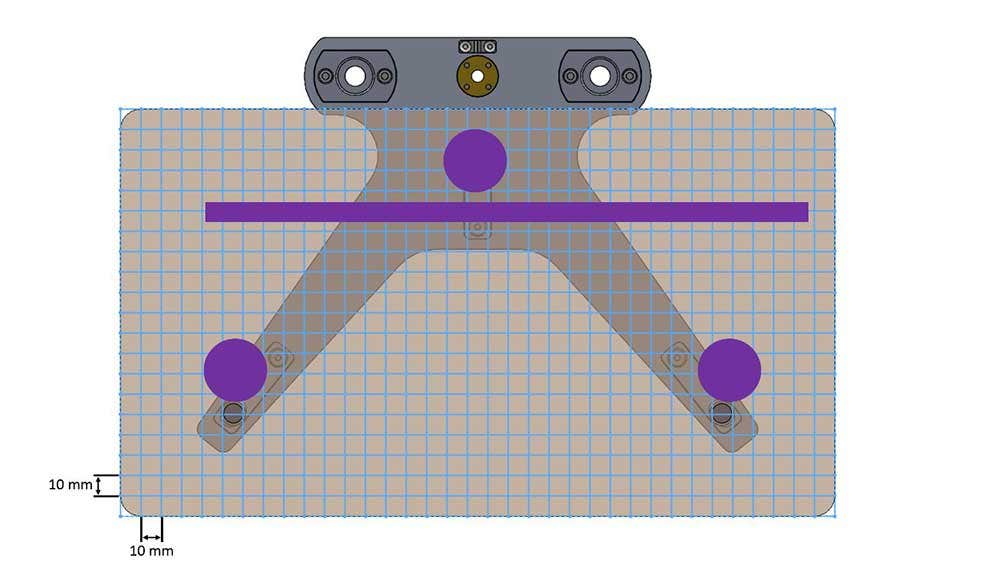
Depending on the quality of each circle, the screw will be adjusted up or down to improve the defect. This simulates the first layer of your print, so the better your circles are, the better your print will be. This should be run multiple times until all three circles come out perfect.
What Do Good and Bad Circles Look Like?
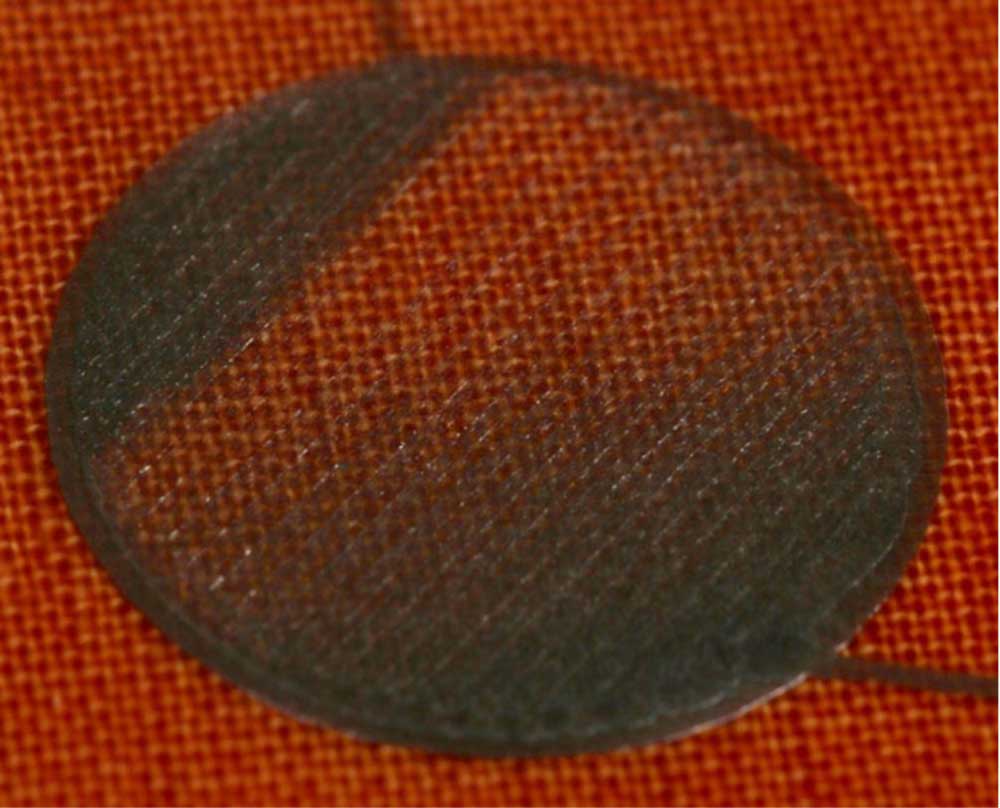
Bad circles will look different depending on whether the nozzle is too high (far from the bed) or too low (close to the bed). When the nozzle is too high, the extrusion lines will not bond properly as the material is not being “ironed” down by the nozzle. The lines may not appear straight as the material is drooping down onto the build plate.
If the nozzle is too close, then the nozzle will prevent the material from extruding properly, so you get very skinny, stretchy circles.
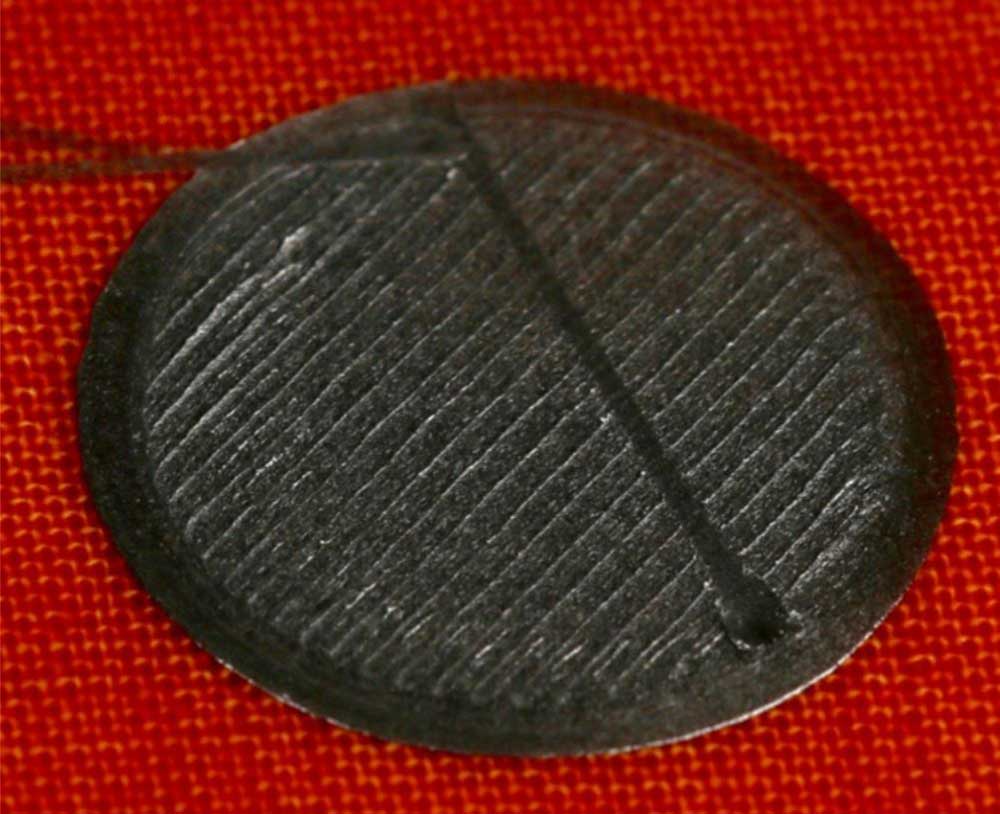
If the nozzle is way too close, you might even get no circle at all, or a circle with material missing.
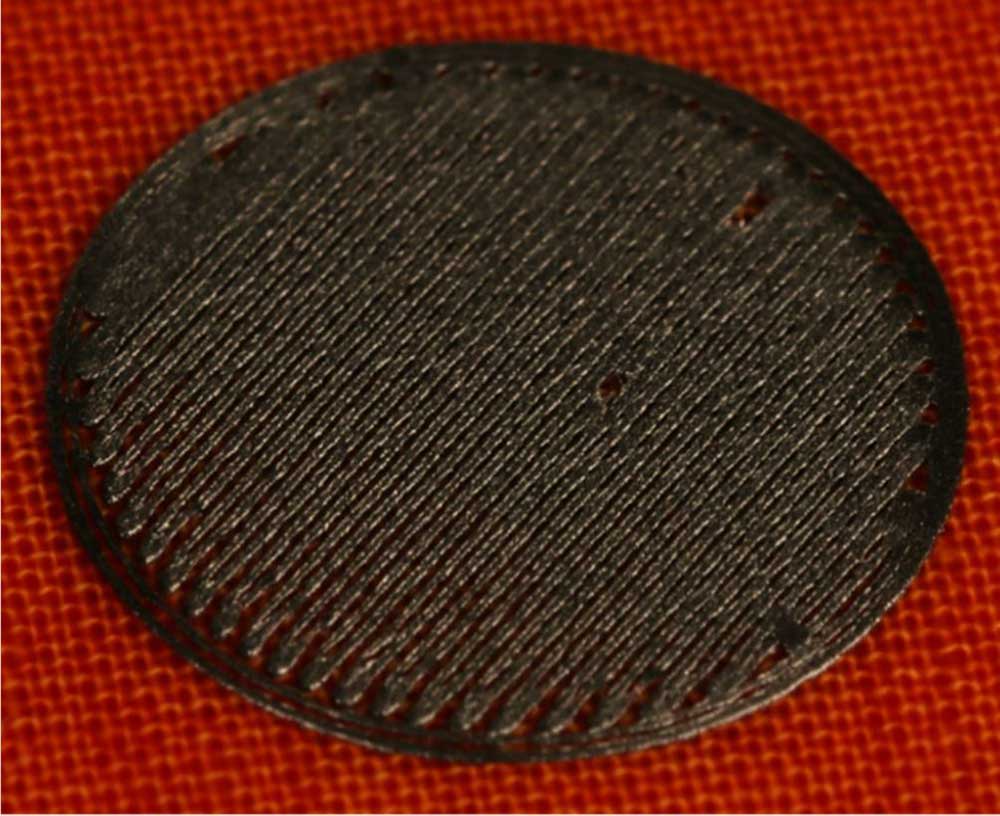
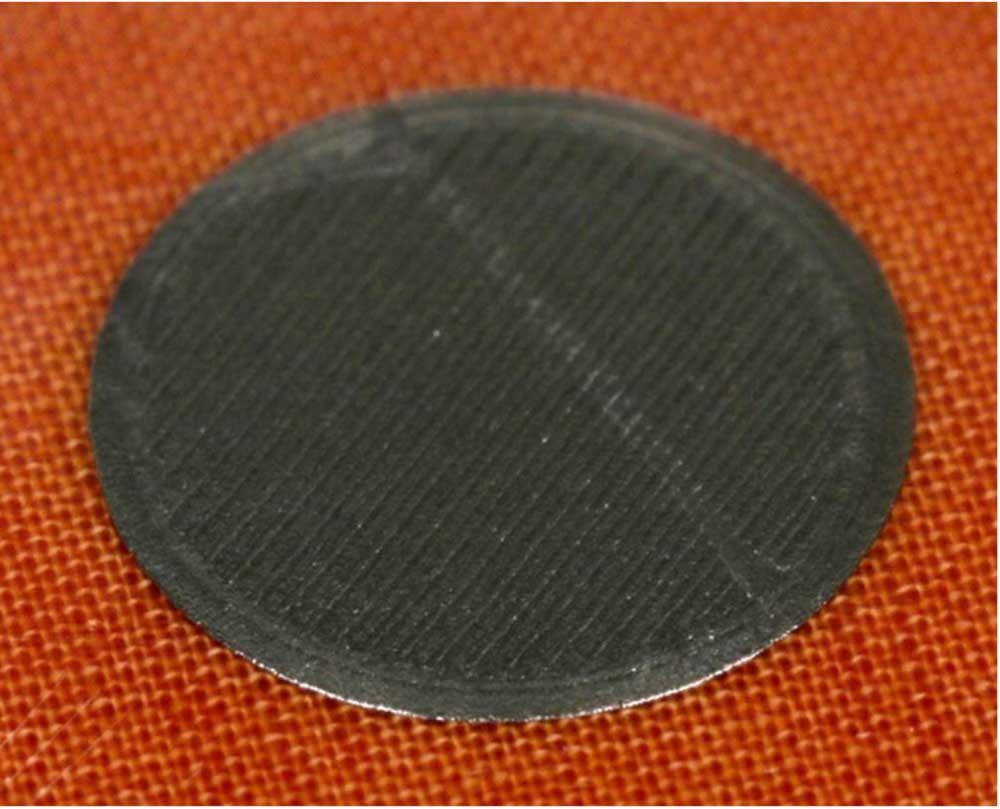
What you are looking for is a nice, even circle that is well bonded between the extrusion lines. Sometimes there’s a light nozzle drag mark that can be seen like in the photo below. Don’t worry about that, it can actually be a good sign.
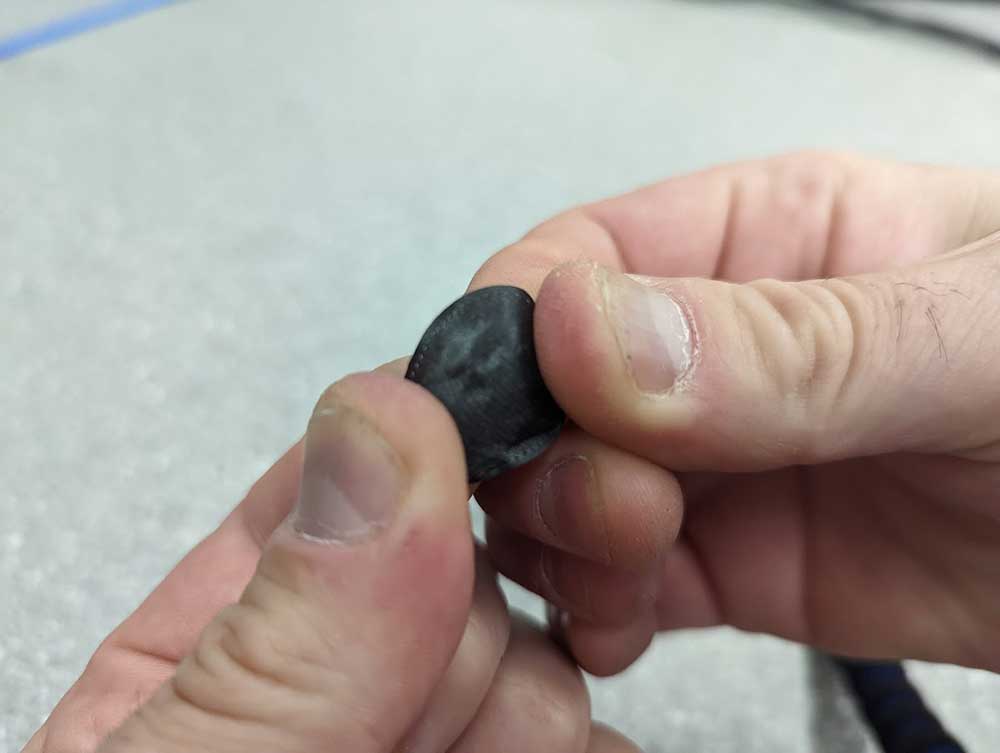
Testing Your Bed Level Circles
To test each circle, simply try to pull them apart with your fingers. A perfect circle will not stretch, and will not break even when being pulled on by its fault lines. If the nozzle is too far, then the circle will break as the bonding between the lines is weak. If the circle is stretchy, then your nozzle is too close.
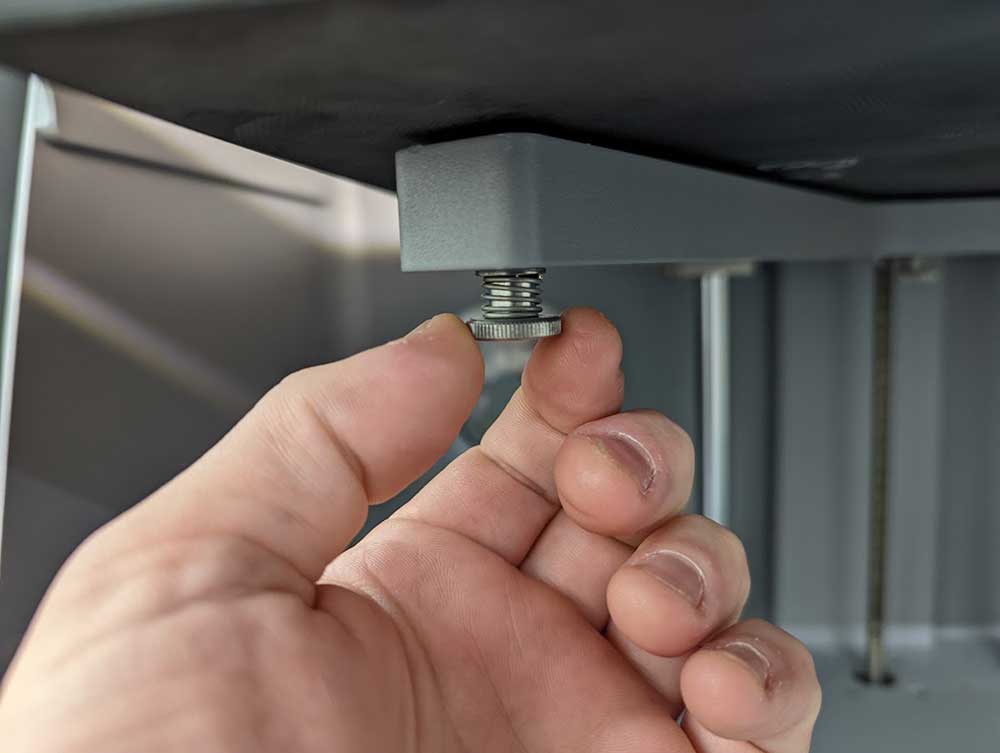
Adjusting the Screws on Your Markforged 3D Printer
A good strategy when adjusting the screws is that less is more. My advice is to make very small screw adjustments when approaching level, as shooting past can cause a back and forth that wastes time. As this process turns into muscle memory, you will get a better feel for how far to turn the screws. In the meantime, adjusting in small 10 – 20 degree increments is advisable.
Regularly printing bed level test circles is the best way to ensure the finest quality in your prints and prevent time consuming failures. I encourage all operators out there to put some time on the calendar to practice this a bit. It’s worth the time to turn this into muscle memory.
If you have any questions or are considering Markforged 3D printing technology for your organization, contact us at Hawk Ridge Systems and our dedicated team of additive experts can help you get started.
Best of luck and happy printing everyone.


