Creating a Section View in a SOLIDWORKS drawing is typically a straightforward process. Generally, you start by creating a drawing view, use the Section View command from the View Layout tab and place the resulting section. While easy enough to create, Section Views created in drawings do have some limitations and may not convey the exact information desired.
Fortunately, there is an alternative for generating precise section views of your designs.
Creating Section Views
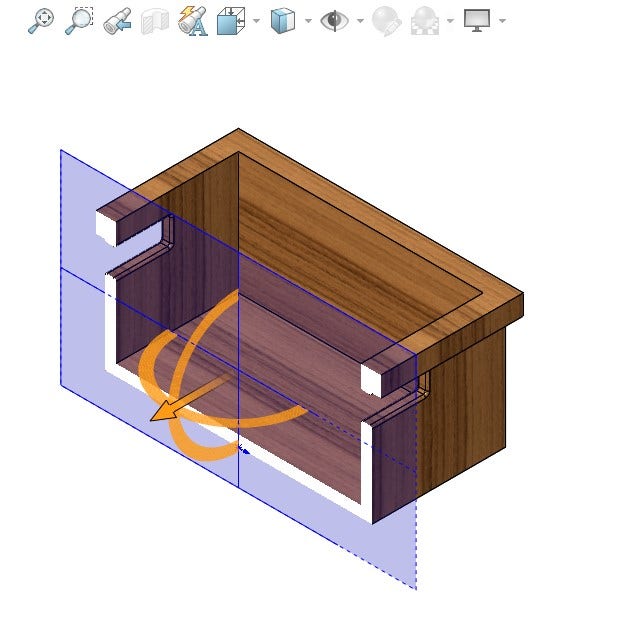
First, let’s review the creation of a Section View in a part. Section View is found inside the heads-up toolbar. It will appear at the top of the graphics area when the part environment is active:

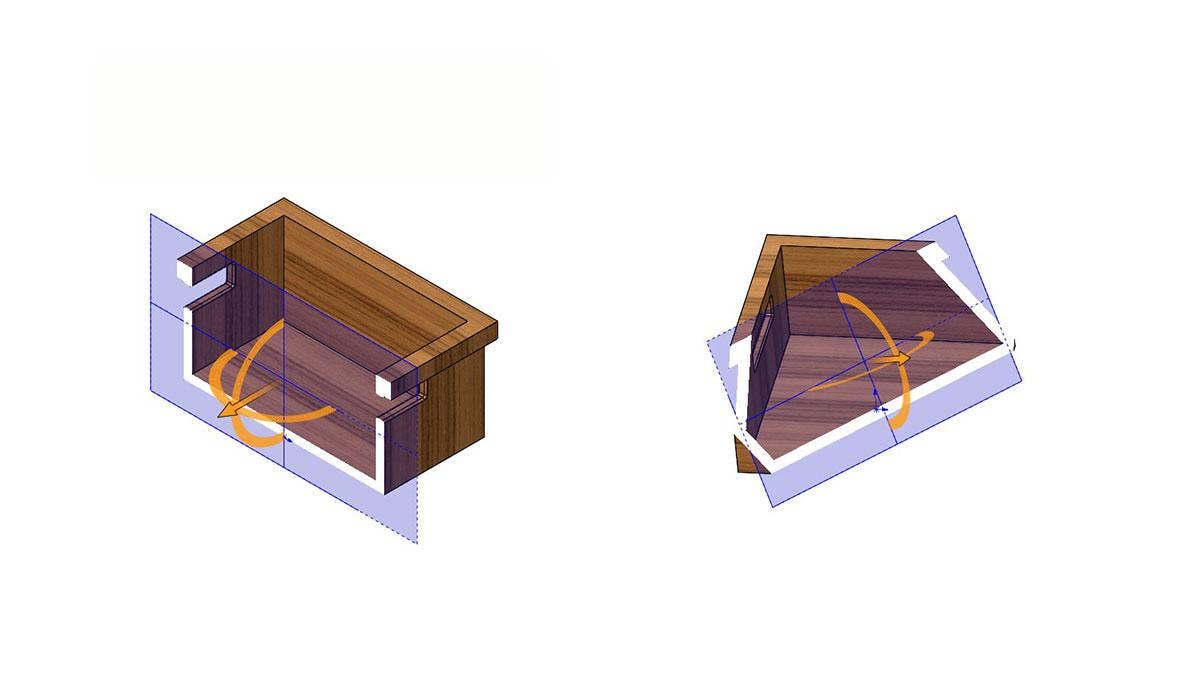
Once Section View has been selected, a movement handle appears. The arrow can be dragged linearly to control section depth, and the rings can be dragged to rotate the section plane. If desired, an alternate cutting plane may be selected in the PropertyManager, and the Reverse button can be used to switch the side of the cutting plane to be removed from the view. The resulting view is only graphical; the changes to the model are not permanent. In the PropertyManager, the view can be named if desired, and clicking the green checkmark will create the view. If your section requirements are more complex, consider using a Zonal Section View – these can be reused in drawings as well.
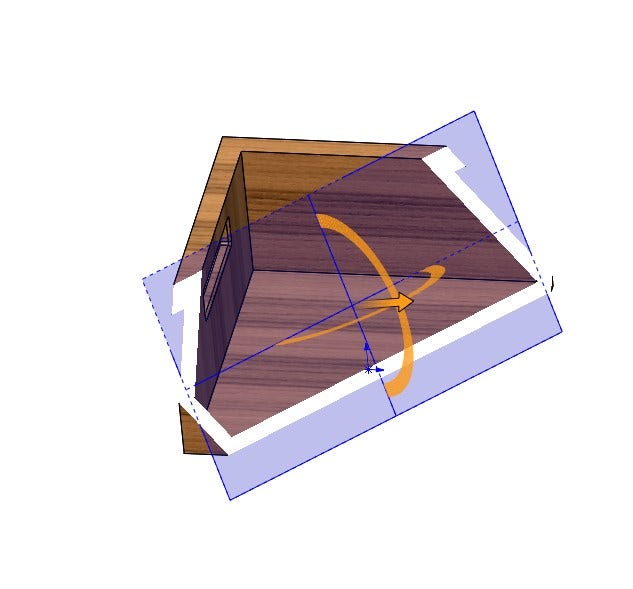
The example below demonstrates a more complex Section View. Creation of this view in the 2D drawing environment would prove difficult, as the drawing view would need to be freely rotated, and a Section Line placed at a rather awkward angle. In the 3D part environment, however, this can be accomplished by simply creating a reference plane and using it as the cutting plane in the Section View command.
Adding to the View Palette
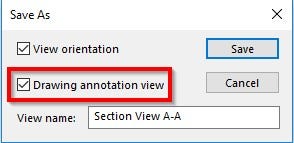
Once the desired Section View has been generated and before clicking OK to create it, scroll down in the PropertyManager and select Save. Once selected, two options appear. The first saves the Section View as a view orientation to quickly recall it in the part environment; the second is to save the section as a Drawing Annotation View. Check the Drawing Annotation View box and (optionally) rename the view. Finally, click save once again.
At this point, create a drawing from the part and examine the View Palette. There, you will find all the traditional views have been created as usual, in addition to the Section View created in the part environment and its parent view (if applicable).
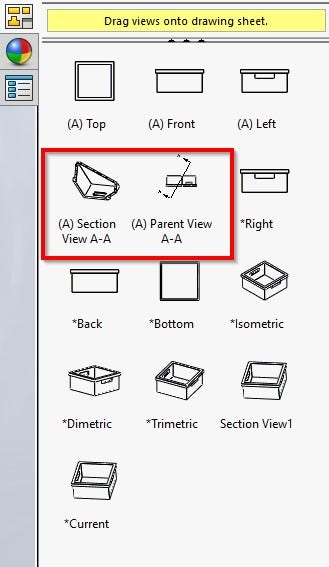
If a parent view has been generated, it is required that the parent view be added to the drawing prior to the Section View. In this example, the results are shown below:
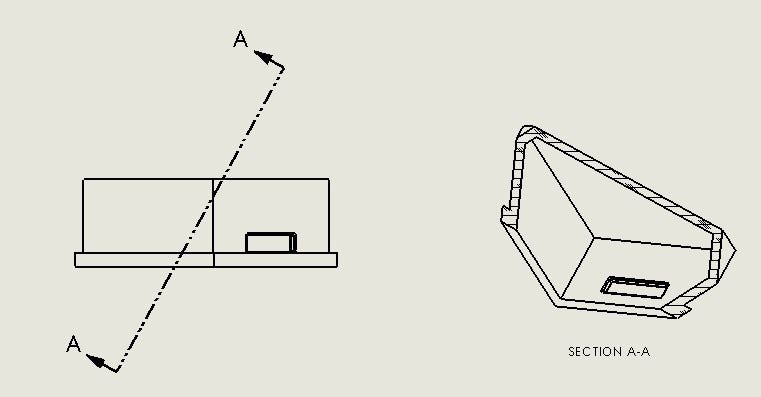
There you have it! A simple method to create a complex Section View in the 3D part environment and reuse it in a drawing, saving design time and streamlining the documentation process. Do you have any additional tips or tricks for creating Section Views? Let us know in the comments!
For more information on SOLIDWORKS or if you have any questions, contact us at Hawk Ridge Systems today. Thanks for reading!


