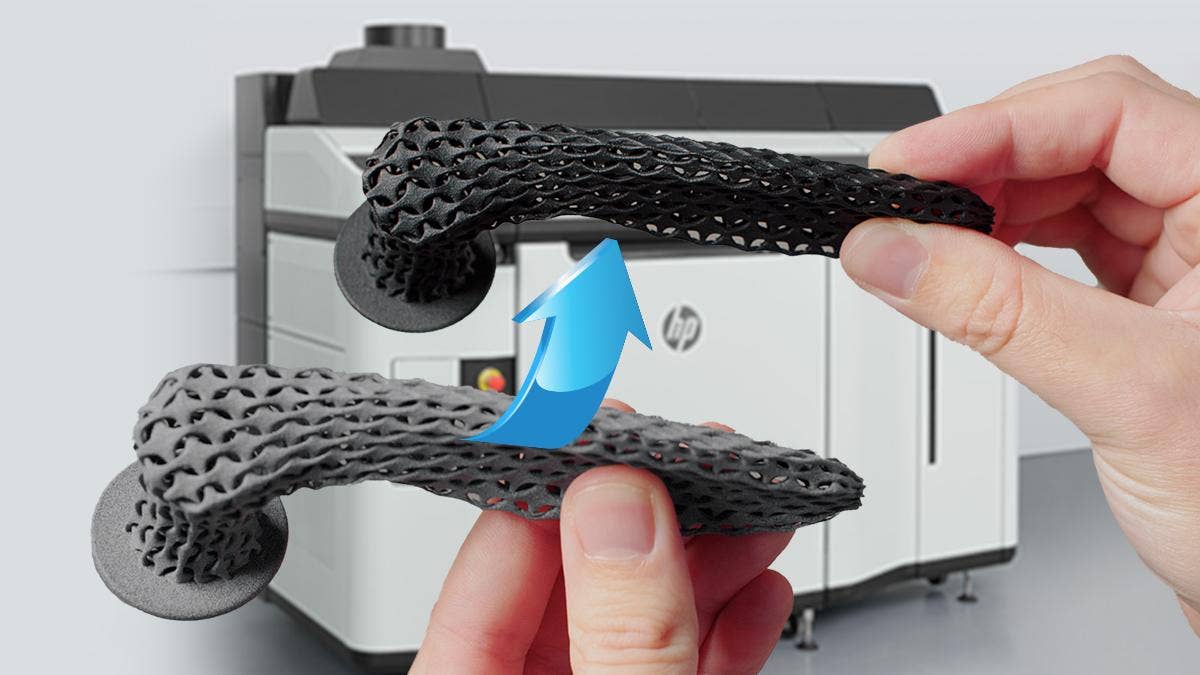

For many users of HP Jet Fusion 3D printing technology, improving the color of parts is a priority. The raw natural gray color off of the machine is good for some cases but certainly not all cases.
Dyeing of parts has become one of the most common ways to accomplish color improvement and it also happens to be very cost-effective as well. In addition to improving color, dyeing of parts can hide cosmetic blemishes in parts. Inconsistencies in bead blasting can diminish the quality of the raw gray finish while dyeing a part with a black color can completely hide those defects. In today’s blog post we are going to show you what it takes to dye HP parts like a pro.
Equipment Needed
- Heated Bath (80°-100°C) – The bath can be as simple as a steel pot on a hot plate or a fryer. The key is to have the capability to control the temperature of the mixture. Adding a device that can continuously agitate the mixture will improve the consistency and quality of finished parts as well. We use a 28L PolyScience polycarbonate circulating bath with temperature control.
- Dye (Powder or Liquid)- Dyes come in powdered forms or liquid forms in many colors. RIT Proline powder dye or TCN liquid dyes have been proven to work well with HP 3D printed parts. We use a black RIT Proline powder dye at a mixture of 7 grams per liter of water.
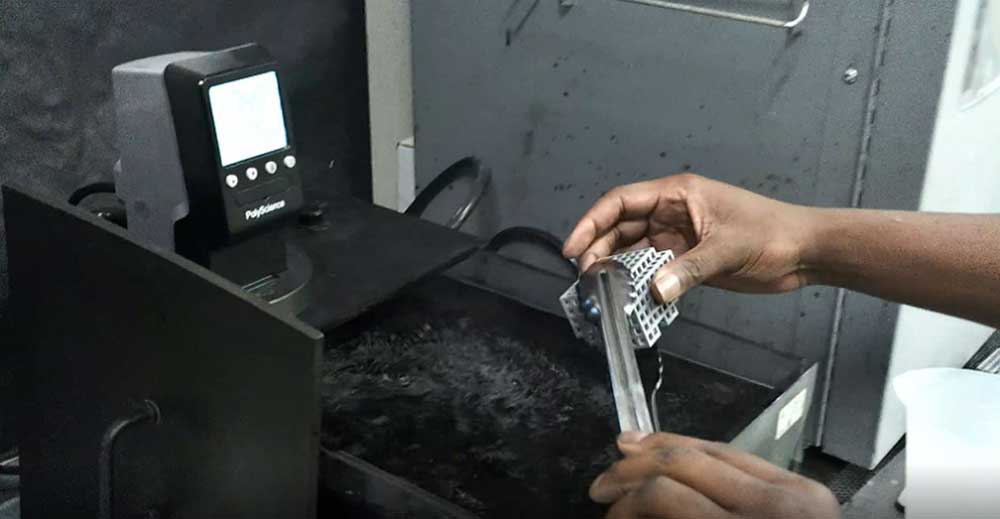
- Tongs – For retrieving parts and stirring the mixture.
- Vinegar – One cup of vinegar per 20L of water
- Dish Soap – A teaspoon of soap per 20L of water.
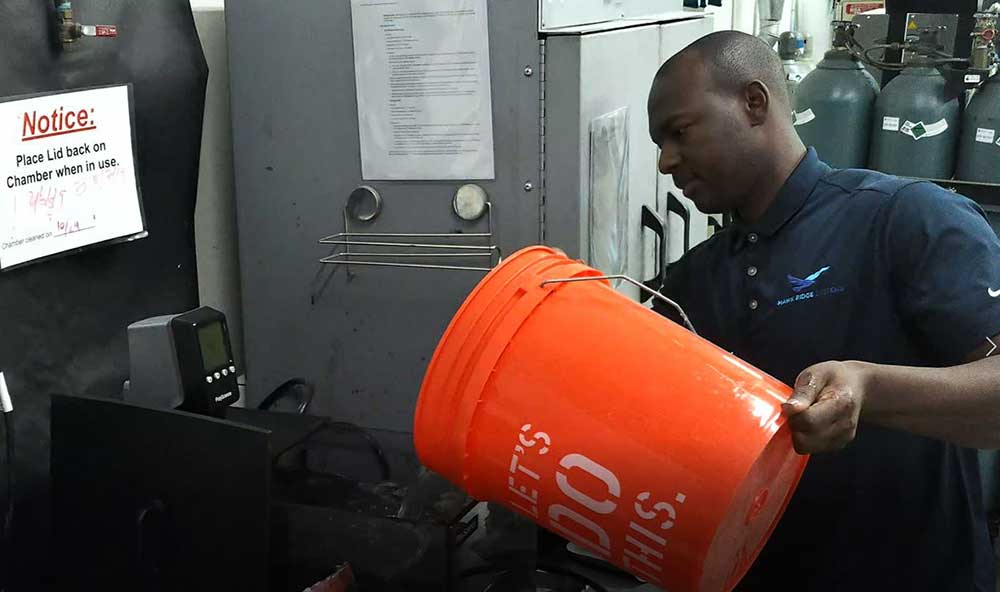
- Hot Water Rinse Pot – Used for submerging parts after they have been dyed. We use a 5-gallon bucket for this task.
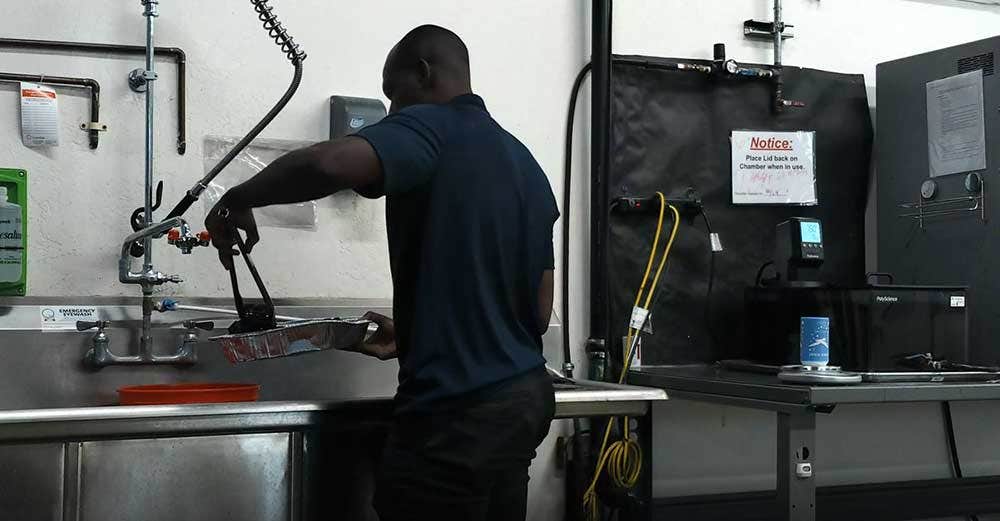
Process
To dye parts, there are five steps:
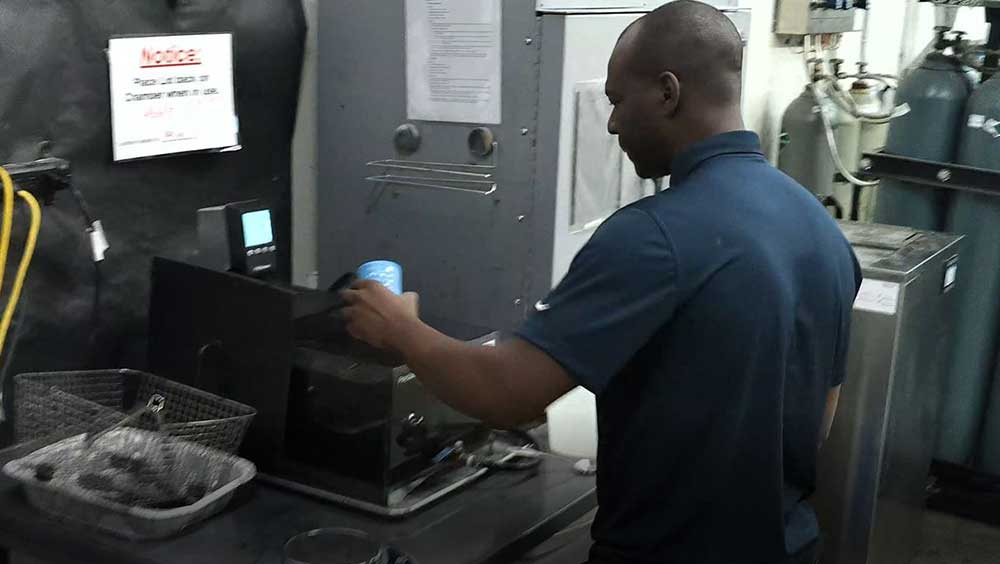
Step One: Fill the dye tank with warm water and heat the tank between 80°-100°C. Using warm water will reduce the overall time to heat up to the final temperature.
Step Two: Add RIT Proline dye, soap, and vinegar to the dyeing tank, then stir. We recommend adding a scoop of dye to the tank between batches of parts, as this improves color consistency between runs.
Step Three: Submerge parts into the dyeing tank for 20 minutes. We recommend using a mesh basket inside the tank to help with part retrieval. For very small parts, it is recommended to print parts in a sinter box which will prevent parts from being lost in the solution.
Step Four: Transfer parts from the dye tank to a rinse bucket and submerge in warm water for two minutes.
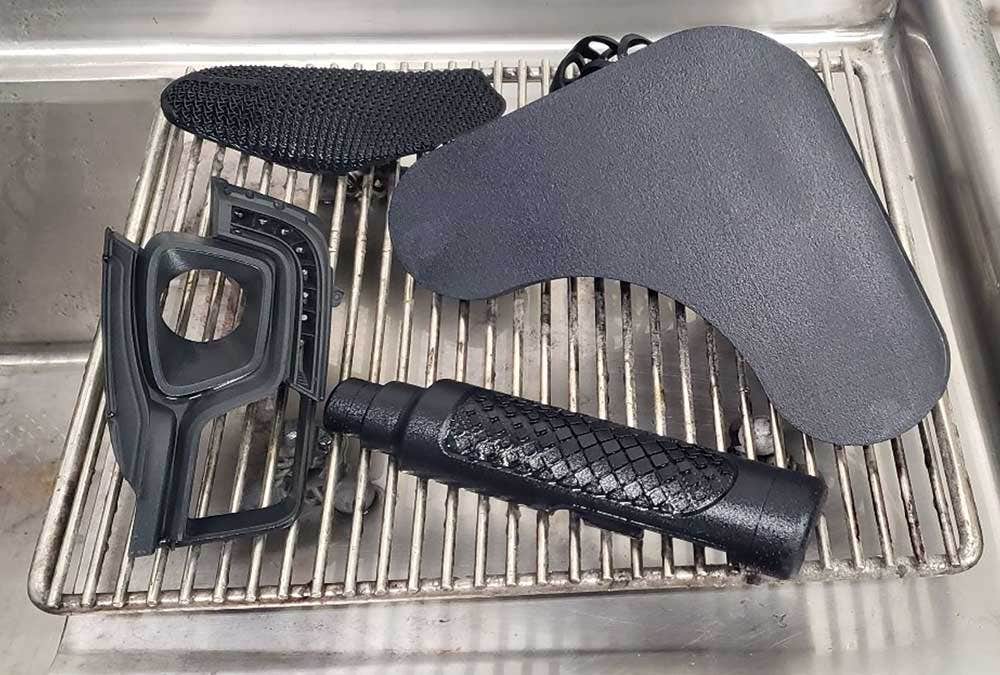
Step Five: Set out parts on a drying rack for roughly 45 minutes. You can also use compressed air to dry the parts if needed. Replace dye solution every three to four jobs.
There you have it. Dyeing HP 3D printed parts is surprisingly a very simple process that can be done with minimal hardware investment. There are more automated solutions out on the market that are fine-tuned for high quantity production. For those smaller runs of parts, what we have shown you today will work just fine.
If you would like to learn more about HP 3D printing and more post-processing options like dyeing of parts, contact us at Hawk Ridge Systems today. Thanks for reading!