Selecting a proper infill structure for your Markforged 3D printed parts may not be something you have spent time considering as part of your design process. After all, the default print settings tend to be top-notch most of the time, why change it? In today’s article, we are going to look at the pros and cons of branching out to other infill patterns specifically on a Markforged 3D printer.
Infill Types
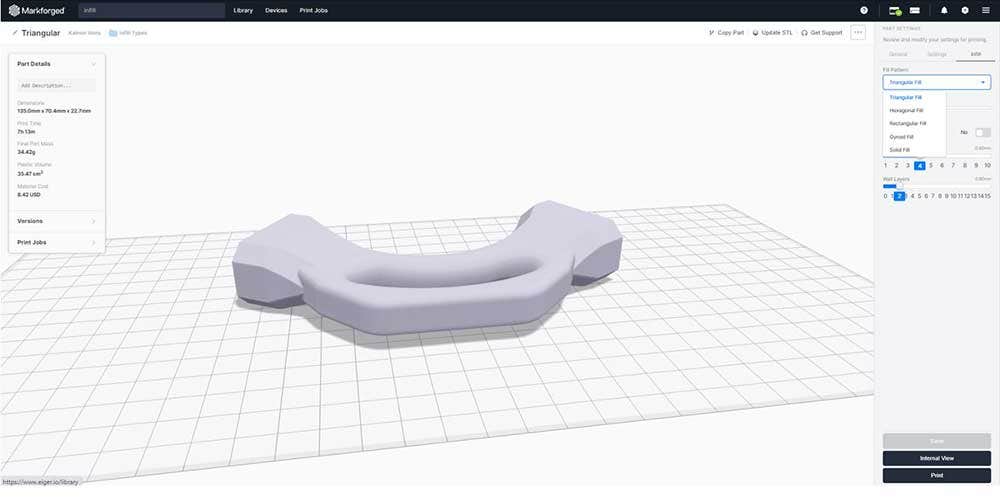
The five infill options available through the Markforged Eiger software are triangular, hexagonal, rectangular, gyroid, and solid. Each will have corresponding print times and recommended density ranges for successful prints. All of these patterns are available on the composite systems while only triangular and gyroid infills are available for metal printing.
Triangular Infill
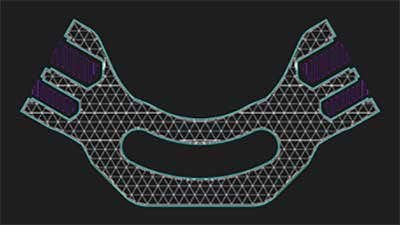
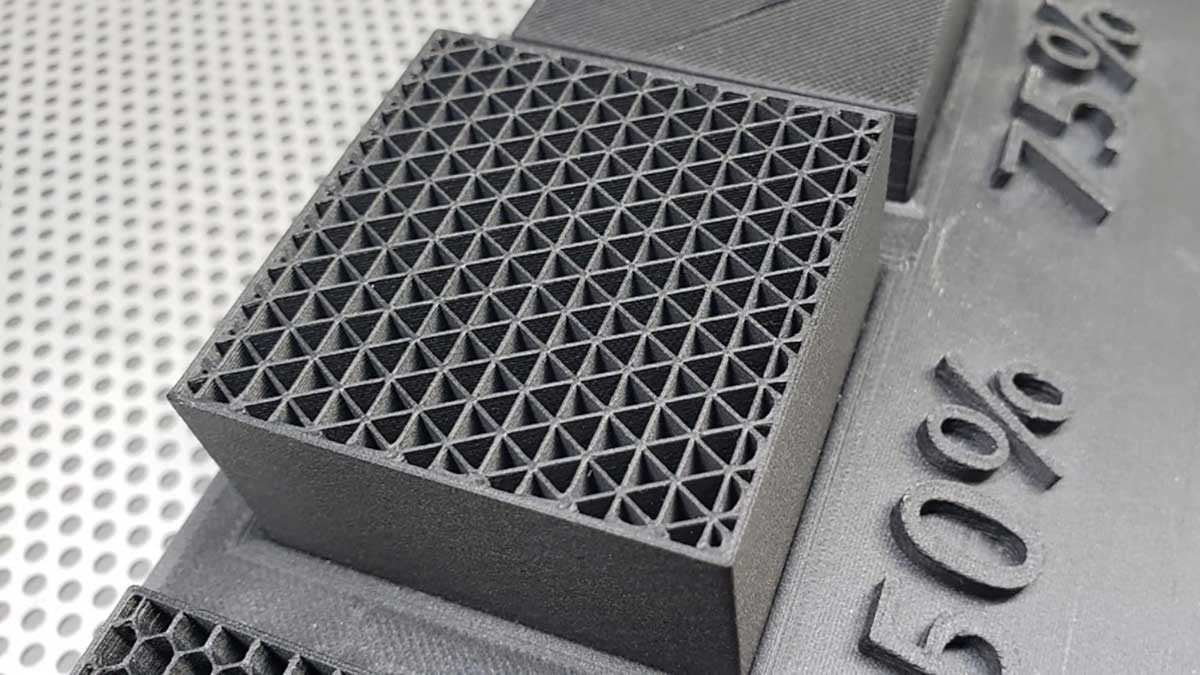
Triangular infill is the default infill used in both composite and metal Markforged parts and is the strongest infill pattern Eiger can produce. This is because triangles are one of the strongest geometries found in nature, and it offers relatively uniform mechanical performance in-plane/horizontally. In addition to its strength, this pattern prints relatively quickly, as the print head only has to travel in straight lines. Because of this combination of traits, it is one of the best choices for structural parts, particularly those made using the CFR (continuous fiber reinforcement) process. For most applications, the default triangular settings within Eiger are going to be a great choice.
Hexagonal Infill
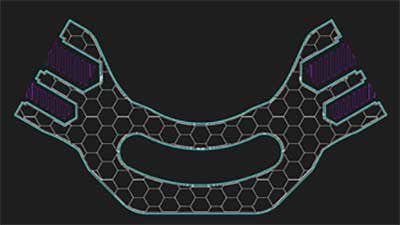
Hexagonal infill has the highest strength to weight ratio of any of the infill patterns. We recommend using this infill pattern when looking to reduce overall weight, part cost, and print times for a particular geometry. Due to the ability to remain strong at lower infill densities, hexagonal infill is a great choice for flight applications such as drones. Here at Hawk Ridge Systems, we generally will switch to hexagonal when we are looking to lower the print times and parts costs of a particular design.
Rectangular Infill
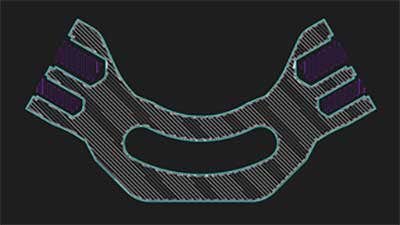
Rectangular infill produces a grid-like pattern by layering alternating parallel and perpendicular extrusions, only printing lines in one direction on each layer. Because of this structure, it is capable of producing the widest variety of infill densities and is used to create the solid infill option discussed later in this article. Rectangular infill is a good choice when you need to print higher densities roughly over 60 percent. In certain product applications, more mass is good. A consumer product for instance, may feel higher quality if it is heavier, so a higher density print may help with user perception!
Gyroid Infill
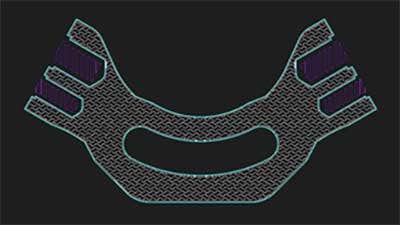
The most recent addition to the infill offerings in Eiger is gyroid infill, which is the only non-solid infill option other than triangular infill for metal 3D prints. Gyroid infill is created by extruding a series of rotating two-dimensional waves that boasts a very high strength to weight ratio specifically when it comes to shear resistance. The infill pattern is close to isotropic making it a better choice for flexible materials that need to have the same bend resistance in each direction.
Solid Infill
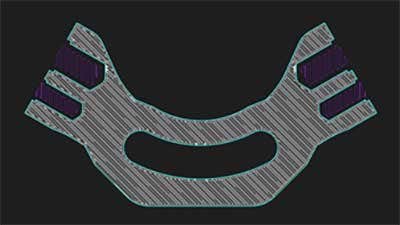
Derived from rectangular infill, the solid infill option produces a fully dense part. Examples of applications of the solid infill option include parts where there is significant loading that could cause delamination or situations requiring higher compressive strength. Solid infill is also a good choice for parts that will undergo significant machining operations as there is no risk of exposing the infill. We see solid infills being chosen often with metal prints for that reason. Sometimes regulations require that parts are solid in certain cases as well.
Sample Part Infill Comparisons With Eiger Slicing Software
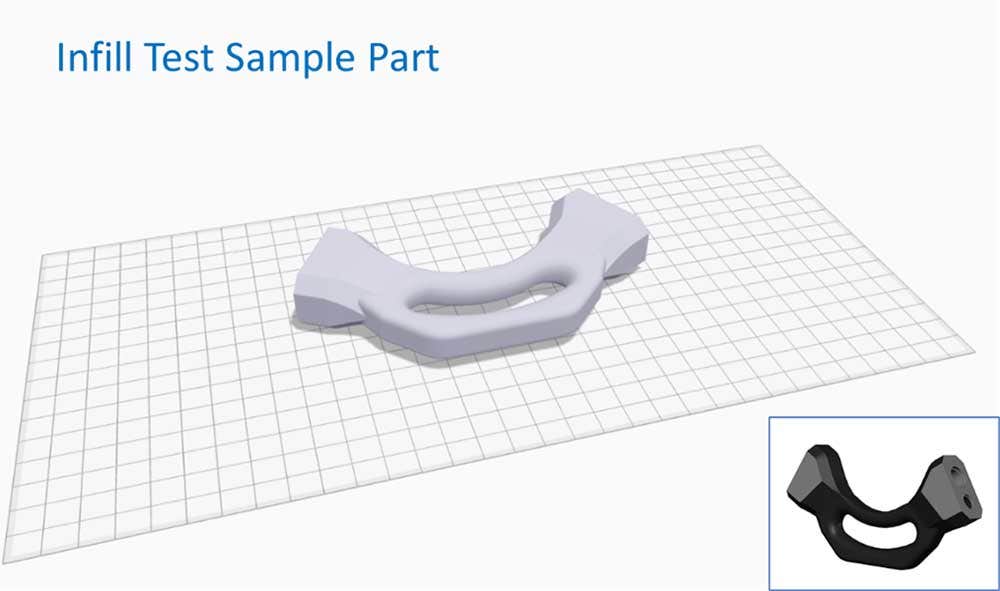
Below are a couple of charts that show how these infill types stack up to each other when printing a sample part. These charts focus specifically on the overall print time and material cost for both default and matched infill densities. The material cost has a direct relationship to the total volume of material in these results.
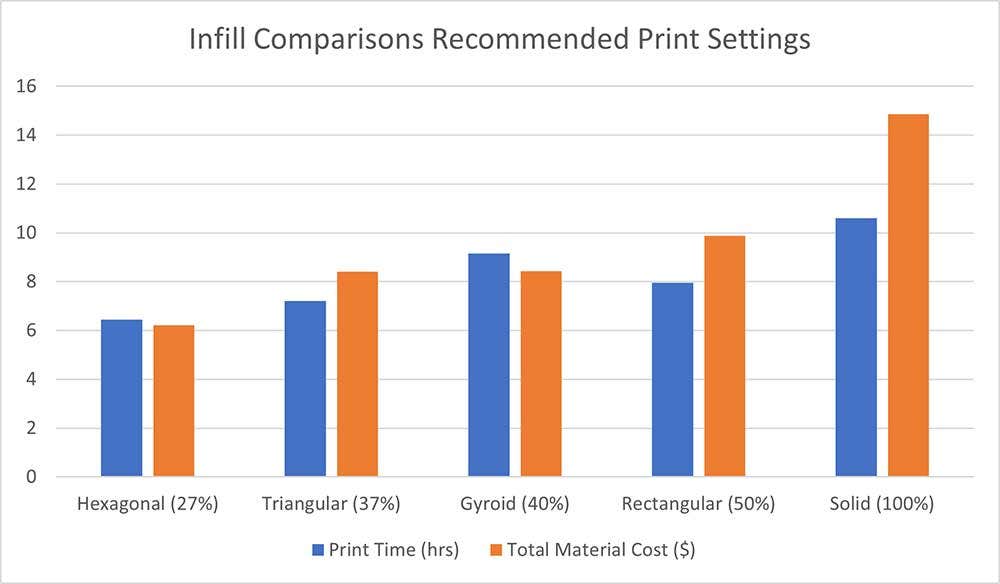

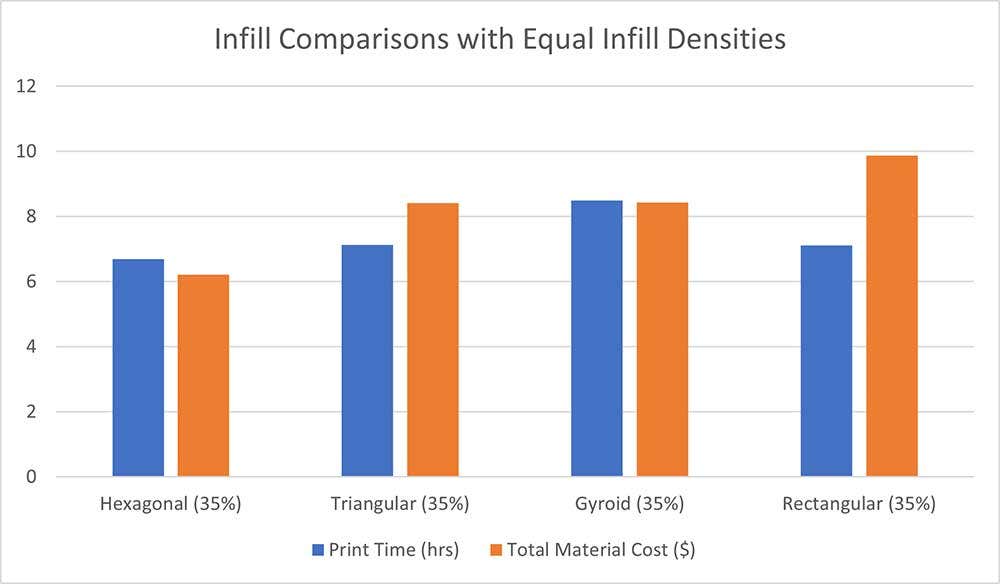

From the above results, it becomes clear that hexagonal infill is going to provide the fastest and cheapest option for printing parts, while solid infill takes much longer using more material. Gyroid infill requires slightly more print time compared to the amount of material being used, making it a little bit slower than other infill choices. Rectangular and solid infills are fairly efficient in extruding a large amount of material in a shorter time frame.
Don’t Forget About Walls, Roofs and Floors
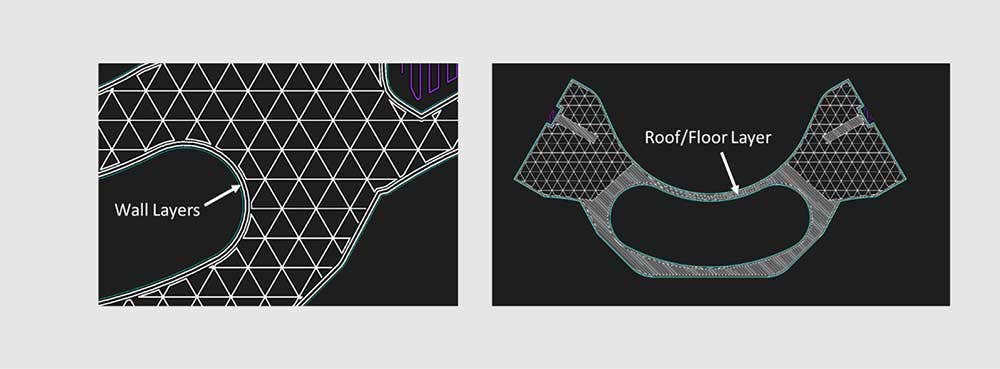
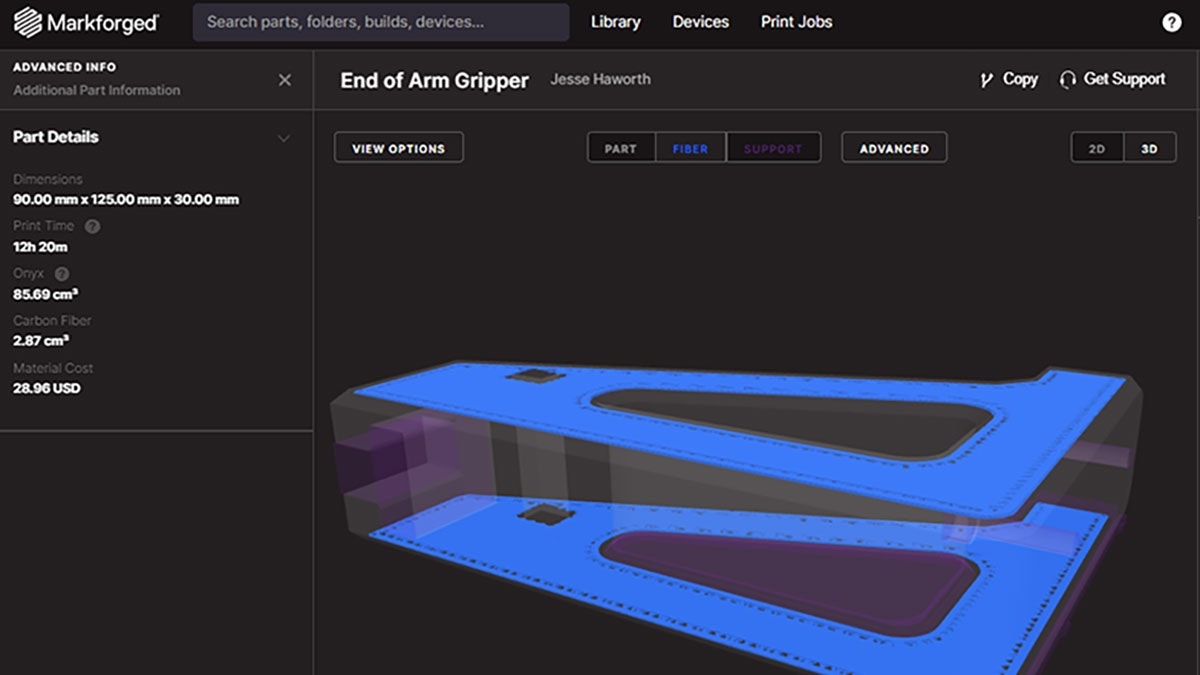
With the Markforged Eiger software walls, and roofs/floors can be adjusted for varying thicknesses. When running machining operations such as drilling out holes for accuracy, it is critical to add additional material around the shell of the part to avoid exposing the infill of the part.
Now you have the knowledge needed to make the right choice when it comes to infill selection for your Markforged prints. If you are interested in learning more about Markforged 3D printers or would like to get our input on your application for this technology, contact us today!
