Have you recently upgraded your license of SOLIDWORKS only to find that all of your reference folders are set to the wrong directory? It can be a daunting task to update every referenced folder one by one to fix this issue – fortunately, SOLIDWORKS makes this task quick and painless with the Edit All tool, introduced in 2017. With a simple click of a button, users can change the file directory of any and all referenced files directly within File Locations.
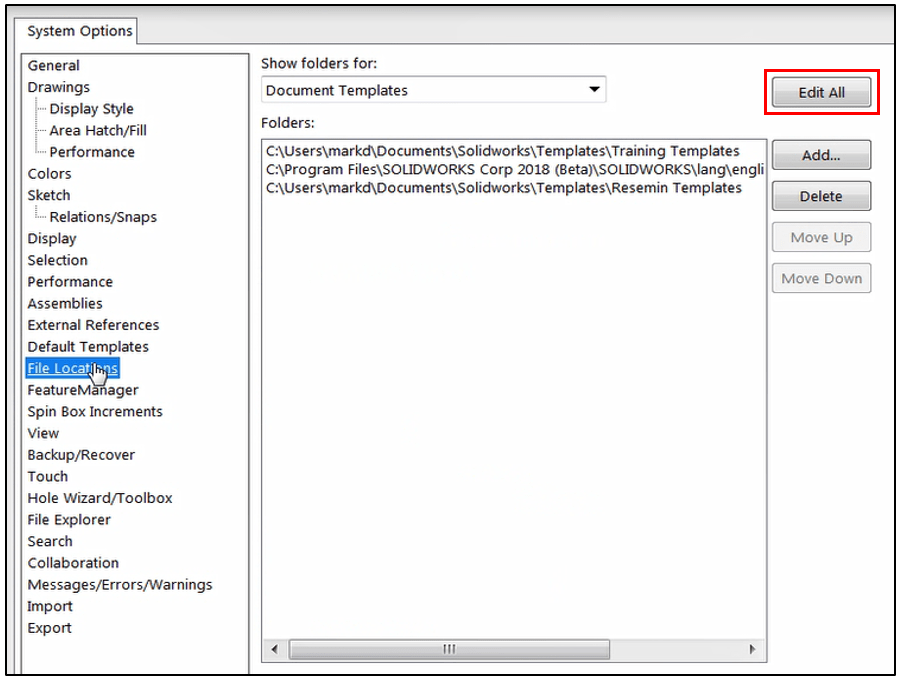
To find the Edit All tool, simply open System Options and locate the File Locations category. From here, you can manually scroll through the folders to see which tools or features are being directed to folders on your computer or server. While it’s still possible to manually add or delete a referenced location, this can be exceptionally time consuming, especially when it’s necessary to change several references at once. When this is the case, we recommend using the Edit All button.
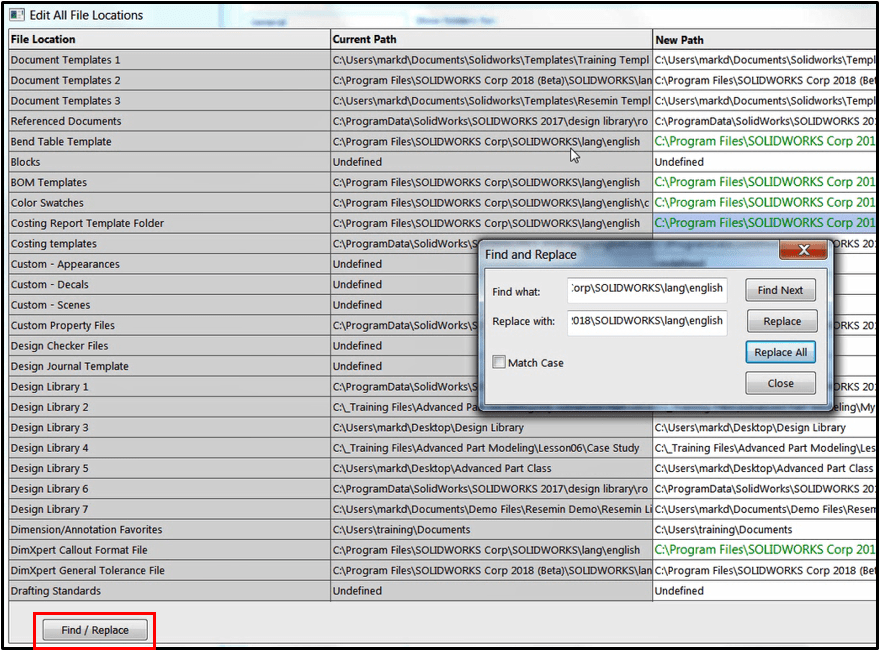
After selecting Edit All, SOLIDWORKS will display all referenced file directories in one convenient dialog box. This allows for manual updating of individual directory paths by simply typing the new path into the New Path column, without the need to use a dropdown menu to navigate the different options.
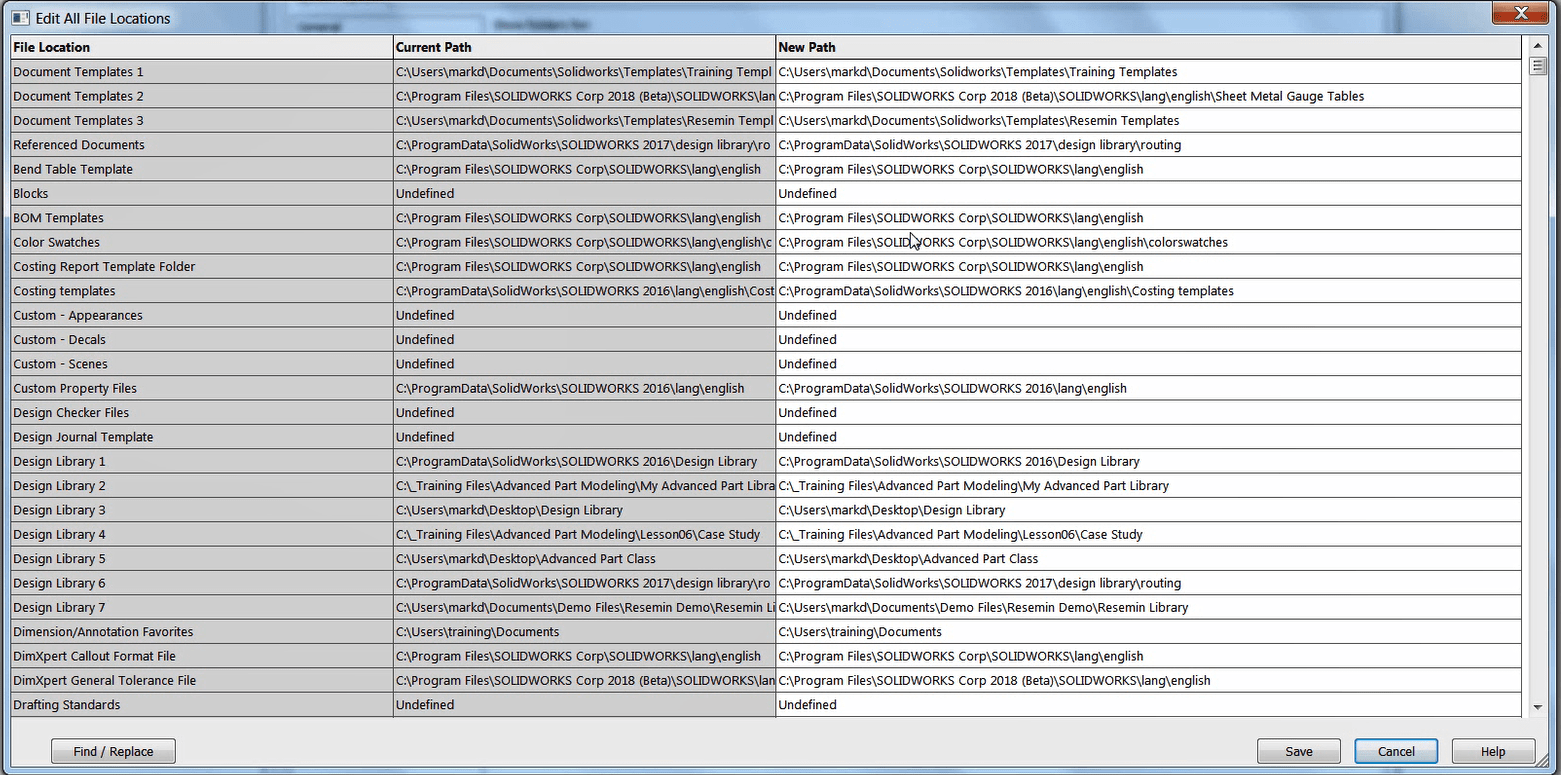
However, when changing the path for multiple directories (especially groups of directories sharing the same location), it is far easier to use the Find/Replace tool found in the lower left corner of the Edit All tool. Once Find and Replace is open, simply fill in the Find What field with the original directory path, and the Replace With field with the new path. Once completed, click Replace All to update the directories, and click Close once finished.
Below is a quick overview of the required steps to leverage the Edit All capability:
- Navigate to Tools > Options > System Options
- Select the File Locations category
- Select Edit All
- Choose Find/Replace
- Fill in the respective fields for the old/new directory locations
The addition of Edit All is just one way that SOLIDWORKS can make your life easier.
For more information, check out SOLIDWORKS 3D CAD product page. Thanks for reading!


