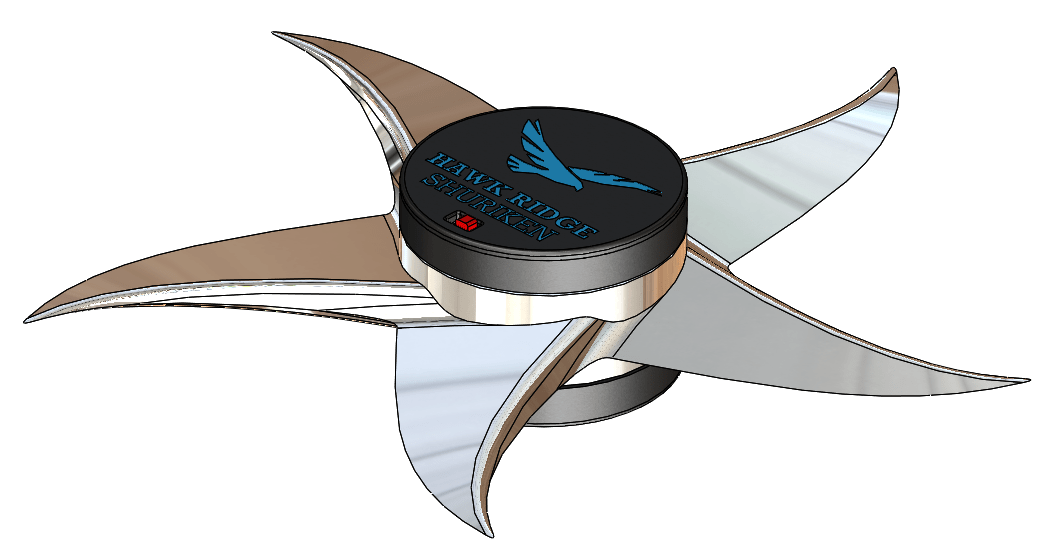
Layers have been available for many years in SOLIDWORKS, allowing users to assign drawings entities to them and control many visual aspects including visibility as well as line color, thickness, and style. New in SOLIDWORKS 2018, hatches can be added to layers, providing even greater flexibility when working with cross sections or adding hatches manually. In this article, we’ll cover how to create layers, assign hatches to them, and control hatch color. For added flair, we’ll be working with the deadly, motorized fidget spinner shown below.

Hatches are only available in drawings, and can be manually applied to closed contours/regions or automatically generated by cross section views. A quick cross section of the model shown in Figure 1 results in the drawing view shown below.

Before assigning the hatches to layers, the layers must first be created. Click Layer Properties to access the Layers dialog (as this command is not available in the menus or CommandManager by default, use the Search Commands option or enable the Layer toolbar in order to access it). If using a default template, a single FORMAT layer will be shown. Click New to add a new layer, optionally changing the name or adding a description. The remaining column icons can be used to toggle the layer visibility, printing, color, line style, and line thickness, respectively. In this example, 5 additional layers have been created with adjusted colors.

At this point, the hatches can be assigned to the created layers, and will inherit their visibility, print, and color properties (line style/thickness settings do not apply to hatches). Click a hatched region to reveal the Area Hatch/Fill PropertyManager, then (if necessary) click the Apply To dropdown to specify which portion of the view will be assigned to the new layer. Selections include the whole component, the selected region, the entire view, or a single body. Finally, click the Layer dropdown to select a new layer for the hatch. A checkbox under the Options group box can be selected to apply the changes immediately, or cleared to defer the changes until the Apply button is clicked.

If desired, the Material Crosshatch checkbox can be cleared to override the default material hatch pattern and make adjustments as needed. Simply click OK to save all changes. At this point, any further changes to layer properties will be reflected by the hatches assigned to them. If all hatches are added to a single layer, their visibility, print status, or color can be adjusted simultaneously in just a couple clicks.

Layers and colors for hatches are just one of many improvements this year, so be sure to check out our What’s New series for additional blogs and videos on all the new features included in SOLIDWORKS 2018. For more information, check out our YouTube channel, get a SOLIDWORKS 3D CAD quote or contact us at Hawk Ridge Systems today. Thanks for reading!


