Many parts are finished with coatings such as paint or plating, or intended to be covered by an exterior protective layer such as insulation. Often times it’s sufficient to represent a coating with a specification callout on an engineering drawing or as an appearance within the CAD model for rendering purposes. In some cases though, it may be desirable to have a separate body representing the coating in CAD, which allows predicting the volume or weight of the coating. In this blog and the accompanying video I’ll detail a technique for accomplishing this using the Surfacing commands in SOLIDWORKS.
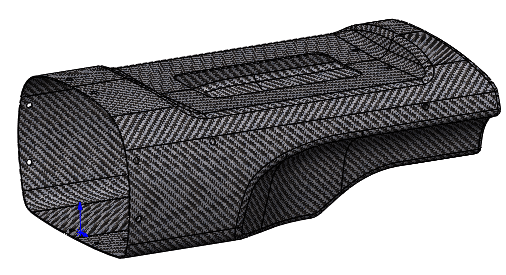
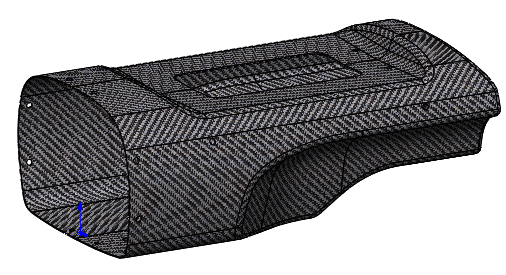
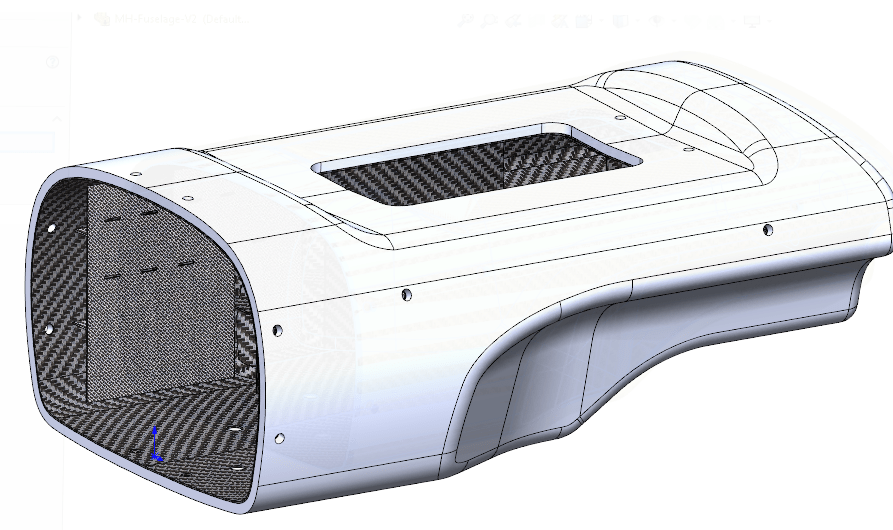
I would like to create a coating around the composite part below. In this case I’ll be creating the coating as a separate body within the part, but it’s also possible to use this method in-context at the Assembly level to create the coating as a separate part file if desired.
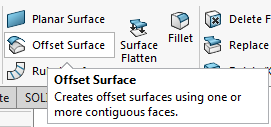
The first step will be activating the
Offset Surface command from the Surface modeling commands. If you don’t see the Surfaces tab on the Command Manager it can be enabled by Right Clicking any of the other CommandManager tabs like Features/Sketch.
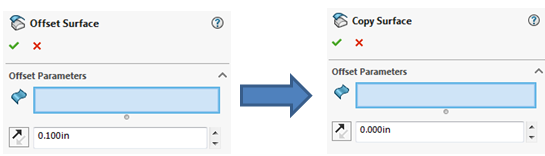
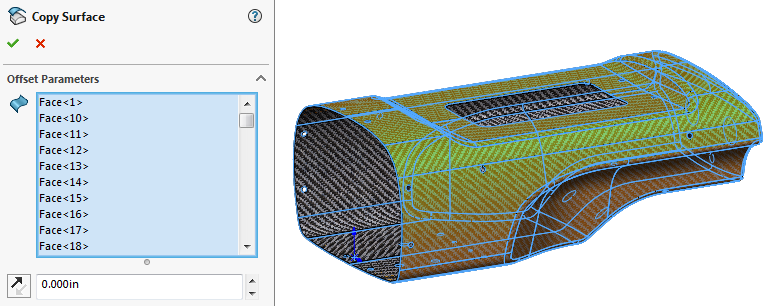
The Offset Surface command is intended to create a surface offset from your selection by default. In this case I want the coating to be flush with the exterior faces, so I will
Enter a value of 0 for the offset. This changes the command into a
Copy Surface command.
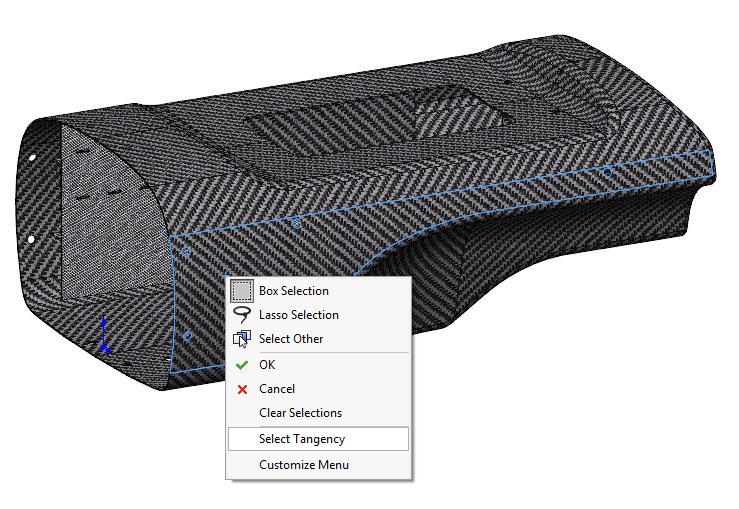
Now it’s necessary to select all the exterior faces. If it’s a curvy part like this I’ll use
Right Click -> Select Tangency. With some luck it will select all faces, otherwise you may need to manually select the remaining faces or try a different selection method.
 Click the checkmark
 to accept the copied surface.
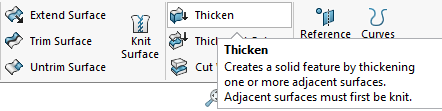
Now we have created a surface (essentially a zero thickness body) that represents the outside shape of our part. To turn this surface it into a body representing the coating, we will thicken it. Choose the Thicken command from the Surfaces tab once again.
 Select the surface
, choose the
direction to thicken, and define the
thickness.
Clear the “Merge result” option so that the coating is created as a separate body.
Click the checkmark to accept.

Now I have a separate body representing the coating that can be used to estimate volume or mass.
For more information, check out our
YouTube channel, get a
SOLIDWORKS 3D CAD quote or contact us at
Hawk Ridge Systems today. Thanks for reading!