Hi everybody! Have you ever wondered how to revise drawings and projects in SOLIDWORKS Electrical? If so, then read on. If not, maybe you’ll want to continue reading just in case you ever need to do this!
As we know, changes come along in designs that force us to update projects to reflect those changes. I’m going to walk you through this process in SOLIDWORKS Electrical.
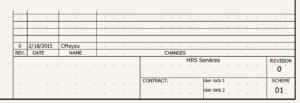
If you’re using one of the standard project templates installed in Electrical, you should see a revision block and title block on the very first page like this:
Figure 1: Standard Title Block
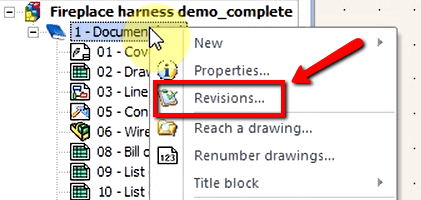
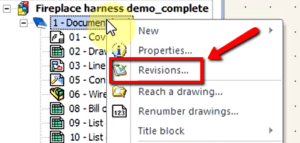
Since this project is in the initial revision, the revision number is 0 and the date it was created, as well as the creator, is displayed. Also note that in the bottom right corner, there’s another box that lists Revision 0. We can add revisions at the individual drawing level or at the book level. Let’s start at the project level, and you can do that by right-clicking on the Document book:
Figure 2: Selecting the document book revision.
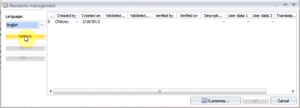
When you select that, it opens a revision box. You can fill in any information in any of the boxes that have dots. You can also click Customize… to change any of those data fields if you so desire.
Figure 3: Revisions Management Dialog
Once you’ve made your entries, click on Validate to finalize the revision. This allows other users to approve a design. Now your user name and the current date will show up in the Validated fields, and the Validate button changes to Verify:
Figure 4: A validated revision.
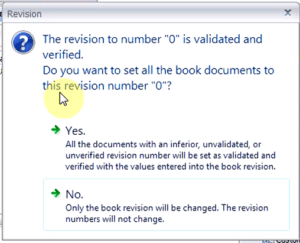
Once you click Verify, a dialog pops up asking if you want all the book documents to be set to the same revision. In this case, we’ll click yes because we want all them to start at 0. However, it’s important to point out that individual documents can be at different revisions than each other and the document book:
Figure 5: Verify revision dialog box.
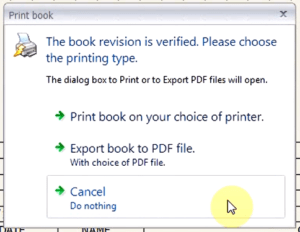
Once that’s been done and you click Okay, the Print book option comes up. This allows you to print off the drawings or export them to a PDF:
Figure 6: Print book dialog box.
Once you choose which option you’d like, the revision block will be updated, and you can move on with your design:
Figure 7: Updated revision block.
Now, remember earlier in the article when I said revisions are applied separately to books and drawings? The description of the revision is also applied to one or the other. If I go to the 3rd scheme, we can see that the description isn’t applied to it:
Figure 8: Drawing revision block.
Therefore, if we want to add a description, we go through the same process of right-clicking on the specific drawing and adding a description in the Revisions management dialog:
Figure 9: Drawing revision block with description.
Now that everything has been verified and validated, what happens when you make a change to a drawing? If you right-click on the drawing in the tree, there’s a button to add a New Revision:
Figure 10: New revision button.
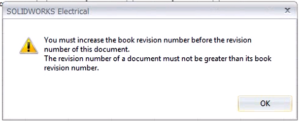
However, if you click on that, you’ll get this message:
Figure 11: Revision warning.
Now we know that we need to do a book revision before we can add a drawing revision. Going through the same process, revise the book revision and then the drawing revision, keeping in mind that the descriptions of the revisions don’t need to be the same:
Figures 12 and 13: Book and drawing revisions.
To sum things up, adding revisions to your project and drawings can be easy as long as you follow this process. For more information, request a SOLIDWORKS Electrical quote or contact us at Hawk Ridge Systems today. Thanks for reading!
