There are several reasons why you may need to add a serial number to your
SOLIDWORKS SolidNetwork License Manager. One could be you add a new product to
your licenses like Composer or Simulation Professional. Another may be that
you are upgrading to 2015 and would like to include EPDM in the same License
Manager.
So we will need to get to the Control Panel and find the SolidNetwork License
Manager installation. Then right click on it and select to Change from the
options. This will then open the Installation Manager for the License Manager
like in the image below.
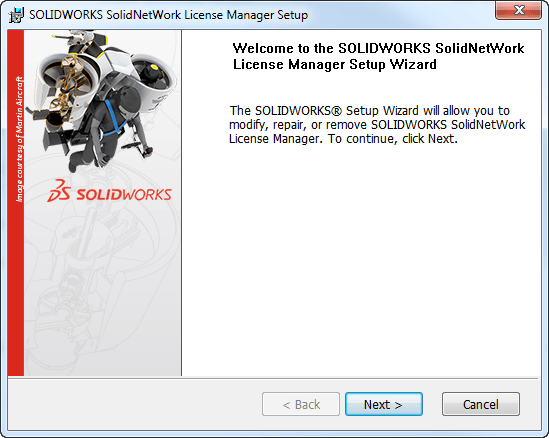
From here we will select “Next” to continue with this process.
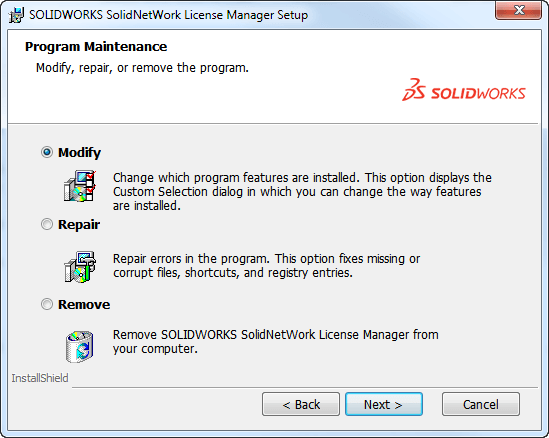
The next step we will select to “Modify” the installation from the options
presented then select “Next” to continue.
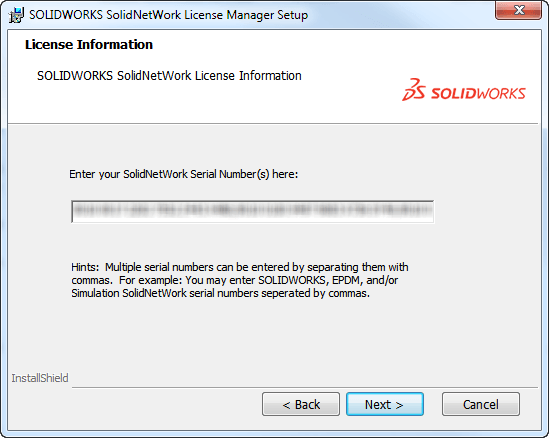
We will then be presented with the license information page. In the line
provided that currently has your SOLIDWORKS serial number, add the new serial
number for the license to add to the Manager. Separate them with just a comma
and no spaces, as it will see those as characters. Then select “Next” to
continue.
We can now select to “Install” from this page unless we need to review what we
are changing.

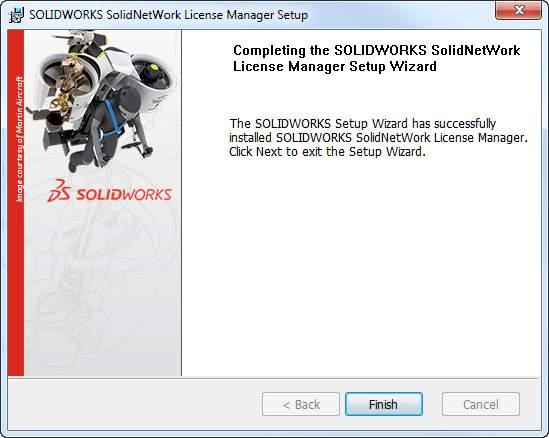
This will then go through and modify the installation to include the added
serial numbers to manage. We now select “Finish” and this step is done. We can
now move on to activating the licenses so they are available for client
machines.
Now we need to open the License Manager to activate the licenses just added to
the manager.
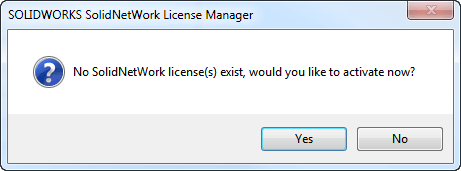
If you are installing the license manager for the first time for the version
you may see this message when starting the manager. This may not be present in
some Virtual Connection scenarios. A couple of the next steps will be skipped
if this does come up.
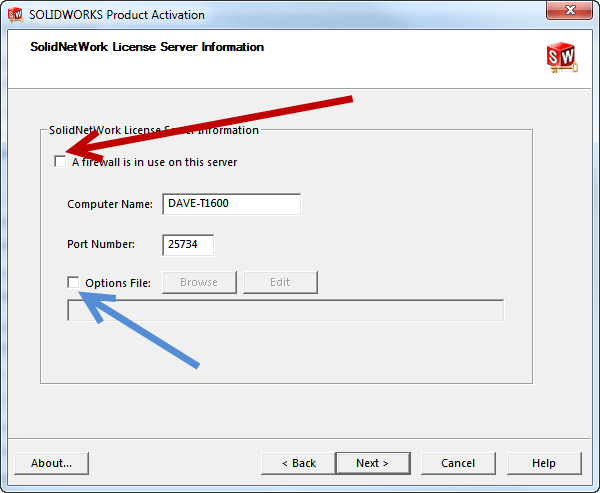
If you are modifying a current install and/or do not get the above notice, the
manager will open to the Server Admin tab. During the activation you will have
to determine if a firewall is present between the server and clients. Only
turn this on if there actually is one. Then if you have an Options file be
sure to select that option and locate the file. Hit the “Next button to
continue.
You will then see the activate options page with all of the serial numbers and
how you would like to do this process.

It is always easiest to use “Automatically over the Internet”, but you can use
the email method if there is no internet connection. At this time choose
“Select All” next to the serial numbers.
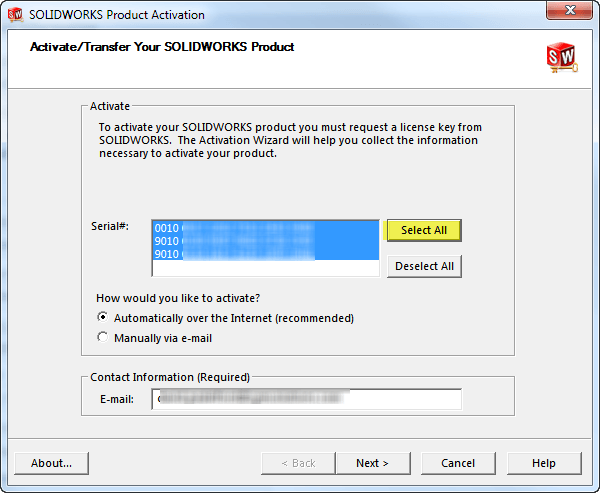
Be sure to add an email address if there is not one. Hit “Next” and it will
then ping out to the SOLIDWORKS activation manager. You should then see a
dialog stating that it was successful and you are then done on the server
side.
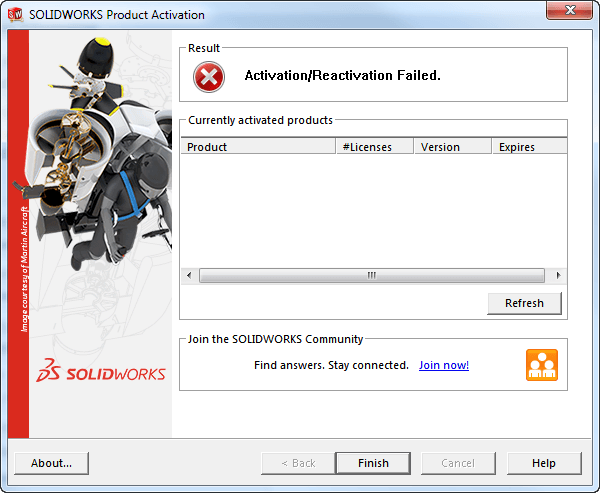
If for some reason the activation comes back failed like below, please
contact Technical Support
and we can check the activation history and see why it failed.