Definition of Rest Machining
Inevitably when it comes to machining parts certain features may require multiple tools in order to machine swiftly and accurately. Rest machining gives the programmer the opportunity to use a large tool to remove a bulk of the material while generating a second operation with a smaller tool removing any of the remaining material.
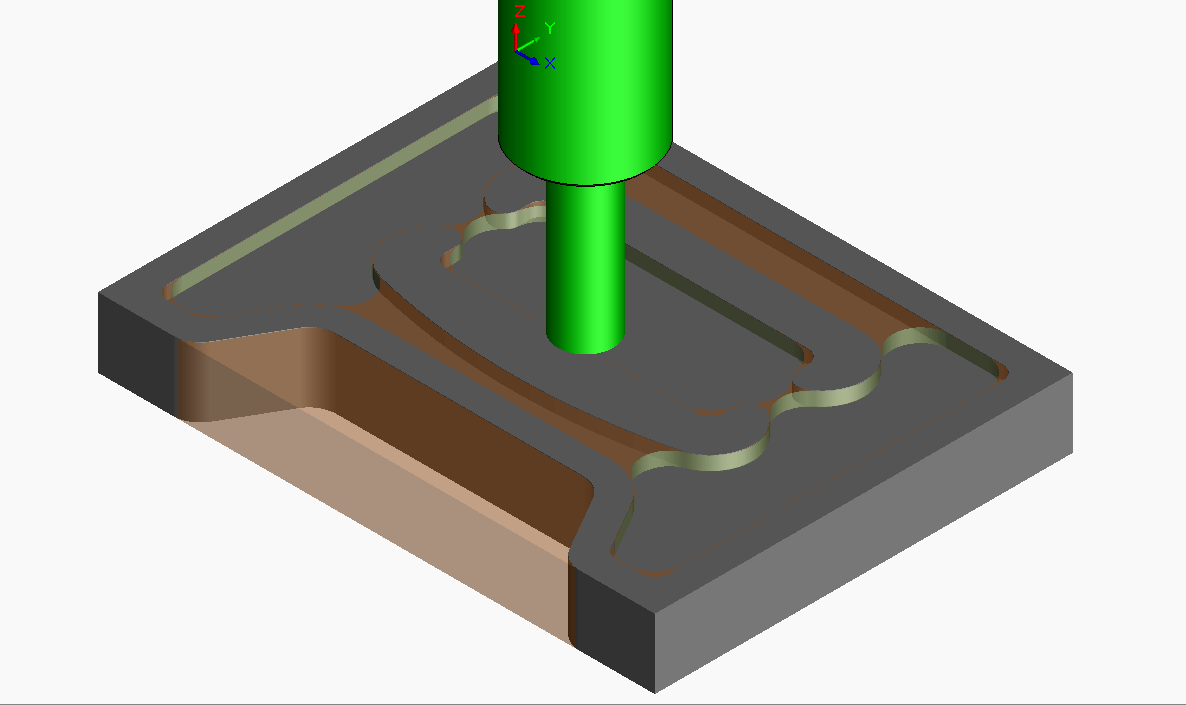
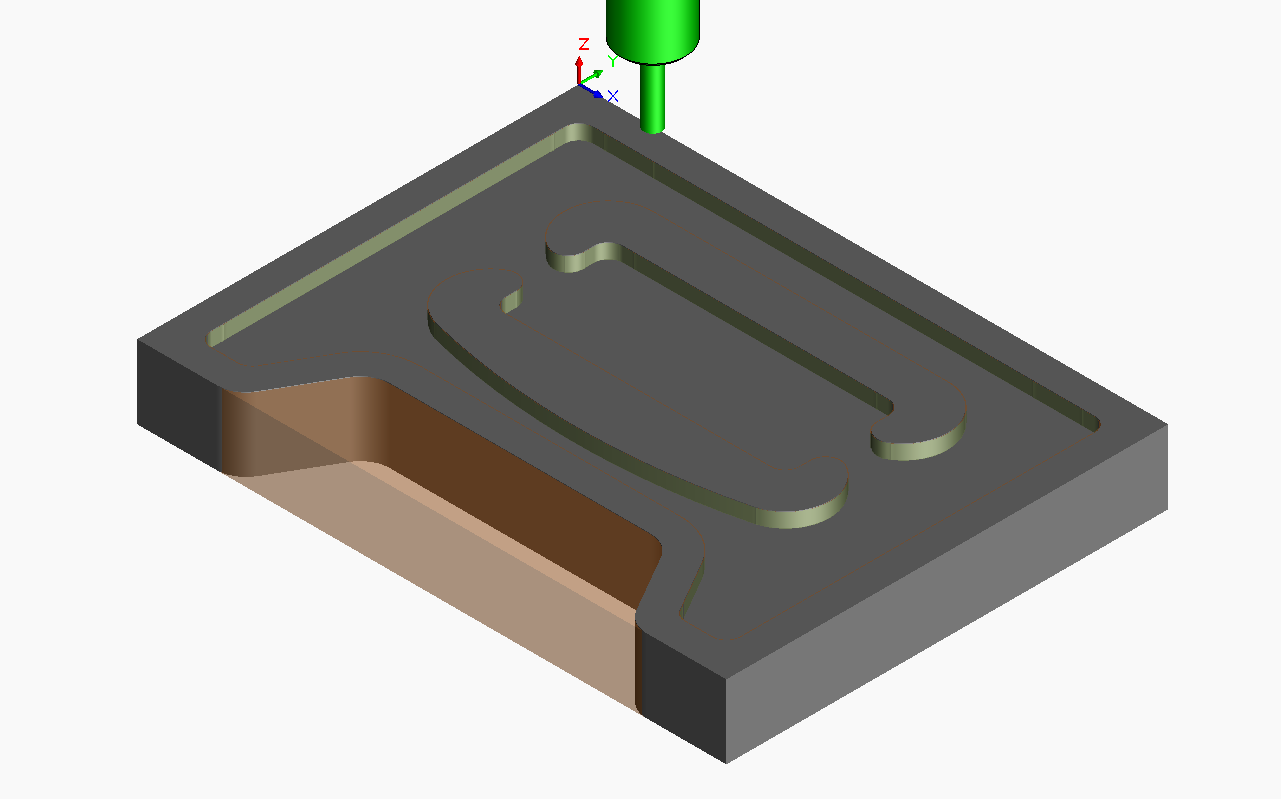
For this example, a part has been partially programmed, however, there is still some material left in place. Swapping the tool for a smaller diameter will still produce the desired outcome but at the cost of long cycle time. To continue machining a feature where a tool left off, rest machining will be the best option.
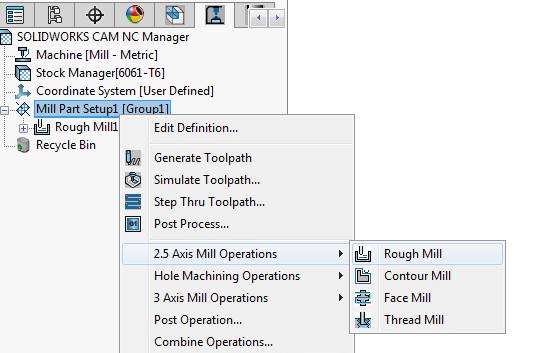
Rest machining will be applied to a second rough mill operation. On the cam operation tree, right click on the desired mill part setup and add a rough mill operation. This new rough mill operation will be linked to the original feature being machined, in this example the Irregular Pocket 1 feature.
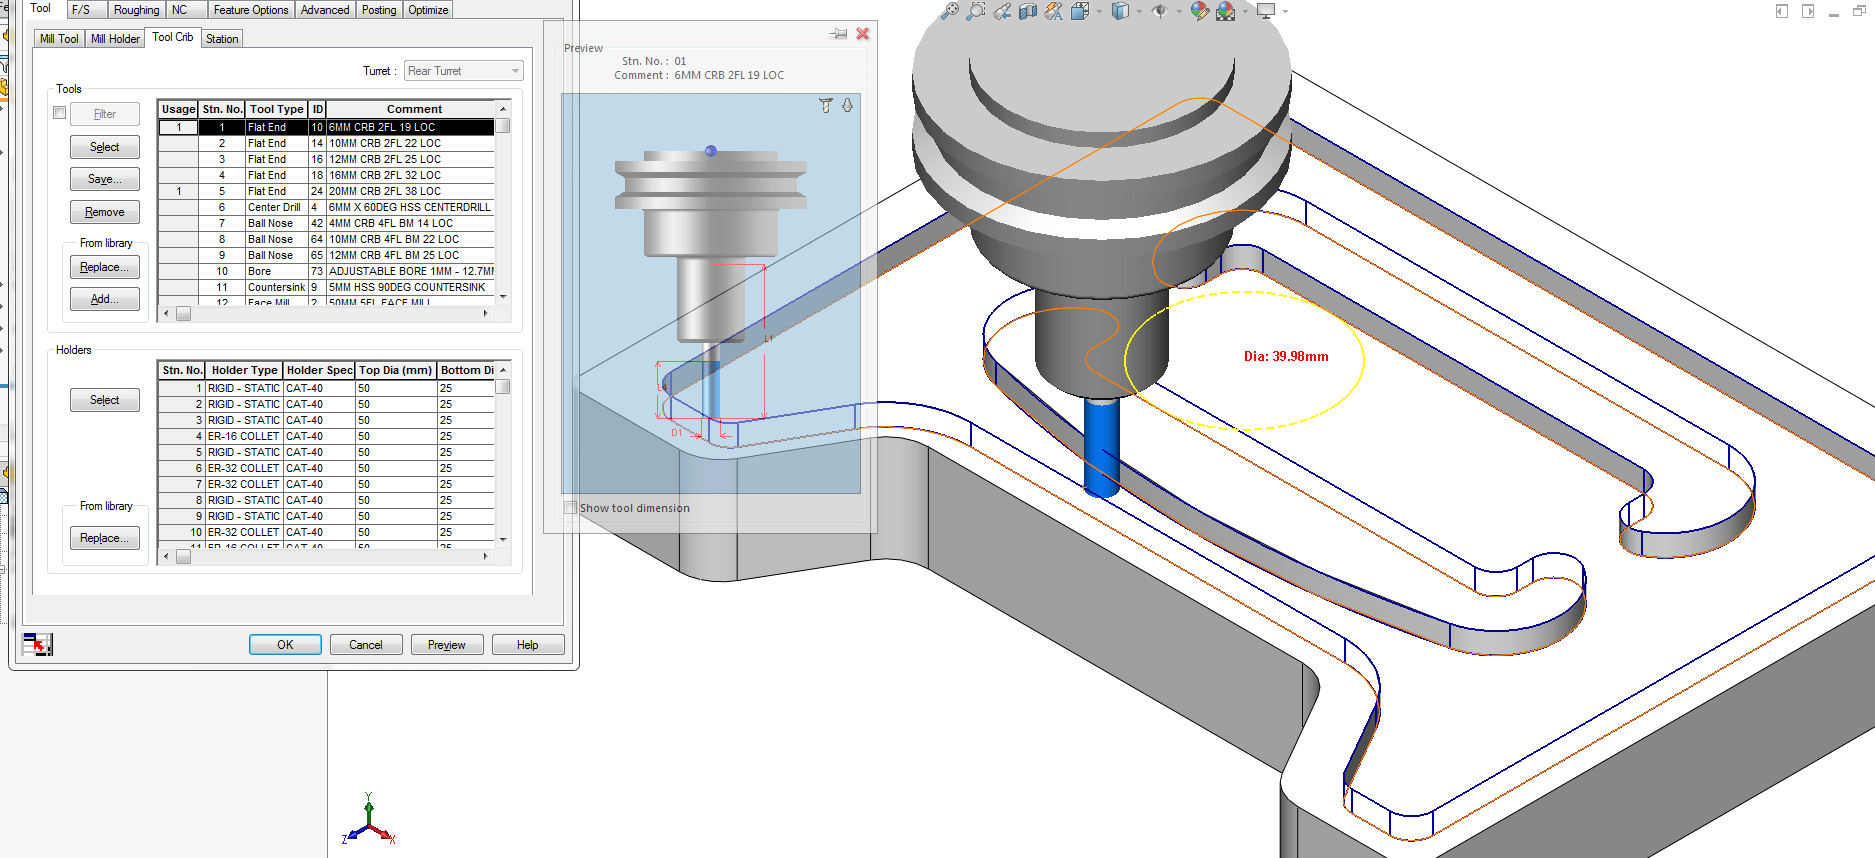
Once the second rough mill operation has been created, edit the definition of the new feature and proceed to the tool crib tab under the tool tab. Utilize the on-screen graphics to determine the correct size end mill that will remove any of the remaining material. In this example, the 6mm end mill removes all of the additional material.
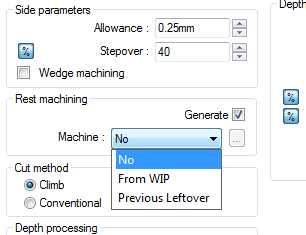
Once the correct size tool has been selected to proceed to the roughing tab where an option box will appear for rest machining. Under machine, an option for either WIP (Work in Progress) or Previous leftover will appear. From WIP will give the opportunity to utilize to have control over which previous operations are being used to calculate the desired material to be removed. Whereas the previous leftover will calculate the toolpath based on the theoretical leftover areas that were calculated from the generate leftover option.
This example will use the from WIP and press ok. Once the toolpath has been calculated a quick simulation will show that all remaining material has been removed.
Have questions? Contact us or get started with a free trial of SOLIDWORKS CAM.