Who doesn’t love sitting back and grubbing on some tasty crab? Although recreational crab season got off to a late start this year in the Bay Area, I’m excited to share how my experience went trying my hand at crabbing for the first time. I’ll cover how I used SOLIDWORKS and multi jet fusion (MJF) through our manufacturing-as-a-service solution to assist in my crab-hunting endeavors.
The Right Tools for Crabbing
There are a handful of items that I needed for proper crabbing, including a crab net, bait, bucket, crab gauge and a lot of patience.
I noticed that the crab gauge I had didn’t get small enough for the red rock crabs that can be caught along with the Dungeness crabs in the Bay Area. The legal size for red rock crabs is four inches in California, while the sport legal size for Dungeness is five and three-quarters of an inch.
I looked for a crab gauge that had both sizes but had no luck. Naturally, I decided to make my own that could measure the catch of the day in the proper increments.
Getting Started
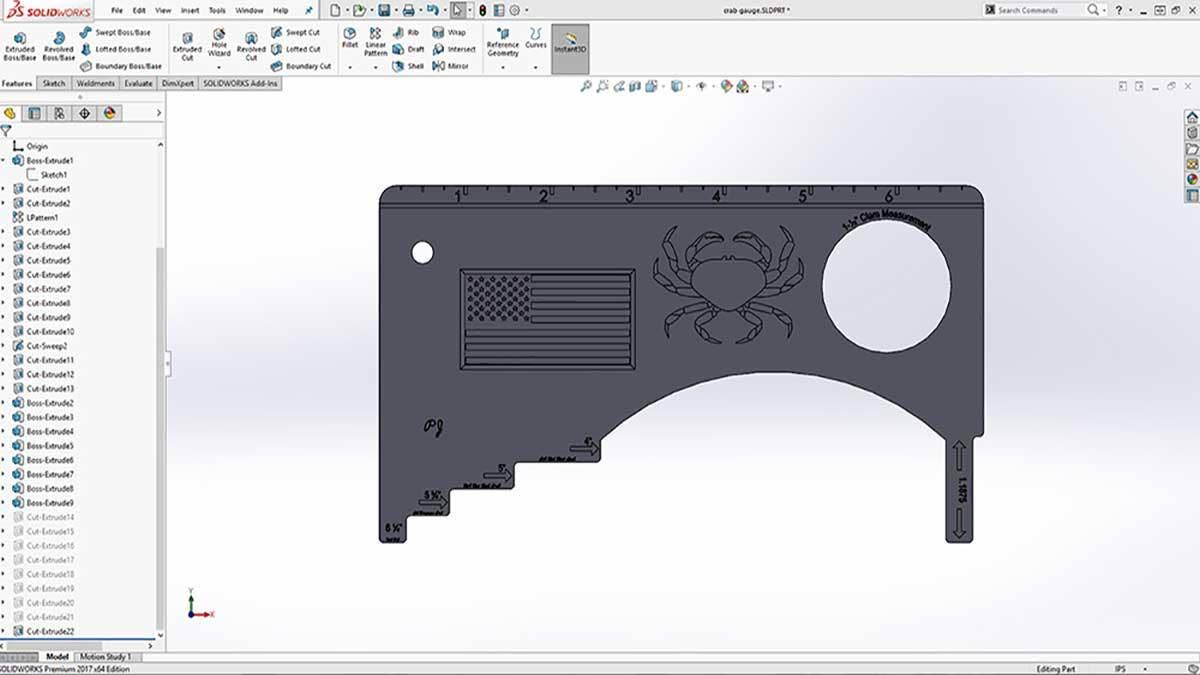
To make this crab gauge, I started with a generic gauge I had purchased at the fishing store for general dimensions. I then opened it in SOLIDWORKS to make the necessary modifications.
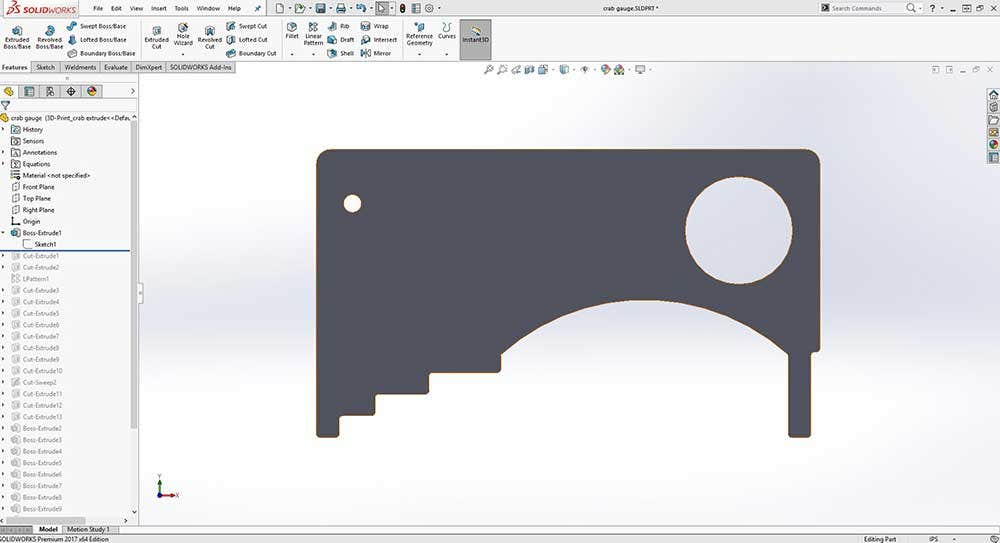
Starting with a basic sketch, I manually reverse-engineered from the store-bought version which I extruded. I decided to include red rock and Dungeness measurements for both California and Washington state.
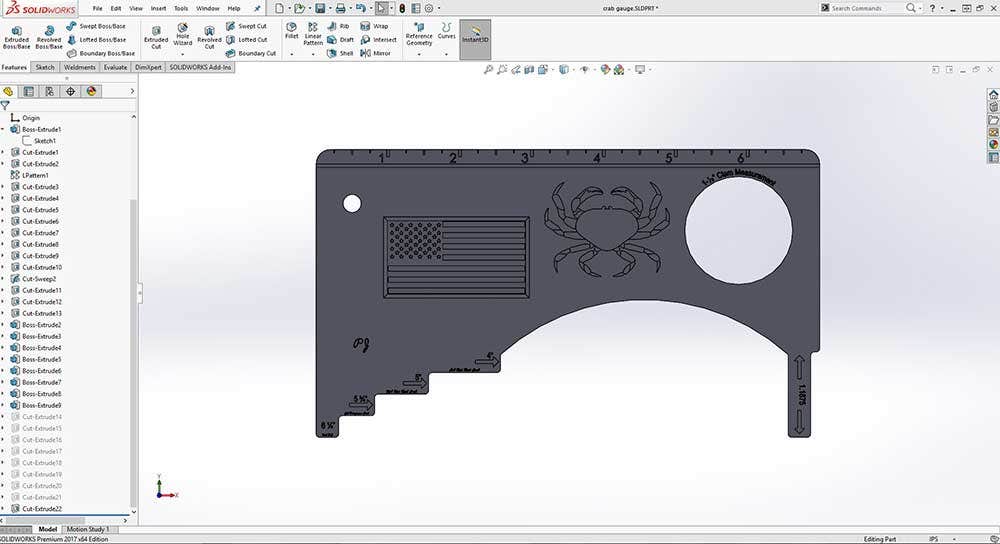
The complicated parts were the text and the drawings. In SOLIDWORKS, you can have sketch text extruded or cut as long as there aren’t any overlaps. I had chosen a cursive font for the crab designations and that required me to “dissolve” the sketch text.
This converts the sketch text into a series of line segments and splines. I could now remove the overlapping entities. The crab was made by inserting a picture of the crab as a sketch picture, scaling it down, then manually drawing splines for each crab segment. I then varied the depth of the segments to give the crab a 3D scalloped look.
Once the CAD file was finished, I sent it off for 3D printing using nylon 12 as the material. This printer will make features down to .1mm, so it worked out perfectly for my application.
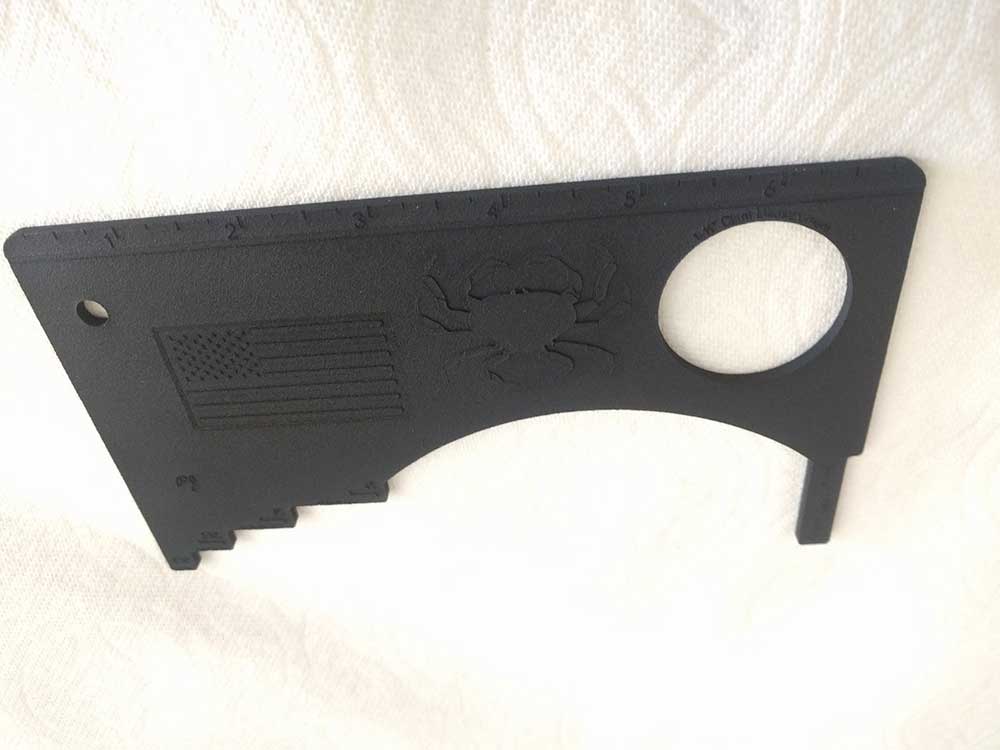
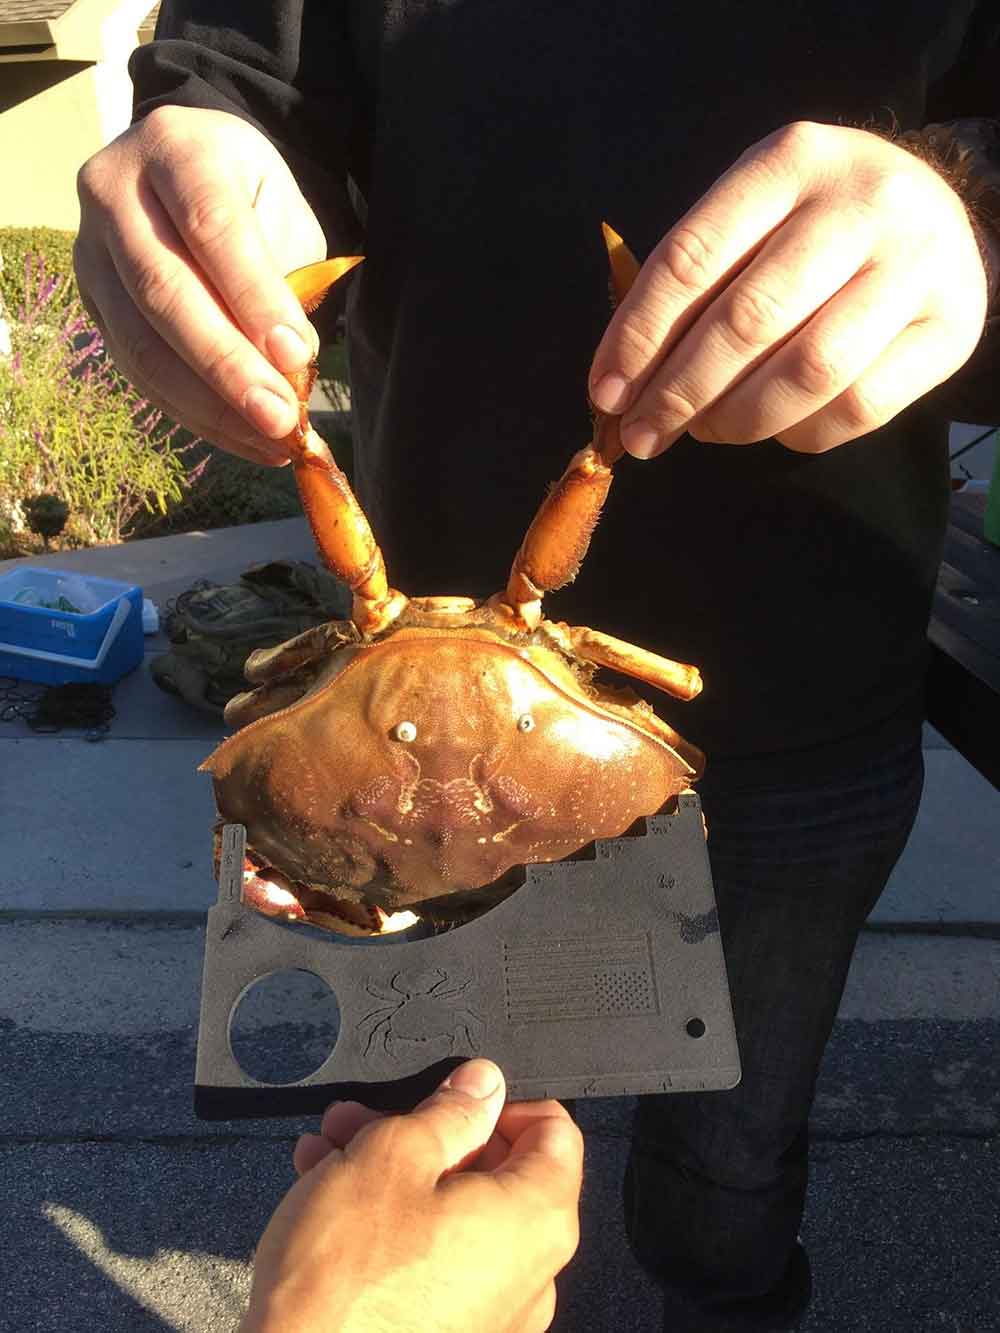
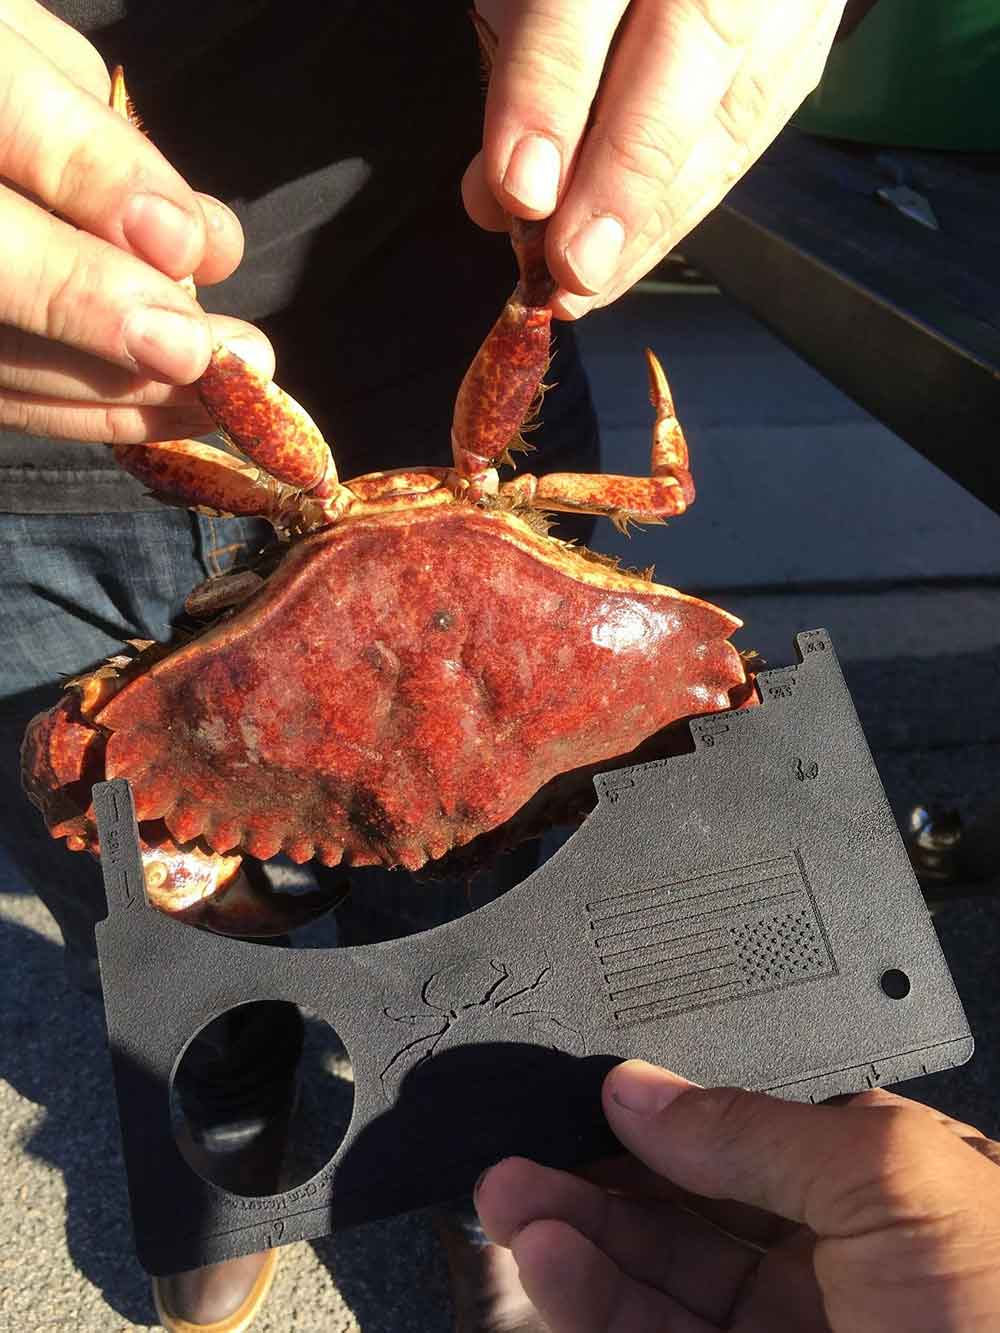
The Finished Product
Once I got the gauge back, I was able to put it to the test. The gauge worked perfectly for both the Dungeness and the smaller red rock crabs. I harvested some delicious crustaceans and had a great dinner with my family.

This is a quick and easy example of how these powerful tools can create simple solutions for everyday problems.
Explore our site to learn more about how to use SOLIDWORKS and our manufacturing-as-a-service capabilities in your own applications, and be sure to contact us at Hawk Ridge Systems if you have any questions. Thanks for reading!