Here at Hawk Ridge Systems, we have some powerful 3D printing technology.
3D printing has the unique ability to manufacture assemblies with moving components as one piece so I definitely wanted to demonstrate that. The 3D printer needs a minimum clearance of 0.4 mm (0.015 in) between features that are supposed to move freely so I can get very intricate and precise with my design. I can create a minimum wall thickness of 0.3 mm in the XY printing plane, again giving me a lot of options for my design.
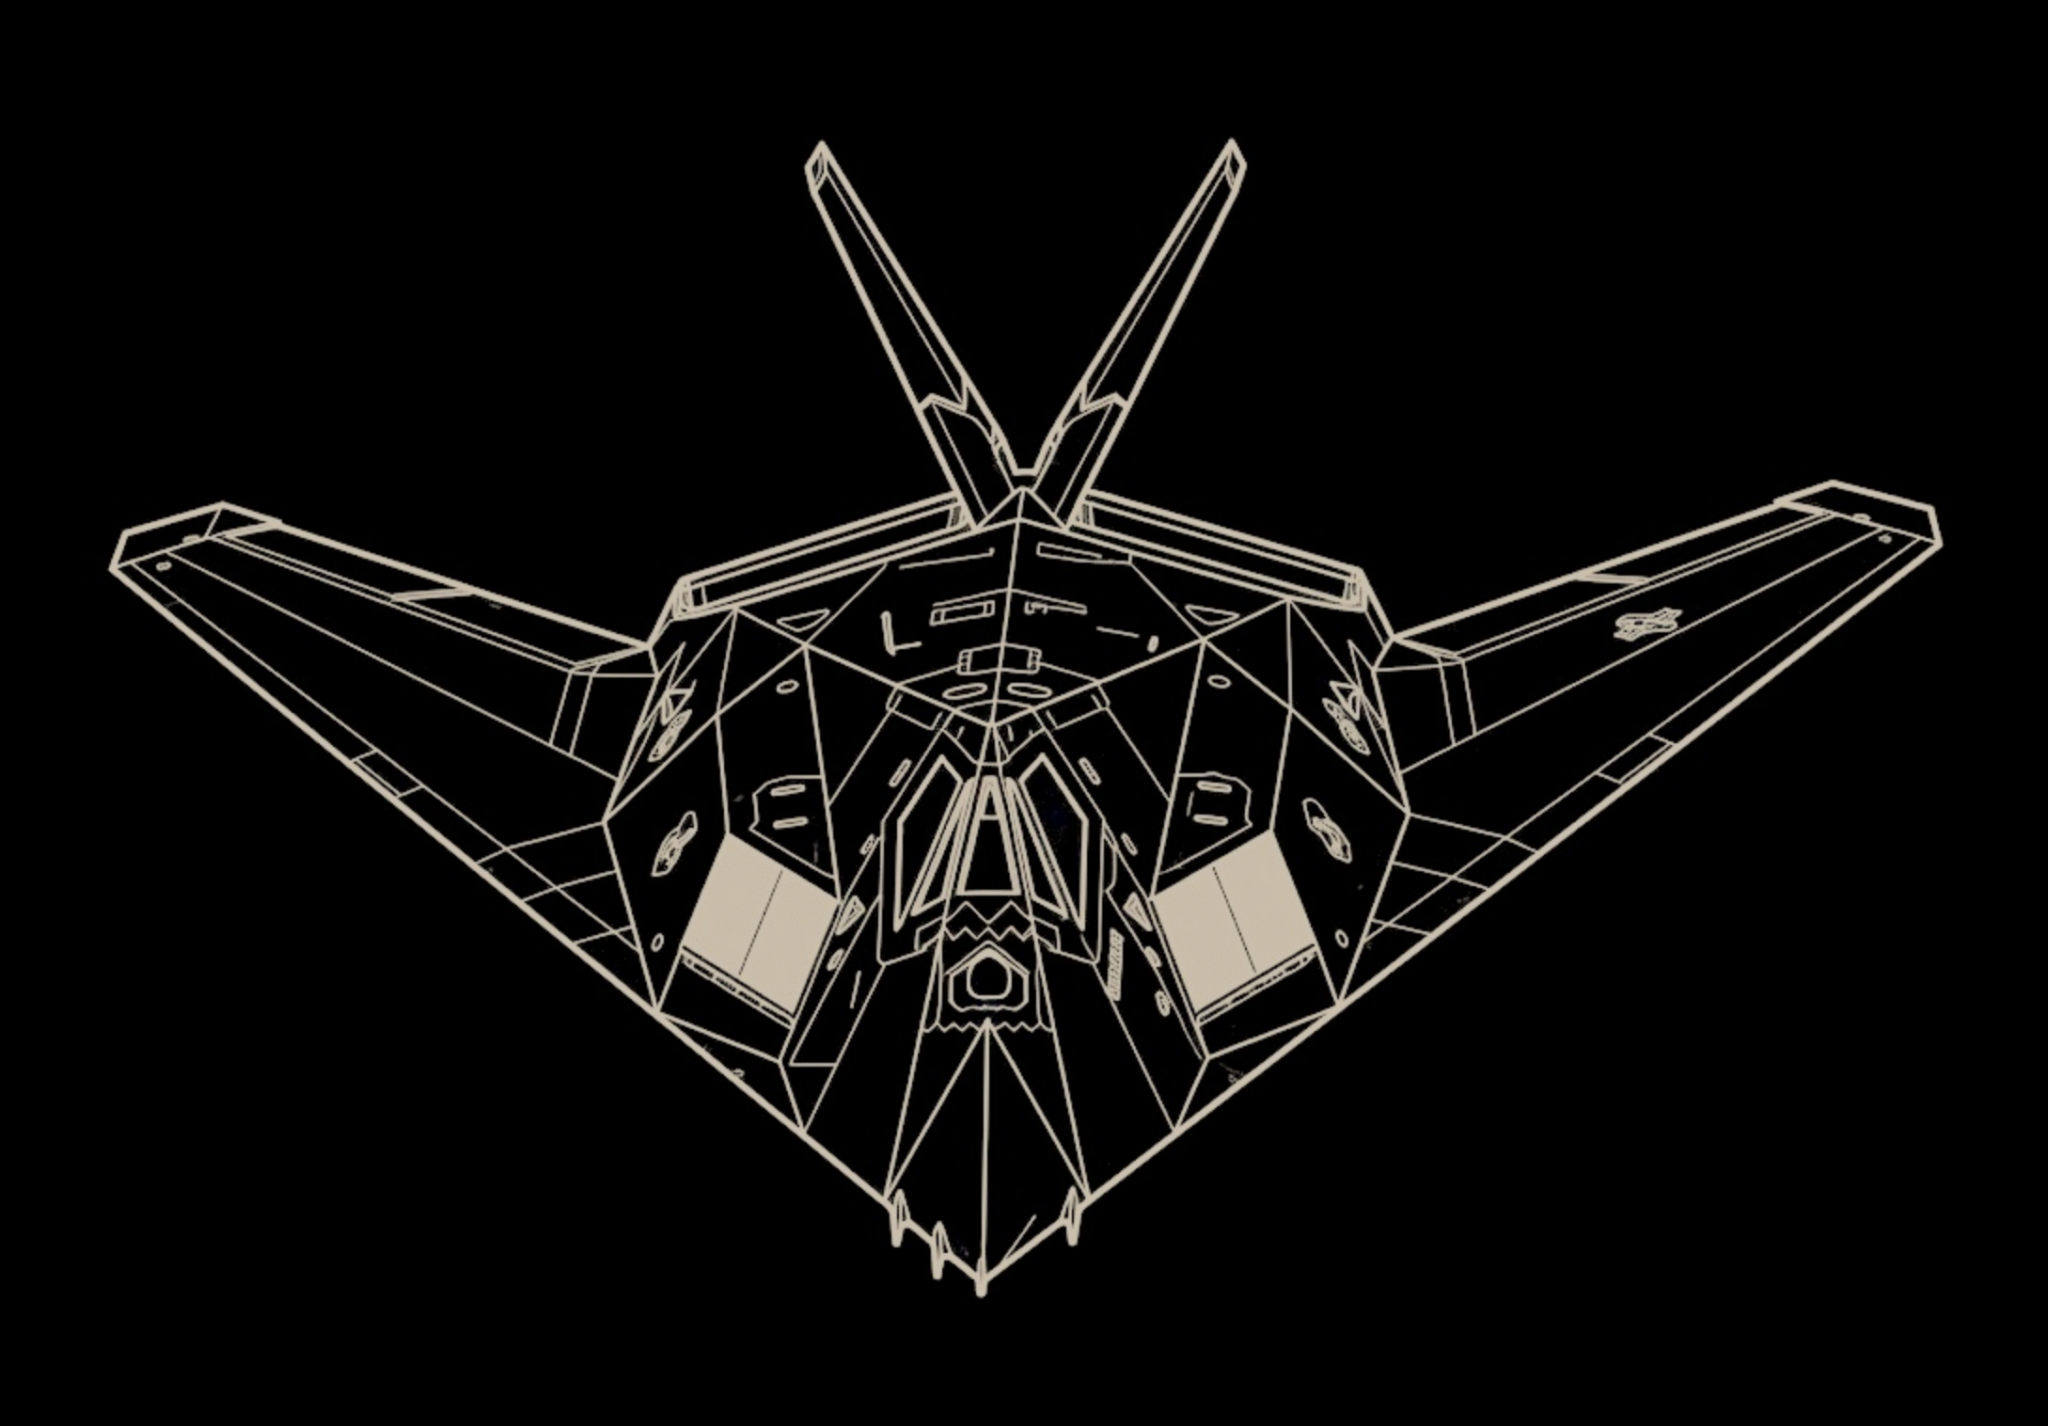
I finally decided to make a gauntlet and print it out. Instead of the classic plate steel with rivets, I planned to design a piece that needs no assembly and has fully articulating fingers, thumb, and wrist. The build chamber is large enough for me to can fit both my hands in that volume letting me make the gauntlet as one piece with no assembly required. I decided to keep my thicknesses between 1.5 mm – 3 mm because that is what a quick google search said the thickness was in the 15th and 16th centuries. Using this historical value I could have some assurances that all my clearances should work. Below are a few images I used for inspiration in my design.

SOLIDWORKS was the perfect tool for the design and below is a brief list of the features and functionality I heavily relied upon. I used multibody and top down assembly techniques so I could relate the parts together and ensure my 0.4 mm clearances. A motion study helped determine the range of motion of the parts as well as their ability to remain assembled. A motion study was also used to create slot paths that were needed in the wrist articulation. Clearance verification was key to ensure all the parts have enough space to be printed and are not accidentally fused together. Since I wanted to have contours similar to my hand, a lot of surfacing tools and techniques were used to generate the main parts. Mirror Components was an effective way to generate the opposite handed version of the gauntlet, saving me a lot of modeling time.
Some of the major design challenges that I faced was having full articulation of the fingers, thumb, and wrist. Traditionally these components would be fastened together or to a glove using rivets, but I wanted to print this entire gauntlet as one piece. This means that I had to find a different way to connect the parts while maintaining the relative motion. Finding an appropriate spacing and thickness for the fingers was also a challenge as there is a lot of surface area to cover in a small volume. Since I did not want to attach the pieces to a glove, it had to be designed so that it could hold itself together but also have the ability to slide a hand in and out.
In a series of blogs, I will take you through my design process and show you the fabulous parts that come out of 3D printing. I will take you through the tools in SOLIDWORKS that I used to ensure my design was functional and printable as well as some of the pitfalls I fell in and how to avoid them.
For more information, get an instant 3D printing quote through our manufacturing-as-a-service partner, A3D Manufacturing, or contact us at Hawk Ridge Systems today. Thanks for reading!