Manufacturing Intelligence

Hexagon Absolute Arm

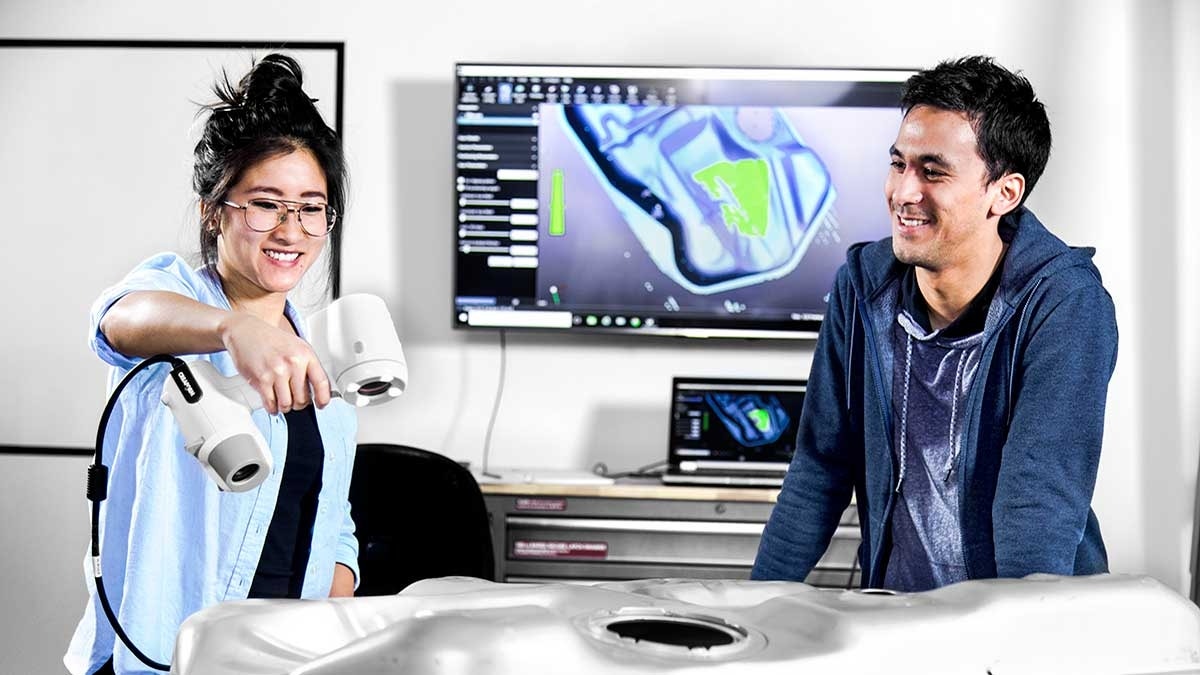
With robust hardware for stability, inspect your parts right on the factory floor or in the field, using different scanners and probes depending on the job.
Get Pricing

Get Pricing Sent to You Today

Thank you for your interest in Hawk Ridge Systems! We will be in touch with you shortly.

While you are waiting, check out our Resource Center or read our Blog!
success
 

Portable Scanning and Probing for All Manufacturing Needs

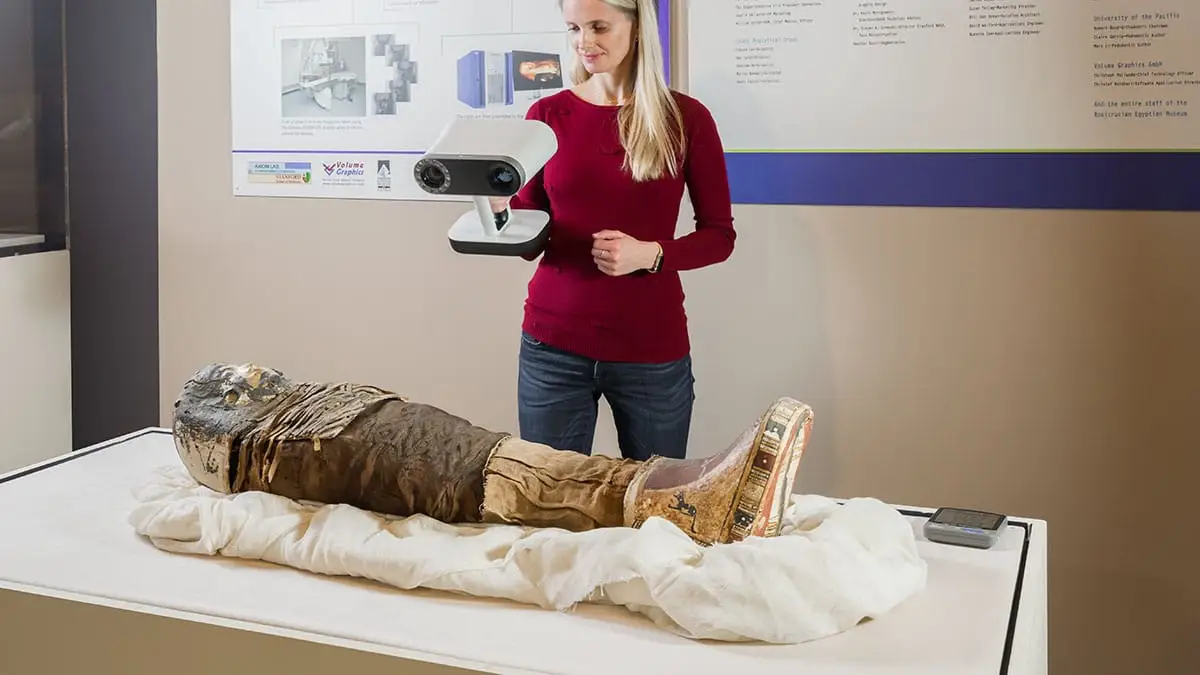
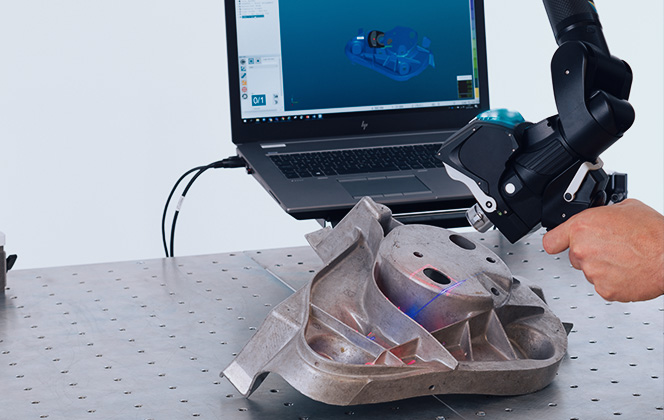
By combining scanning and probing into a single device, the Hexagon Absolute Arm (formerly known as the Romer Arm) offers versatile measurements for any part, capturing data in various ways to suit different objectives.

Innovative RFID technology allows users to switch between probes and scanners effortlessly, without the need for new calibration.
Hexagon Service

Key Features & Benefits

Total movement for an arm

Zero-G Counter Balances and low friction rotating grips minimize user fatigue and maximize scanning angles.

Swap settings on the device

Change between different user profiles, capture devices, and take quick measurements all on the arm without needing to put the device down and use a computer mouse.

Absolute portability

Hot-swappable batteries and wireless connectivity allow for the device to work untethered to an outlet or computer system. Different sized arms allow for placing inside of tight spaces or on moveable tables for anywhere on the shop floor.

Hot-swap accessories

Switch between a scanner and probe with the click of a button. When you want to switch the scanner or probe accessory used, simply detach and re-attach your new device without needing to recalibrate the arm.

Measure with confidence

Switch between a scanner and probe with the click of a button. When you want to switch the scanner or probe accessory used, simply detach and re-attach your new device without needing to recalibrate the arm.

Technical Specifications

Features
83 series
85 series
87 series
Accuracy
0.048 - 0.158 mm
0.031 - 0.113 mm
0.029 - 0.104 mm
Probing Accuracy
0.023 - 0.078 mm
0.012 - 0.048 mm
0.011 - 0.044 mm
Max Reach
2.98 - 4.98 m
2.98 - 4.98 m
2.98 - 4.98 m
 

Exceptional Solutions, Even Better Support

Creating the best products requires the best solutions, training and support. With a little insight into your product development process, our team of pros can point you to any tools you need (and nothing you don’t).

But it doesn’t end there. We’ll stay with you every step of the way, helping solve complex design issues, 3D printing application questions and so much more. No matter where you’re at, both in your process and geographically, we’re here.

Engineering Success Together

Services & Customer Benefits

Unmatched Training

Every company is different, and when it comes to training for 3D scanning, one size doesn’t fit all. Hawk Ridge Systems can tailor a training plan to focus on the needs of your application.

Frequently Asked Questions

Which Absolute Arm is right for me?
It depends on the size of the item you need to scan and what your tolerances are. The Absolute Arms come in lengths ranging from 1.2 meters to 4.5 meters and are available in three tiers based on accuracy testing: 83 for standard measurement requirements, 85 for more demanding tolerances, and 87 when the highest level of portable accuracy is needed.
Do I need to recalibrate the arm if I go from probing to scanning?
No, it’s seamless; there is no need to recalibrate when switching from probing to scanning.
Can multiple different probes be used on the same arm?
Yes, using RFID inside the devices allows for hot-swapping of probes. The Absolute Arm is compatible with a wide range of probes, scanners, and other accessories without the need to re-calibrate between swaps.
Can the device be repositioned for larger parts outside of the arm’s size?
Accessories such as Leap-Frog kits can be used to quickly reposition the device in designated environments and still maintain part tracking, reducing the need to manually align data afterwards.
What certifications does the device have?
Probing is certified under ISO10360-12 standards and scanning under ISO10360-8 Annex D. Accuracy can also be verified by users using supplied CMM artefacts.
What environmental conditions can the device run in?
Designed to be used inside of machinery like lathes and mills in order to measure right after manufacturing, the Absolute Arm has an IP54 dust/splash rating and can operate in 5 – 45 degrees Celsius.
Keep On Learning

3D Scanning Resources