Artec Micro II
Automatic Desktop Scanning with the start of a button to capture the smallest details of your parts.
Get Pricing Sent to You Today
While you are waiting, check out our Resource Center or read our Blog!

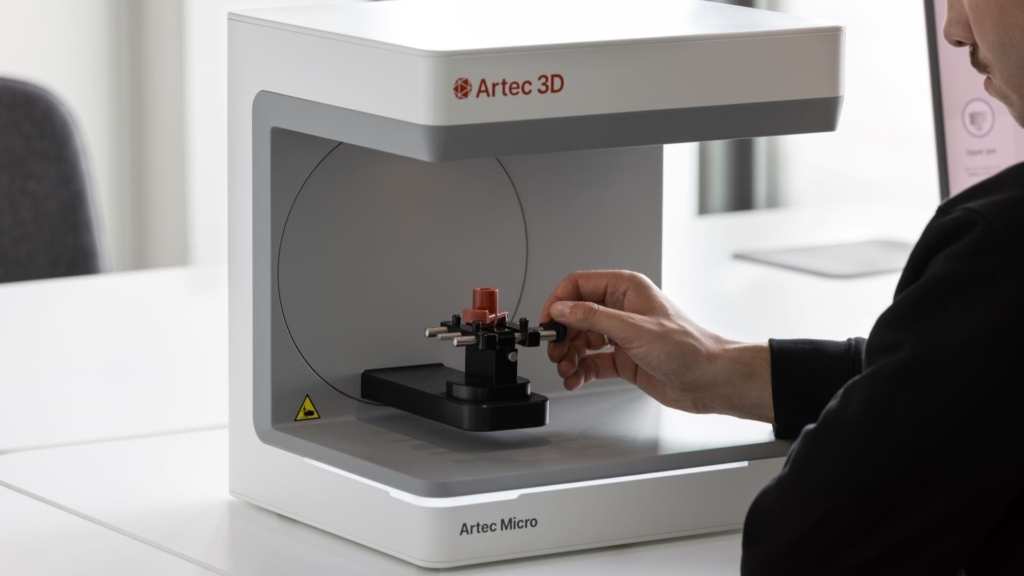
Desktop Scanning and Processing Made Easy
Armed with 4 high-quality 13 MPX resolution cameras and a smart pathing algorithm, the Artec Micro II is ready to capture the smallest details on the smallest parts. Modular clamp accessories allow for easy swapping depending on the part that needs to be secured. A simple one-click to start process means operators can prepare items and start a scan, letting the Micro II do the rest of the job by rotating the part and giving real-time feedback on the scanning session to ensure the object is fully captured.
Used in Jewlery Design, Forensic Analysis, Dental, and inspection of manufacturing components: with the Artec Micro II, you can see your object digitized in high-resolution with clear quality.
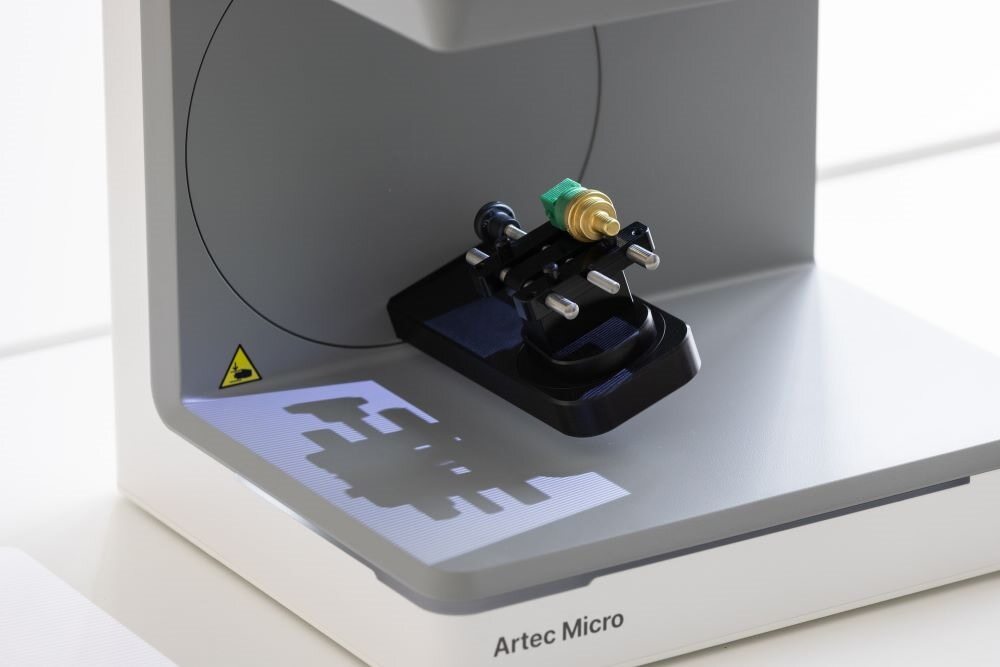
Key Features & Benefits
Scan Parts That Fit in Your Palm and Smaller
With a 200 x 200 x 150 mm scanning space, palm-sized parts and smaller can be locked-in-place and captured to make high-quality scan files.
Metrology-Grade Accuracy
Having 5 micron accuracy and 2 micron repeatability means you can produce scans for high-level inspection and reverse engineering confidently.
Easy-to-Learn One-Click Workflow
Learning how to operate a scanner can be a challenge. With the Artec Micro II, however, all you need to do once your part is placed on the turntable is click. One click starts the scanning process, and you can see your scan made in real-time for quality assurance.
Customizable and Fast Scanning Speed
Settings for scanning pathing and rotational speed allows operators to adjust depending on the object scanned to ensure they are getting the highest– quality data with minimal time needed to capture the data.
Technical Specifications
|
Features
|
Micro II
|
|---|---|
|
Specification
|
Scanner Type: Desktop 3D Accuracy: Up to 5 microns 3D Resolution: Up to 5 microns Repeatability: 2 microns Color: Yes, 4- 13MPX cameras Target Free: Yes Light Source: RGB LED File Output s: .STL, .OBJ, and. PLY Certification: ISO 12836 for accuracy
|
|
Environment
|
Operating:16 – 35 degrees C Storage:15 – 50 degrees C Pollution Degree: 2 (IEC 60947-1)
|
|
Computer Requirements
|
Connected to Computer: Yes, USB 3.0 Type-C Supported OS:Windows 7, 10, 11 Computer Recommendations: Intel Core i7 or i9, 32+GB RAM, NVIDIA GPU with 8+ GB VRAM
|
|
Scanner Dimensions and Weight Information
|
Max Size Parts:200 x 200 x 150mm
Max Object Weight:2 kg Scanner Size:396 x 405 x 337mm Scanner Weight:11.5 kb |
Artec 3D Resources
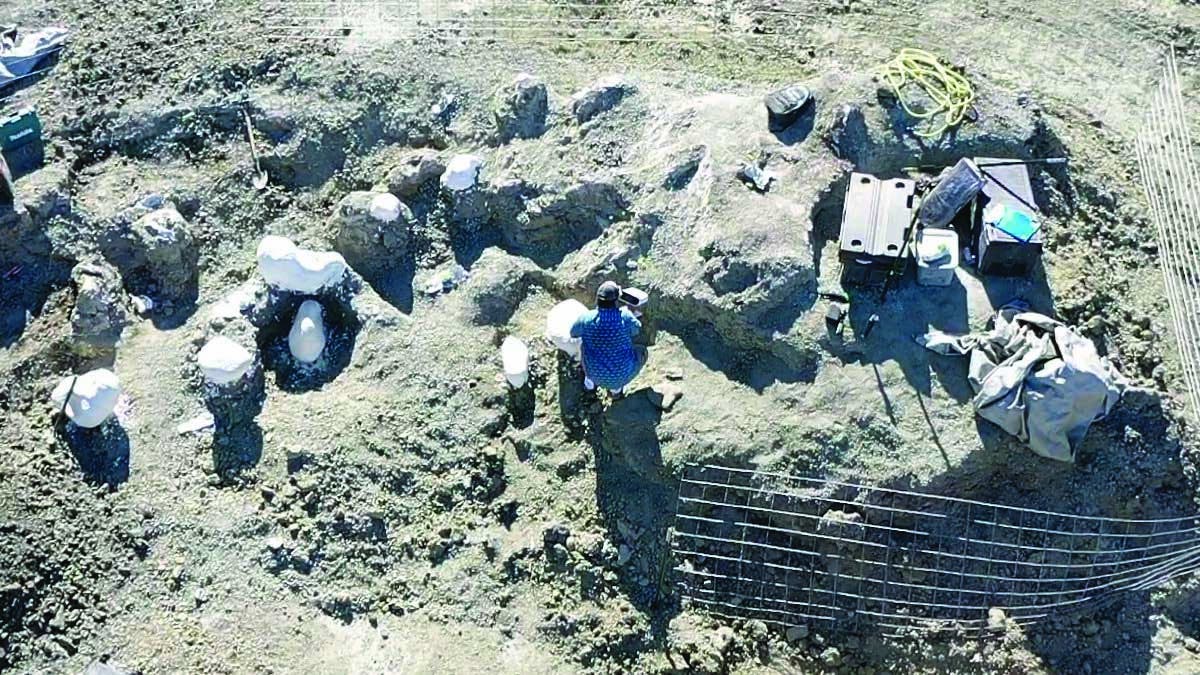
Preserving History With 3D Scanners
Download Guide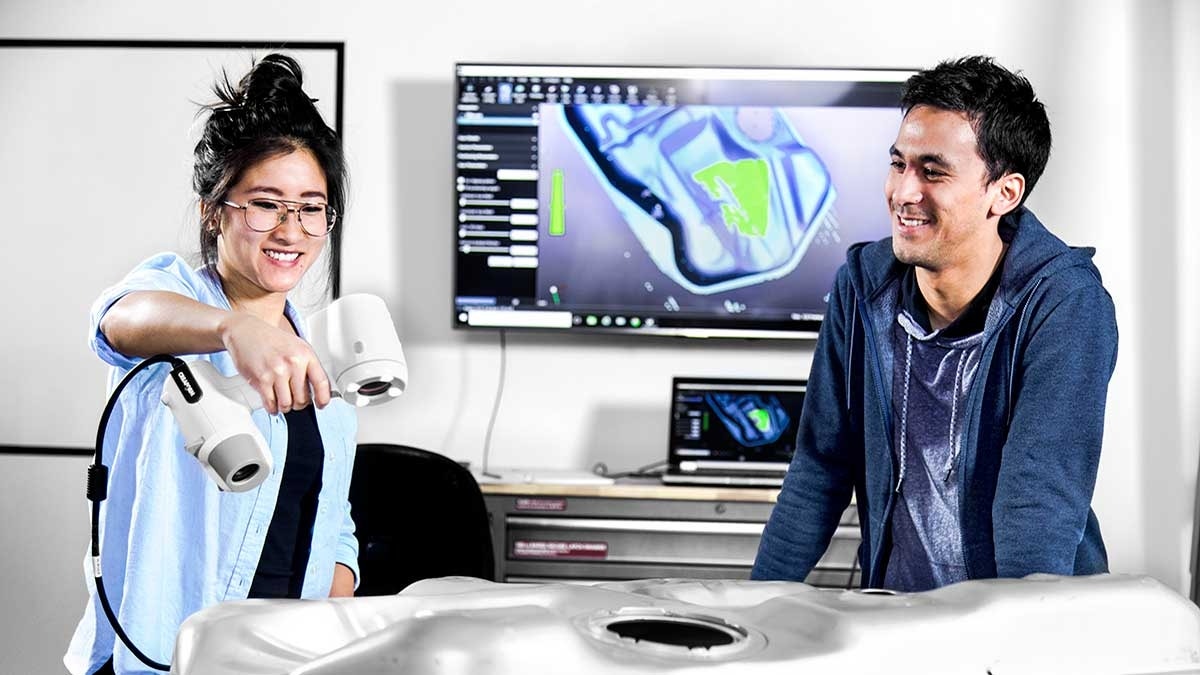
3D Scan-To-CAD: How to Model Almost Anything
Watch Webinar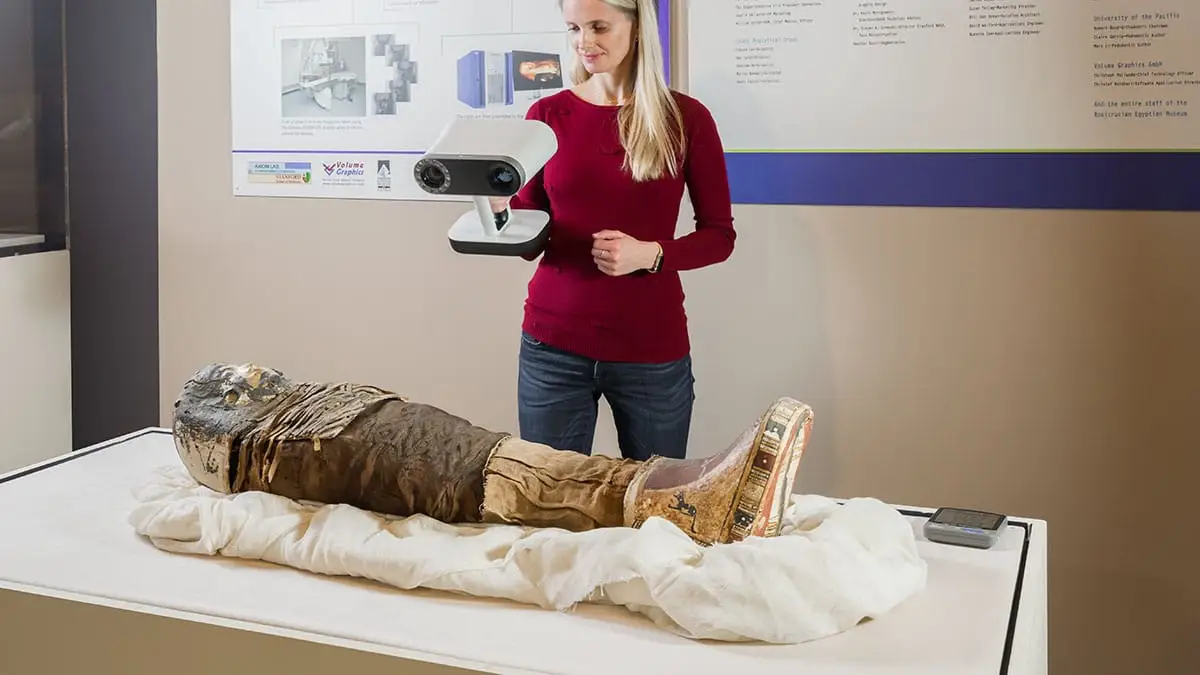
The Artec Ray 3D Scanner in Extreme Environments
Read Article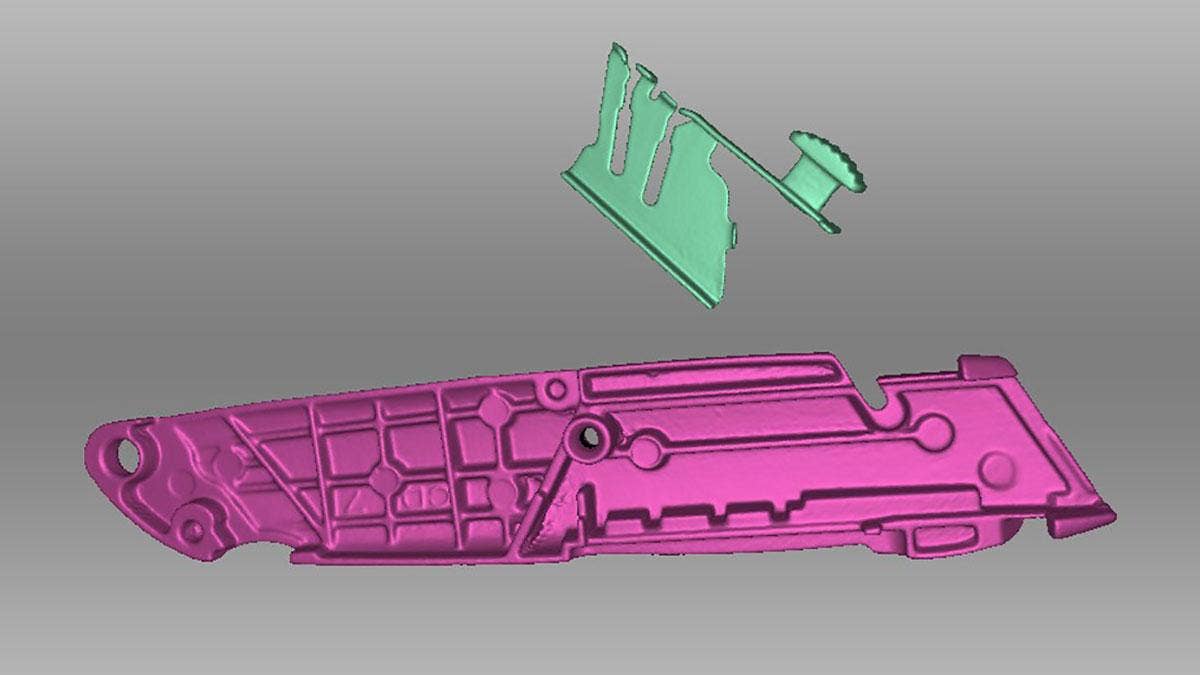
Photo Textures to Your 3D Models in Artec Studio
Read ArticleFrequently Asked Questions
The Artec Micro II uses Structure Light to capture objects so shiny and transparent materials need to be prepared for ideal scanning.
A stick-tack pad for un-clampable items, two clamps with one for stationary items and another to rotate the part within the clamp, and a 4-pronged square clamp for larger items.
The Artec Micro II has different pathing’s for rotating parts depending on the size and complexity of the item, creating more scans depending on the chosen option. With live feedback on how the scan is turning out, operators can add additional scans or stop the process if enough data has been captured.
Yes, each scan is an individual position. To reposition a part to create a complete scan simply un-secure the item, reposition so the covered side can be captured, then start a new scan. You can align the two scans together within Artec Studio.
Yes, the 13 MPX Cameras not only capture part geometry but apply color information to the scans. This can be applied to the mesh and exported.
Services & Customer Benefits
Technical Support
Our scanning support specialists are 100% dedicated to our 3D scanning applications, have passed rigorous testing standards, and have extensive experience using our scanning products in the real world.
Unmatched Training
Every company is different, and when it comes to training for 3D scanning, one size doesn’t fit all. Hawk Ridge Systems can tailor a training plan to focus on the needs of your application.
