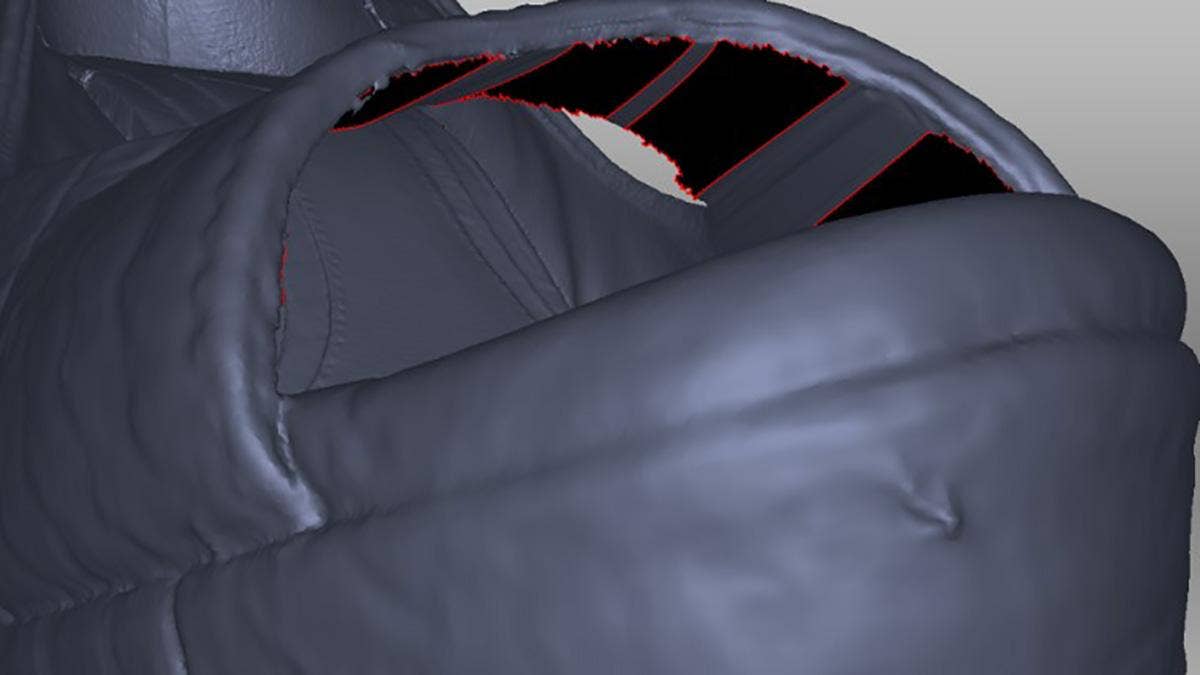
Hole-filling has always been present in Artec Studio, but new in Studio 14 is the Bridge option within the Fix Holes menu. This tool allows Artec 3D scanner users to constrain how holes are filled for more controlled results.
In the example below, we have a hole in the emblem.
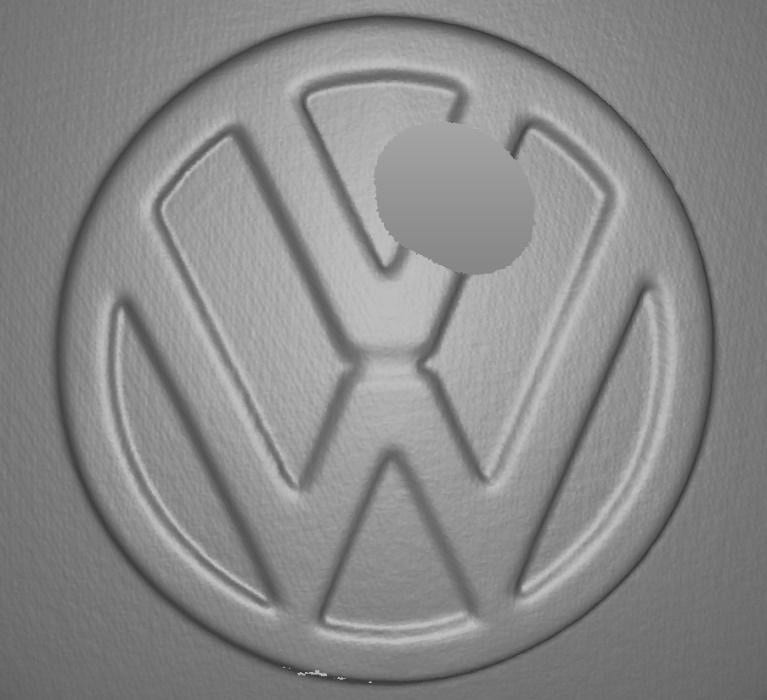
The traditional hole-fill tool will result in a watertight model, but depending on the surrounding geometry, the result may be cosmetically sub-optimal.
Note that hole-fills done during the fusion process are typically superior to those done post-fusion, and do a better job of interpolating curvature from surrounding areas. The former may not always be an option, however, and even hole-fills done in the fusion process may produce undesirable results at times.
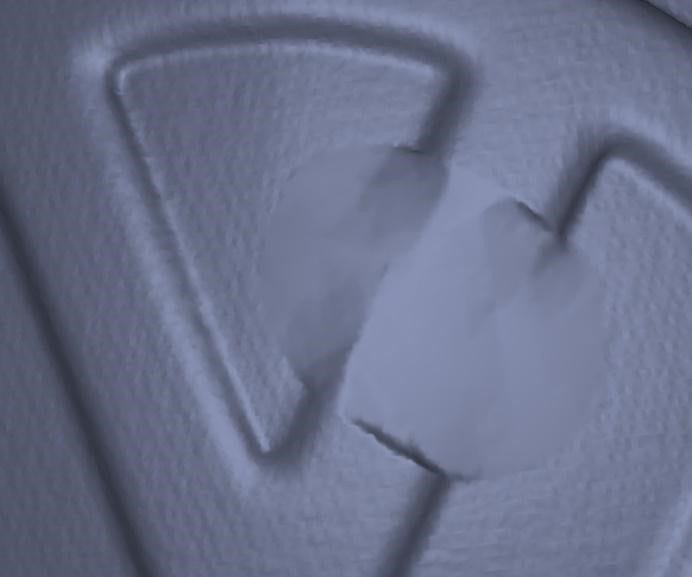 This close-up shows the worst-case result of a standard post-fusion hole-fill on the scan.
Close-up of the worst-case scenario: a post-fusion hole-fill.
Creating a Bridge
To construct a bridge, we’ll navigate to the Fix Holes tool and select the Bridge tab from the overhead ribbon. Holding down Shift, we drag-select across the top of the hole, then repeat for the bottom. In this case, we only select the more curved areas that pose problems for the standard hole-fill method and omit flat/featureless areas, which will be filled later.
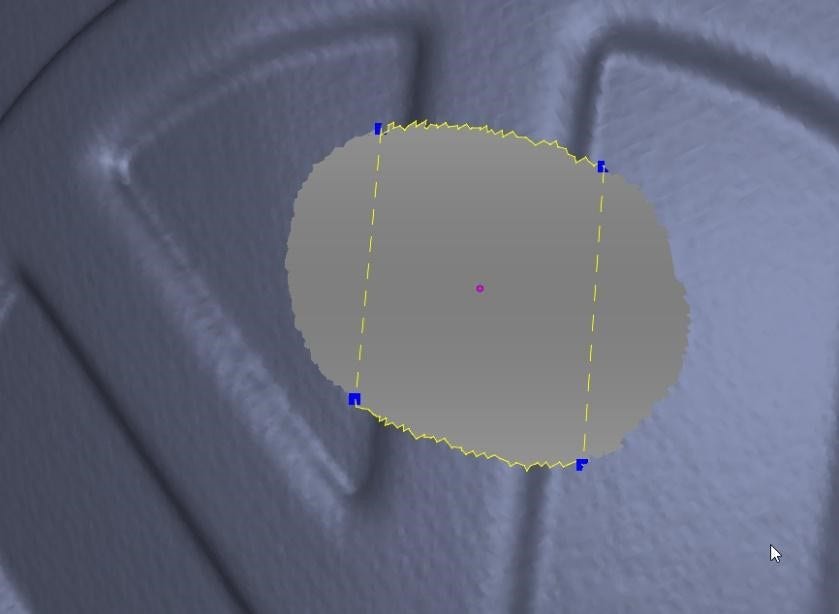
Preview of the bridge to be generated.
Once the bridge is complete, the remaining holes to either side are filled with the standard Hole-Fill tool. Since these remaining areas are flat, the standard Hole-Fill tool works best.
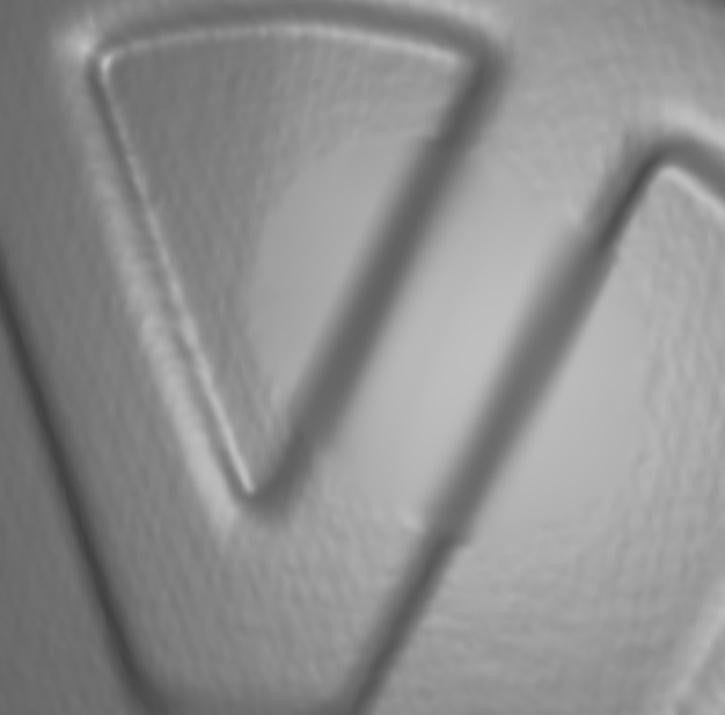
Close-up of the hole after bridging the center and filling the remaining holes to either side.
Adding Additional Bridges
An alternative approach is to further sub-divide the region, creating one bridge for the top flat area and additional bridges for the rounded sides.
Note that in this example, the differences between these two approaches would be negligible, but the latter approach can produce significantly better results when working with small features and complex sets of curves. So, it pays to experiment with various degrees of sub-division.
Other Bridging Applications
Bridging are also perfect for scenarios requiring watertight models, where a hole is in a hidden area and thus does not need be cosmetically perfect, but does need to remain hidden from line of sight. In the example below, the underside of the vamp, or toe-strap, is impossible to capture completely.
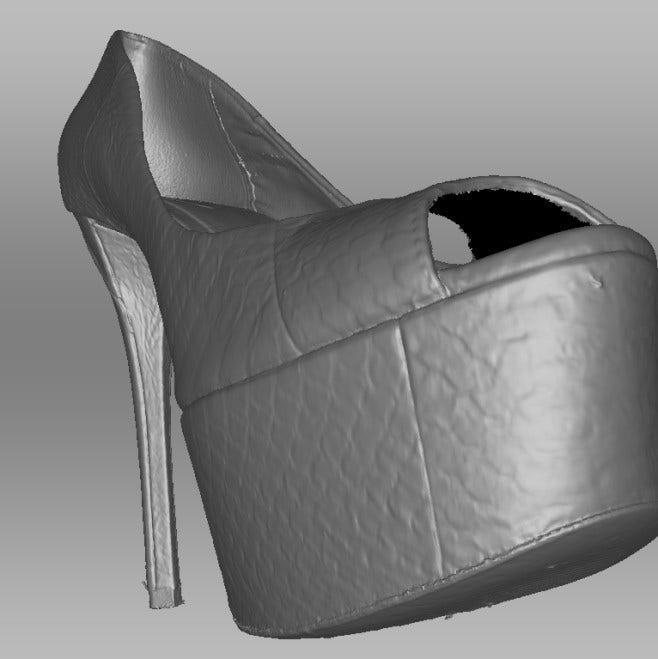
The standard hole-fill techniques may not produce the best results in this situation. Because the hole is complex and highly curved, a standard hole-fill results in an unsightly blob that is much more visible than the original hole.
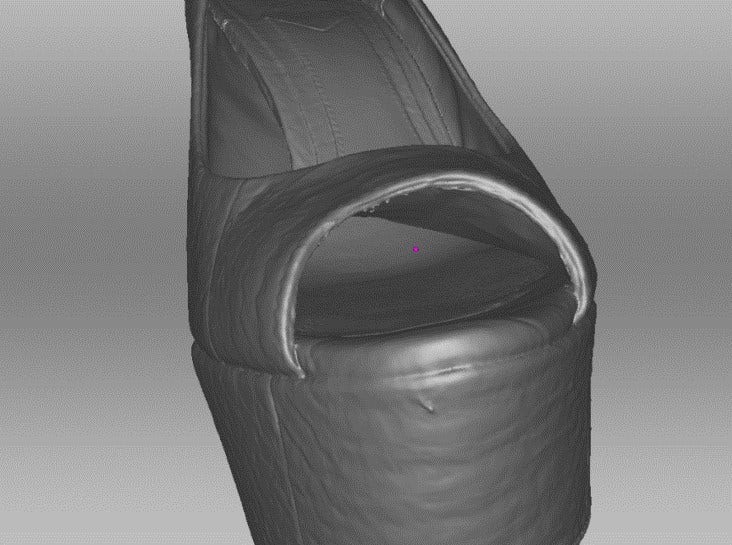
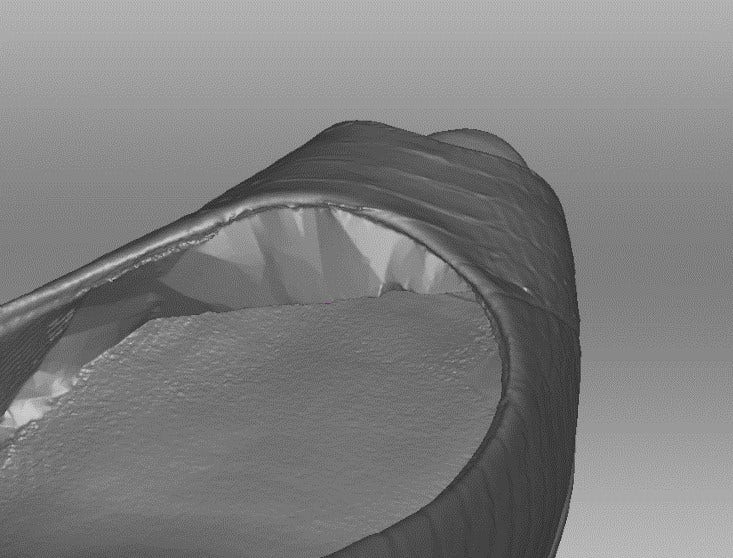
This problem can be solved using the bridge tool. By subdividing the hole into several sections and then filling those individual holes, we’re able to constrain the path of the hole-fill so that it follows the curvature of the vamp rather than cutting straight across.
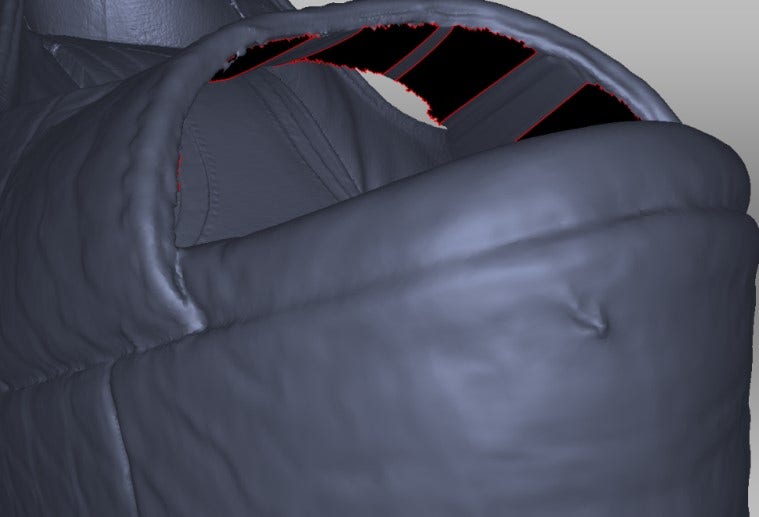
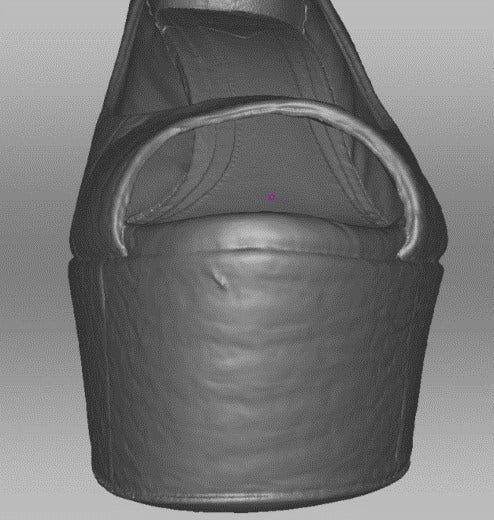
A more visually appealing result, with any remaining flaws well out of sight.
This technique is widely useful in apparel and footwear scanning, especially for thin objects that are impossible to capture from all sides – like the undersides of helmet straps, lapels and shoelaces.
Visit our website for more Artec 3D scanning tips and information, and contact us at Hawk Ridge Systems today if you have any questions. Thanks for reading!