
It had been several years since I participated in any SolidWorks Beta
contests. I was always busy and when they stopped handing out cash and started
handing out graphics hardware, I wasn’t really motivated. This year however I
was assigned to try and drum up interest for the internal Hawk Ridge bet
contest and they brought the cash prizes back… So obviously this year
I was back to competing.
Since I didn’t have time to get in the trenches and win by bug hunting, I knew
the only way to get my name on the board was to go for the rendering contests.
There were four PhotoView360 rendering contests this year, basically one entry
a month June through September.
The first step in rendering is figuring out which models to use, so I went
down into the original Webinar Wednesday vault and grabbed a few favorites:
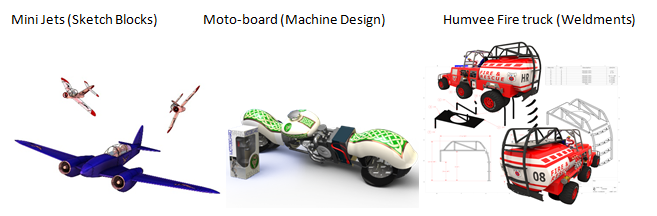
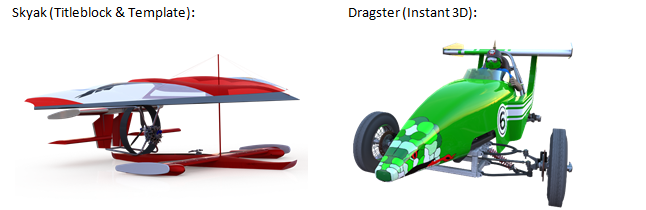
I also wanted to do some design in SOLIDWORKS 2015 to kick the tires so I
crossed two ideas from the past:
Picking the models is a good start, and in June I went with the mini-jets. I
settled on just the two mini Mig 19s. Now I needed to run through the typical
rendering workflow:
- Appearances
- Camera
- Scenery
- Lighting
- Preview
- Adjust
- Render
The model has aluminum appearance with some matte red and black paint. A
Plexiglas canopy shows a couple of masked, helmeted guys; most the appearances
in this scene are on the pilots.
The camera angle needed to give the models a dynamic feel and hide the fact
that there is a stationary turbine in a plane that is supposed to flying. I
used a telephoto lens for a good vanishing point and moved the models into
position to show only the hub of the turbine clearly.
I tried a few sky backgrounds, but settled on this sunburst. I used a rooftop
scene with the picture as the background. I knew the rooftop scene has a
sunrise in the reflection; by spinning the scene to make the sunrise in the
scene be on top of the sun in the background made the lighting, especially on
the canopies.
So I had the first 4 step of the work flow done. But the preview and adjust
really aren’t two steps – we’re talking hours upon hours fidgeting with
position, light, appearance and everything else until you finally get a good
photo realistic rendering. Even then it isn’t even done. I look at rendering
on different screens, through a projector, on my tablet and continue tinkering
until it gets dialed in and voila…
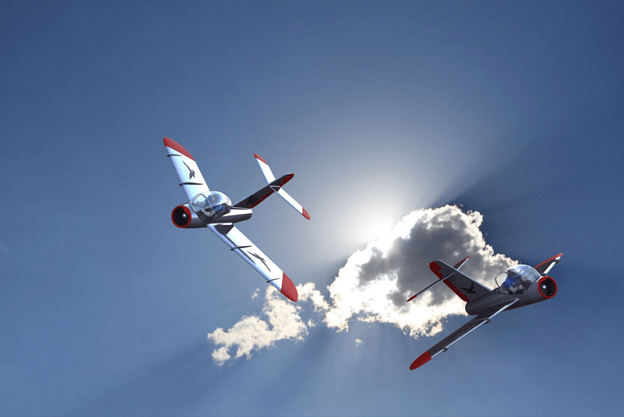
The way the light hits the plane on the left while the other plane appears
shaded by the cloud really makes this believable. But what’s the point of Beta
if you’re not trying to push the limits of the software? PhotoView360 had
issues in the past with transparency on top of transparency, especially when
there is background involved. The way the cloud shows through both sides of
the bubble canopy on the right really looks tight.
This was entry number one and got me 4th place. I really wish
SOLIDWORKS would post the winners like they did in the past so I could see
what the others were up to and what the judges are looking for.
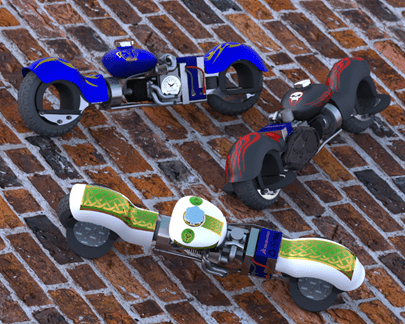
I would go more into detail about all the appearance and camera work I did
here, but entry two failed to place in the contest at all, so I’ll just show
it and move on. (I think the problem is no one knows what these are: they’re
motorized skateboards, and you put your feet through the holes in the middle
of the wheels.)
For Beta 2, I actually had some breathing room in my schedule to do some
modeling. As far as beta goes 2015 was nice and stable for me and I was able
to move around as well as 2014. The new parent/child pointers in the history
tree surprised me, but proved useful once I accepted them.
For the project I did a little research on ground effect vehicles to get a
better, less rickety, look for the old skyak. I also copied and pasted the
serpent art off the dragster nose. This version of the skyak is less a
floating ultralight, and more seaplane-meets-airboat.
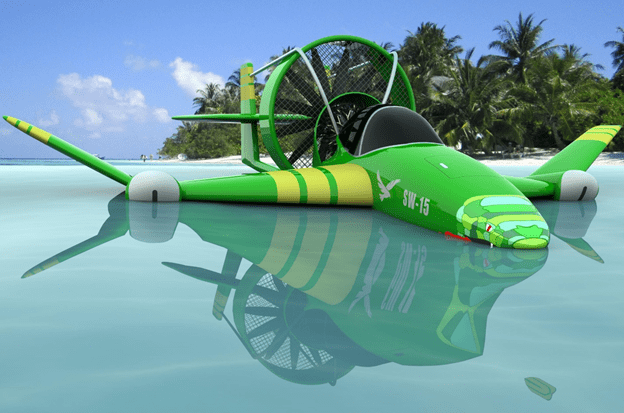
Again, I start going through the workflow over and over again as usual, but
this time with a particular challenge. Could I get believable water to match
the ocean in the tropical beach picture? For this effect I modeled the water
as a component and gave it the overall appearance of still water. This made
the plane look like it was sitting in a block of glass, so more changes were
needed. On the bottom face of the water model was assigned the appearance of
still water 2D to give the illusion of sun on submerged sand. For the top face
I assigned blue glass and gave it the azure color.
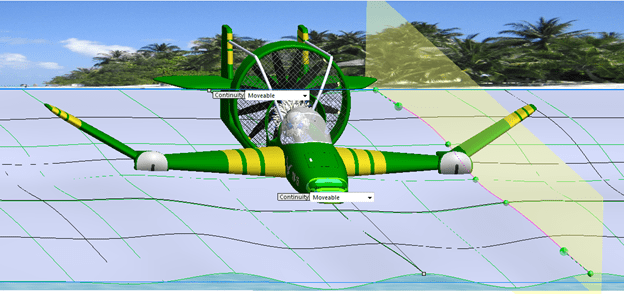
But it still looked like it was stuck in a frozen lake in Minnesota, more than
lapping in the middle of the Pacific. I used the freeform tool on top face to
actually model the wavy surface.
This effort netted me 4th place (again?) in the August competition.
The last rendering was going to be of the Humvee Fire Truck, which already had
tons of appearance detail. I just had to find a fire fighting background and
make it believable. For a smoky scene like this the bloom feature in
PhotView360 has to work. And just like the transparency issues I mentioned,
the bloom has had many releases where the setting didn’t do a blooming thing.
I’m happy to report that Beta 3 did bloom correctly, so well in fact I had to
change out my chrome door handles because they were blooming too.
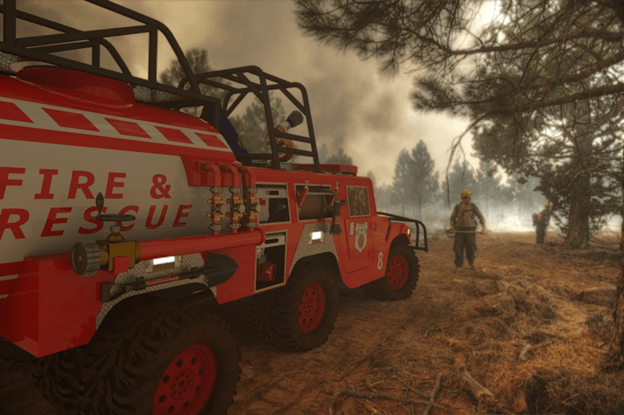
To get the model to look like it belongs that there is a lot of trickery that
you might not notice right away. The passenger window is made of glass but it
has a decal on it. The decal is a screen capture of one of the trees blocked
by the truck in the background picture. Also, black or gray rubber tires
looked out of place on a vehicle that is clearly off pavement. The appearance
of the tires was set to rubber, but an image captured of the ruddy ground in
the picture was applied to the rubber. When wrapped like a sphere around the
tire it looks like it has been driving along a dry dirt road to reach this
scene.
I also had some consulting from our Reno engineer Tyler Braginton, who has
actually fought fires with the aid of some off-road vehicles. Advice on some
of the scaling of nozzles and those sorts of things helped out – but what
really helped was his collection of pictures of a real Humvee fire truck (only
four wheels L) with fire fighters standing near it that really, really
helped. I used a wide angle lens on this to force perspective on this scene so
the scale of the truck worked with the 2 guys in the picture.
This got me 4th place for September. (4th place again?
Again?)
Keep watch on this space for more about
SOLIDWORKS 2015, and join me along with the rest of the team in Reno, NV for our SOLIDWORKS Launch event this October. If you aren’t near Reno, check
out
the full Launch schedule
for a location near you.


