Instead of modifying the default Weldment Cut List Table every time we create a weldment drawing, let’s create our own template to use. Creating your own template is very straightforward, and so are these step-by-step instructions!
1. Put a part in the weldment environment to get the cut list
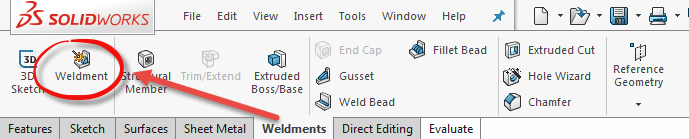 Starting the weldment feature places the part in the weldment environment to get a cut list.
2. Start a drawing of the part and insert a view
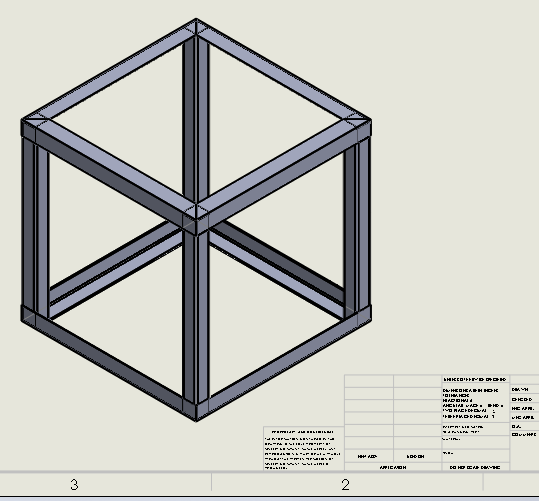
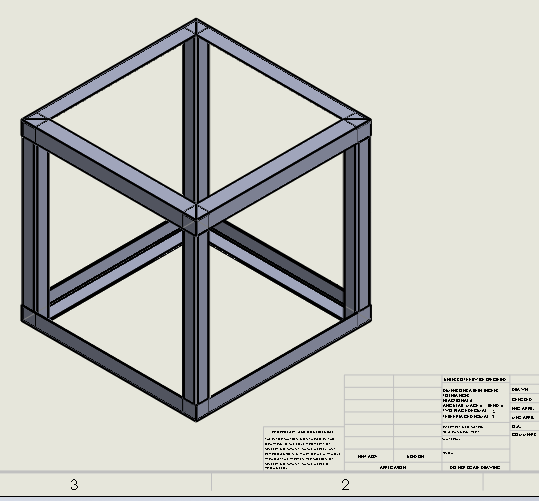 The finished weldment frame is inserted into a view when starting its drawing.
3. Insert a default cut list table
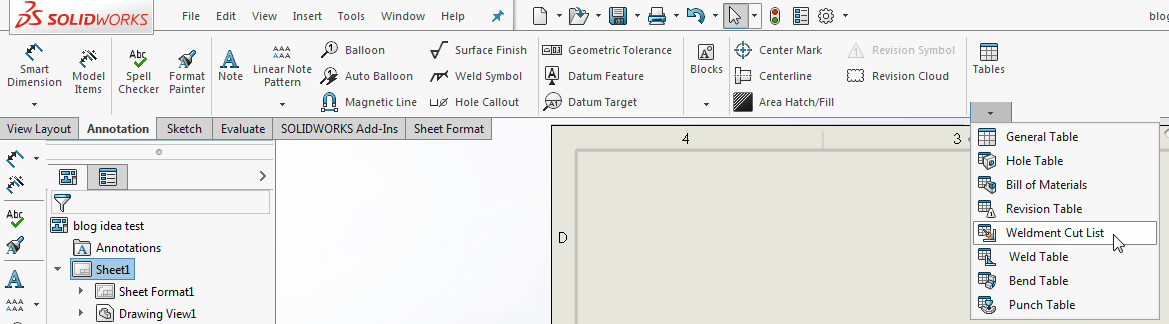 Inserting a default cut list table from the Tables menu lists every member in the weldment.
4. Make the desired edits to the table template
* Can add columns and click on the column header to edit the column
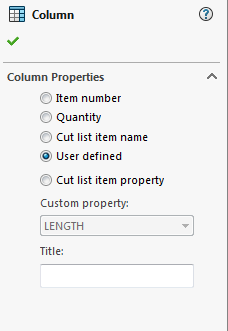 Adding a user-defined column tied to a custom property customizes what the cut list table shows.
5. Right click on the upper left corner of the table and choose Save as
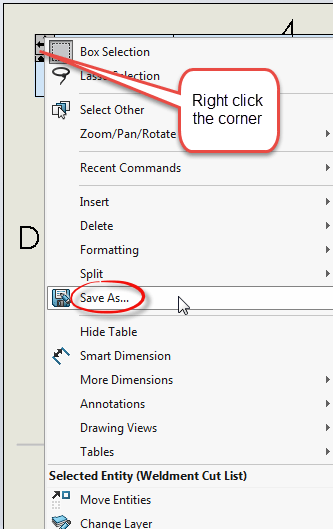 Right-clicking the table’s corner and choosing Save As turns the layout into a reusable template.
6. Rename the table and save it in the correct referenced file location
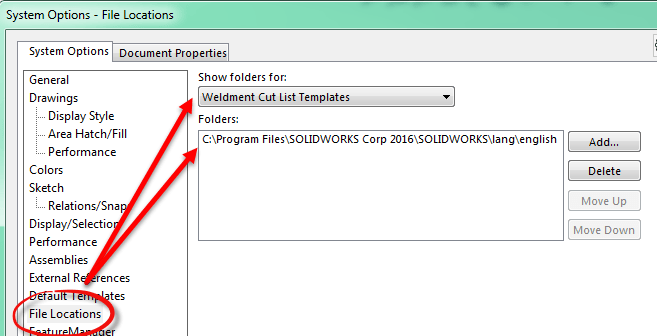 The template must be saved to the folder referenced under Weldment Cut List Templates to be found.
7. Now the template is ready to use. Choose the template by browsing to it
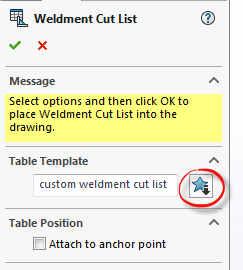 Browsing to the saved template applies the custom cut list format to a new weldment drawing.