You may have heard talk of polishing Markforged Metal X parts but haven’t actually seen a sample part, much less how this can be accomplished. In today’s blog post, we are going to remove the veil and show you how to achieve a near-mirror like surface finish on your Markforged Metal X parts.
The How, When and Where of Smoothing | Markforged Metal X Printing Process
First, we need to look at the printing process to understand where and how we can improve the final surface finish of printed parts. The Markforged Metal X has a three-step printing process.
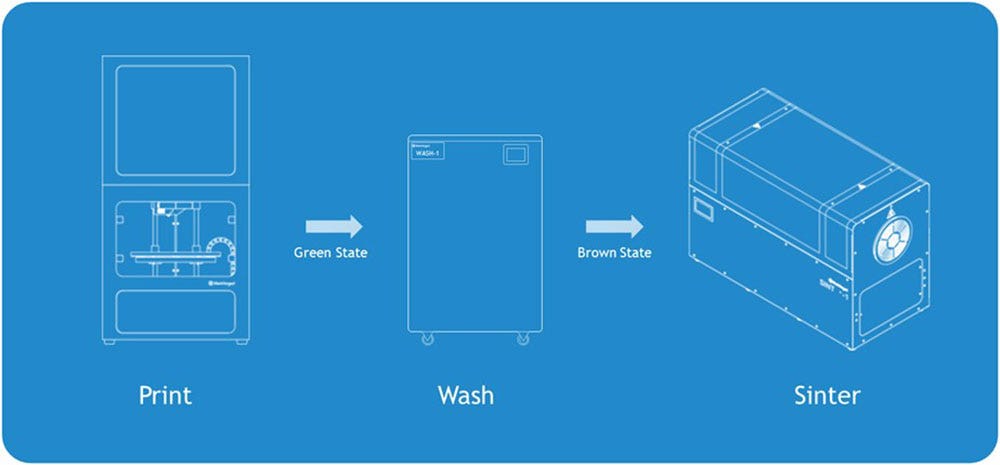
Here are stages in the printing process where surface finish can be improved:
- Printing
- Green state (pre-sinter)
- Post-sinter
Printing | Understanding the Technology
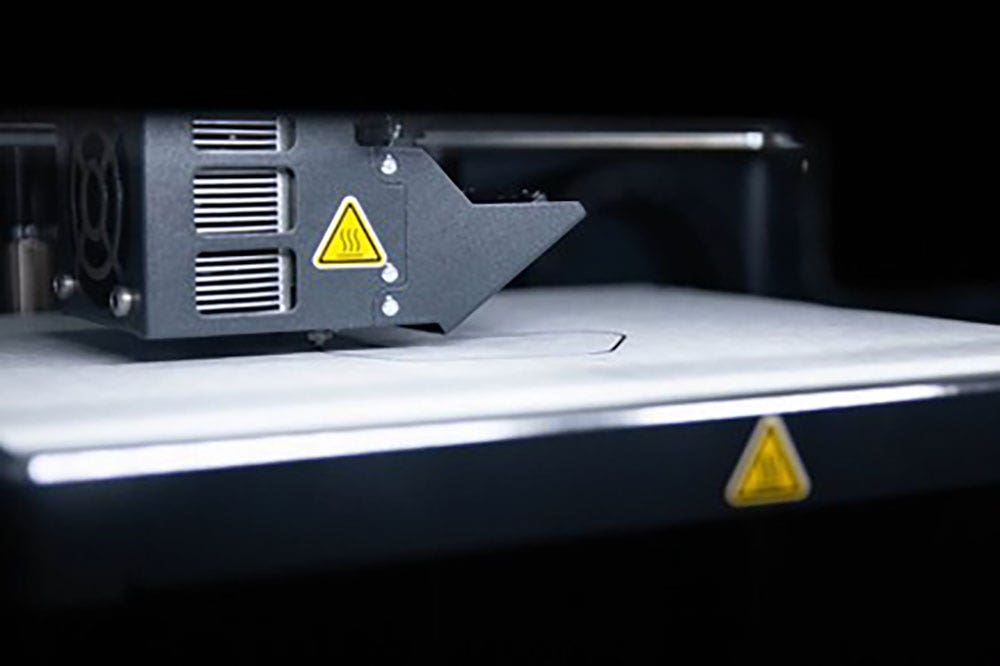
The Markforged Metal X print process works similarly to traditional fused filament machines. Material starts out on a spool that is then extruded through a heated nozzle to build up parts layer by layer on a build platform. Within the print process, there are two key areas to consider: print orientation and layer height. In this print process, layer lines are going to be visible and surface quality will not be as good on support structure surfaces and overhangs. A cosmetic defect known as stepping can also occur on domed or curved surfaces with this process as well as many other printing processes. To mitigate some of these defects, a good print orientation can help.
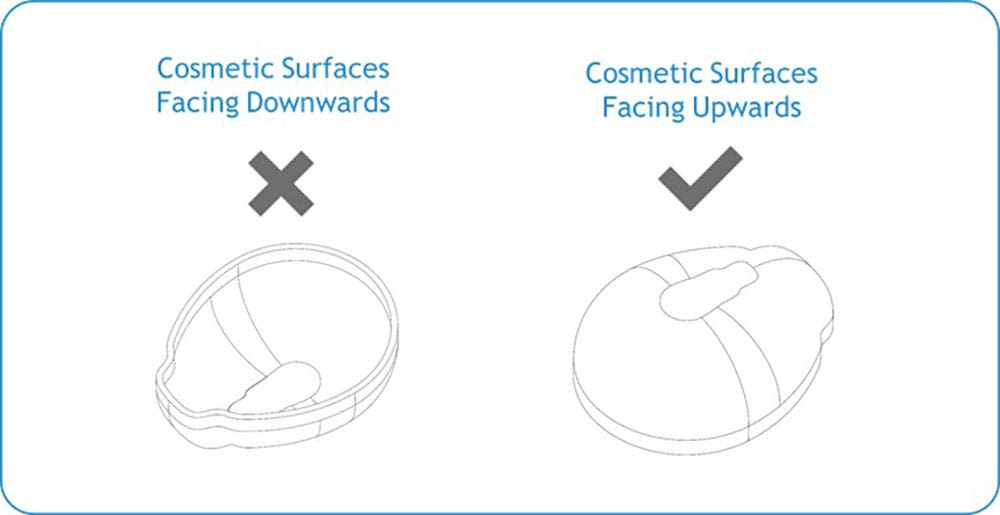
Cosmetic Surfaces Facing Upwards
The first tip is to ensure that cosmetic surfaces are facing upwards. This will ensure that the non-cosmetic surfaces are interfacing with any support structure.
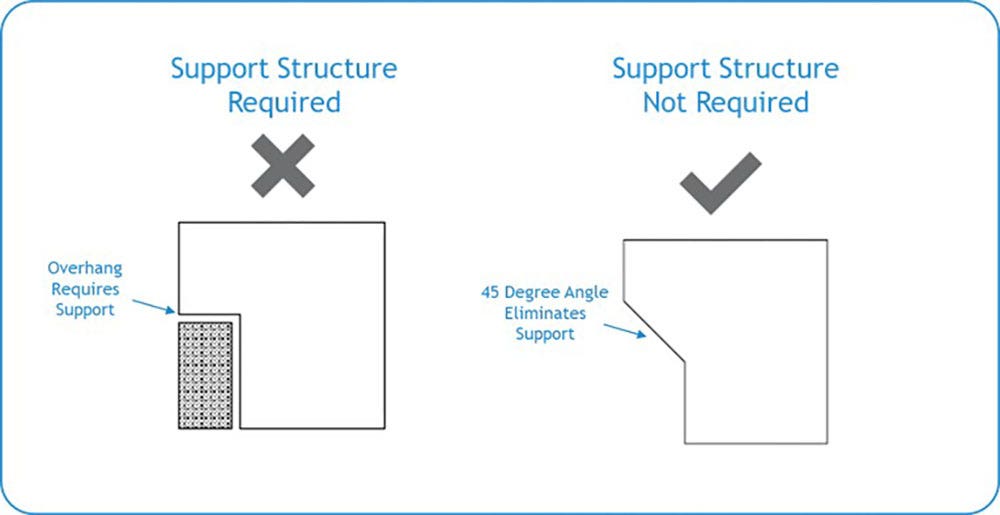
45-Degree Overhangs to Eliminate Supports
It is possible to get the best of both worlds by introducing 45-degree angles on bottom surfaces to eliminate the need for support. This ensures that you have a consistent surface finish throughout the part.
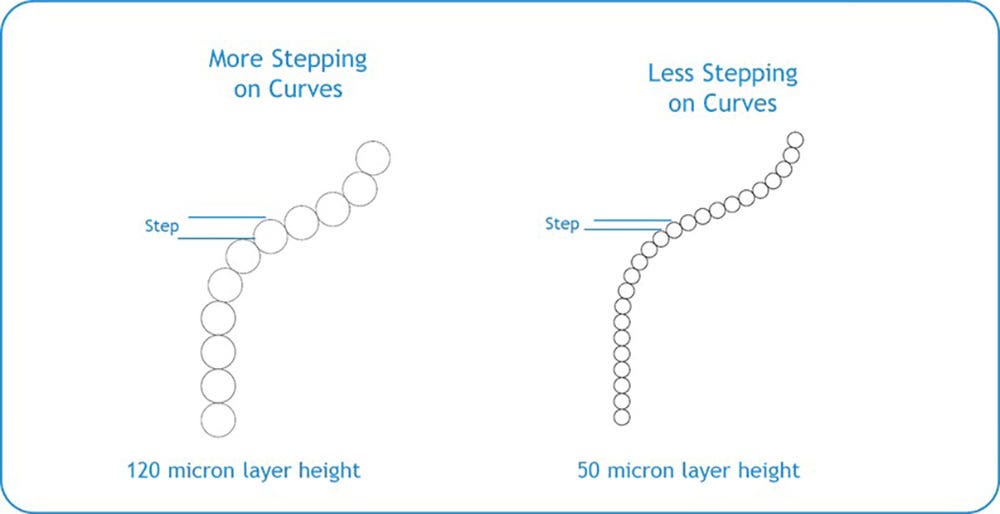
Fine Layer Height to Minimize Stepping
Next, layer height can also improve the surface finish. The Markforged Metal X system can print as fine as 50 microns for 17-4 Stainless Steel (default: 120 microns). While printing at a finer layer resolution does increase print time, it can improve the surface finish especially on surfaces susceptible to stepping. Curved surfaces tend to show visible steps more than vertical or horizontal surfaces. Utilizing finer layer heights is a good strategy for small parts that don’t take too much print time.
Green State Sanding | Matte Finish
The Green State is known as the time between the printer and the wash station. At this stage, the part still as a wax binder mixed in to hold the metal powder together. While the part is still fragile at this stage, it is a good stage to significantly improve the surface finish. The preferred method of smoothing is to wet-sand parts to a matte finish through the use of 230-300 grit sandpaper under warm water. This process can take time, but it is more than worth it to get the job done right. Green State sanding without polishing will provide a smooth matte finish once the part has been sintered.
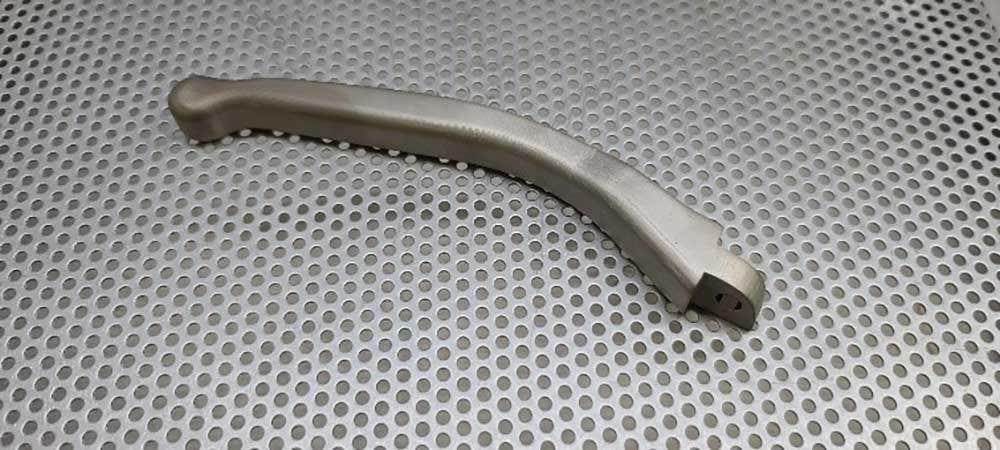
Post-Sinter Polishing | Near-Mirror Shine
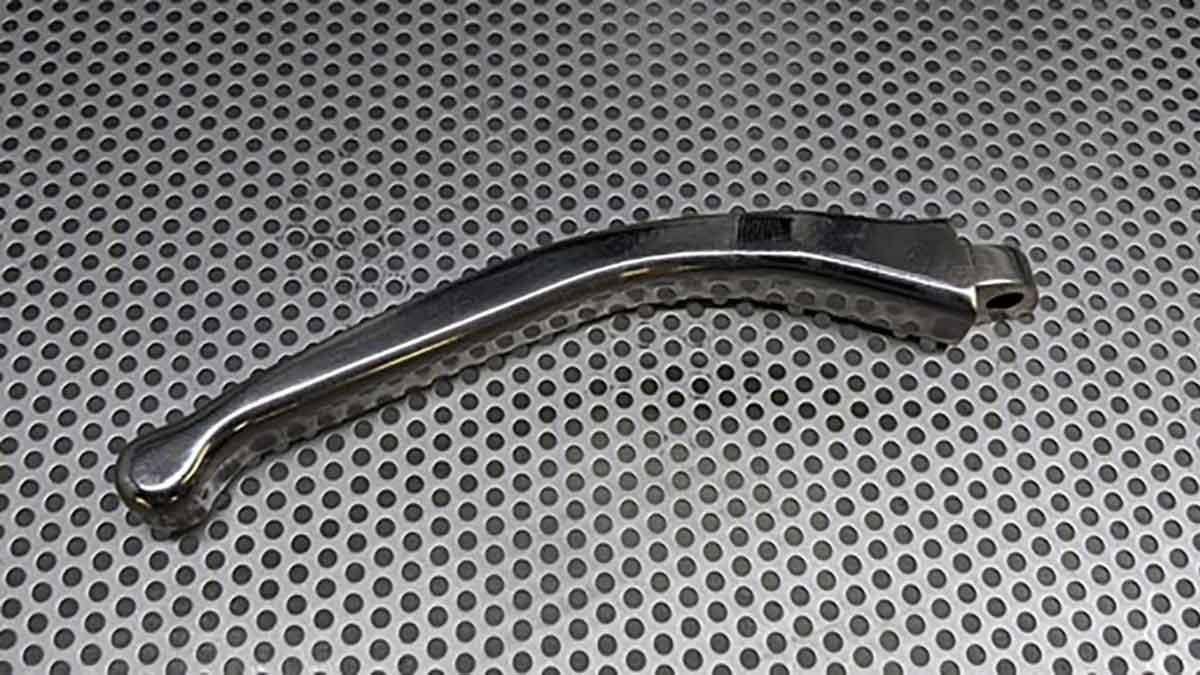
To achieve a nice reflective finish on your Markforged Metal X parts, the last step is to polish parts post-sinter. To ensure this process is successful, it is critical to perform Green State sanding in addition to the polishing steps covered next. There are many alternative ways to polish parts, the method we will cover is with a polishing wheel and compound.
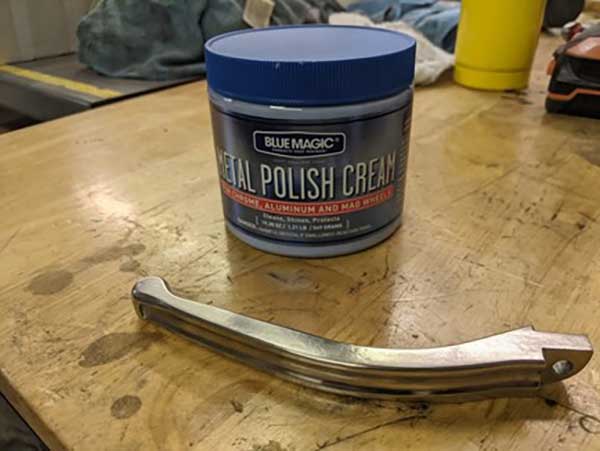
You will first need to obtain a polishing compound. Here at Hawk Ridge Systems, we have had success with “Blue Magic Metal Polish Cream.”
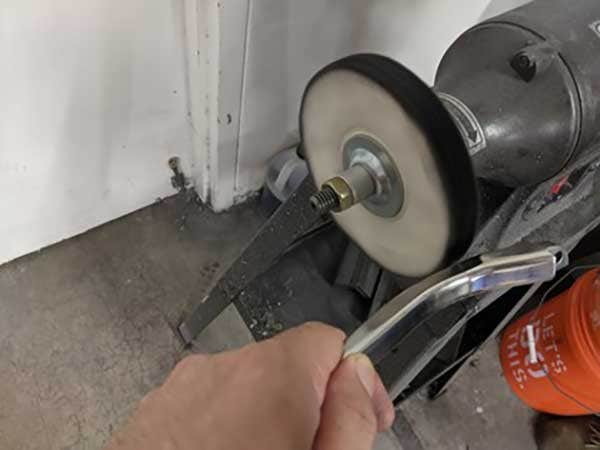
The next step is to find a polishing wheel. We like to use a bench-grinder buffing wheel for polishing our metal parts. Apply the polishing cream to the buffing wheel and have at it!
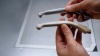
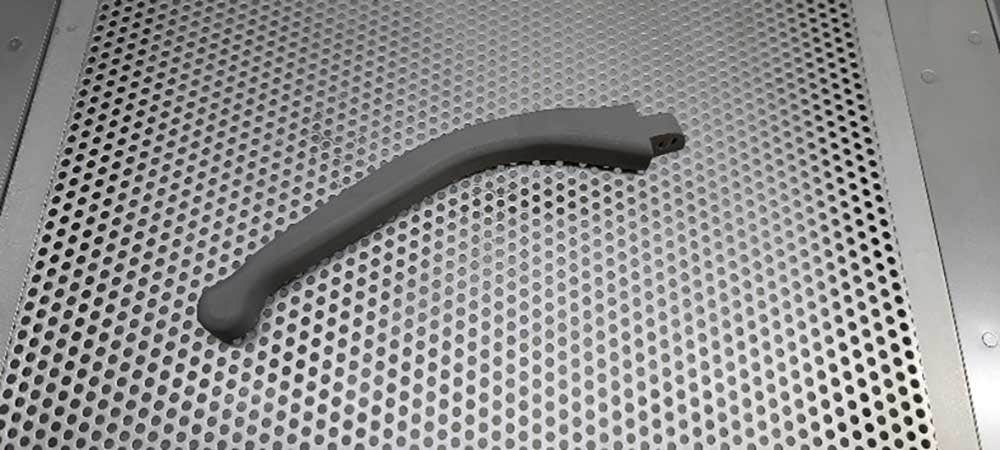
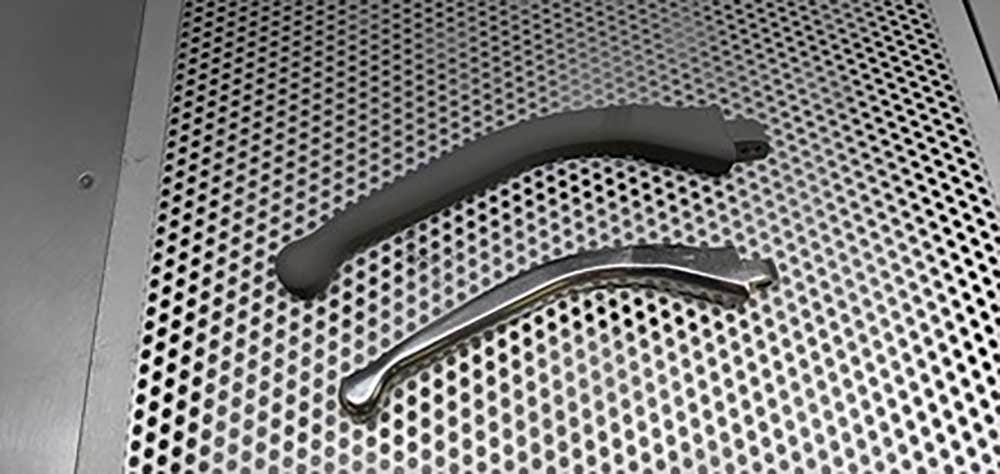
Here is the finished part compared to a duplicate right off the printer. Parts shrink about 17 percent during the sintering process.
There you have it, the mystery of Markforged Metal X polishing has been revealed. Creating strong, good looking metal parts has never been so easy! If you would like to learn more about the Markforged Metal X printing process, please contact us at Hawk Ridge Systems today!